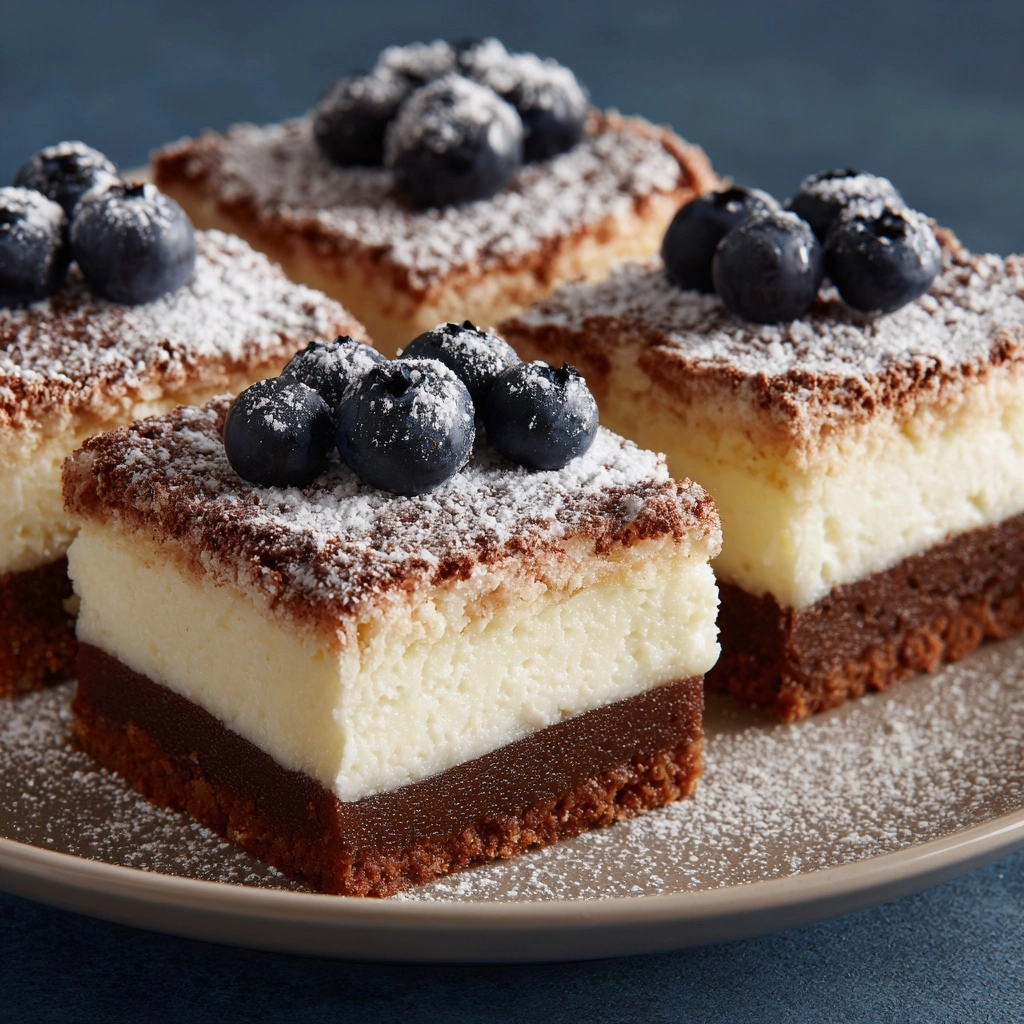
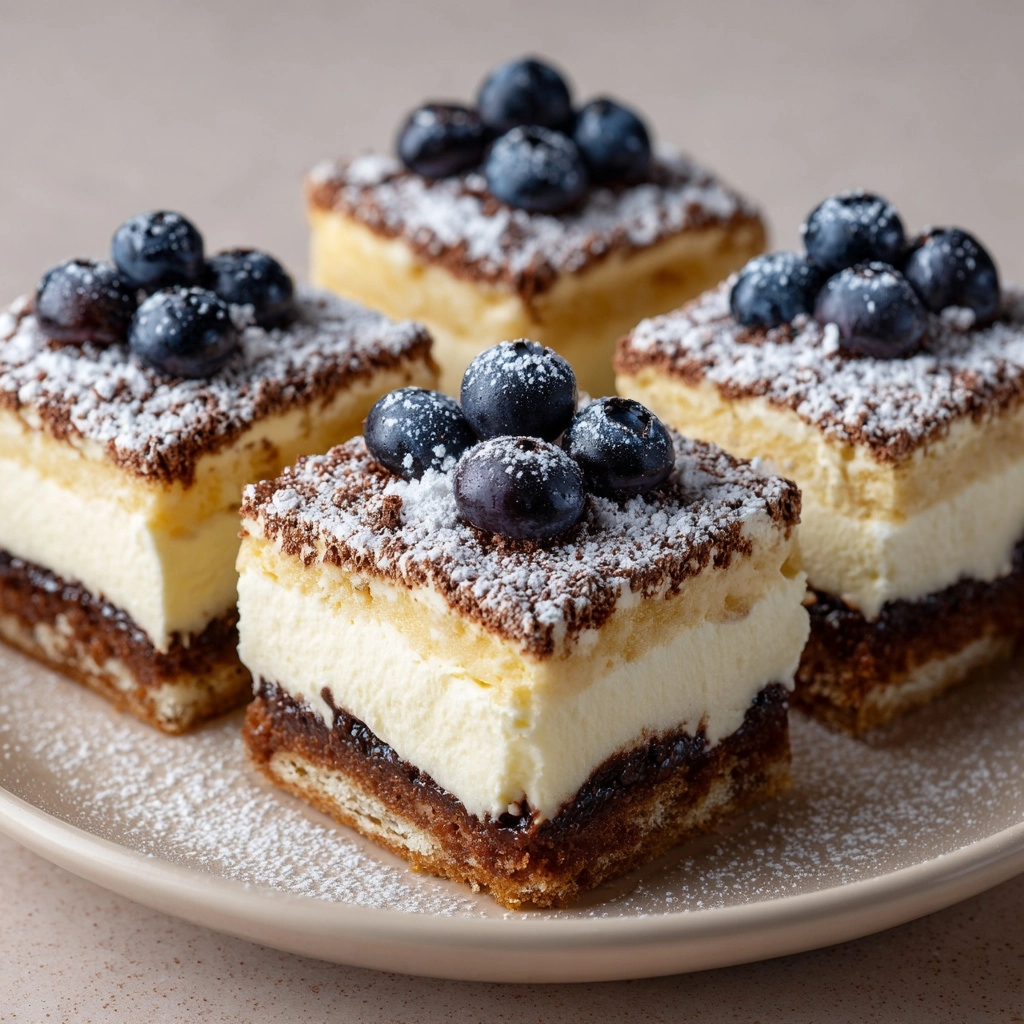
If you’re searching for a crowd-pleasing Italian-inspired dessert that’s easy, sophisticated, and absolutely irresistible, Ricotta Cannoli Squares are about to become your new favorite. Imagine creamy, lightly sweetened ricotta and cream cheese sandwiched between golden layers of crescent dough, all kissed with cinnamon sugar and mini chocolate chips. This playful riff on classic cannoli captures everything you love about the beloved pastry—without the mess or fuss—making it perfect for parties, family gatherings, or just a cozy night in.
Ingredients You’ll Need
The best part about Ricotta Cannoli Squares? You only need a handful of simple ingredients, but each one brings something special to the table. From that fluffy ricotta to a swipe of fragrant orange zest, every bite is thoughtfully balanced for flavor, texture, and pure delight.
- Crescent roll dough (8 oz): The magic shortcut for a flaky, buttery crust that bakes up golden every time.
- Whole milk ricotta cheese (1 cup, drained): Essential for authentic creaminess; draining removes excess moisture to keep the filling luscious, not runny.
- Cream cheese (4 oz, softened): Adds richness and helps stabilize the filling for easy slicing.
- Powdered sugar (1/2 cup): Dissolves beautifully into the filling for the perfect touch of sweetness.
- Vanilla extract (1/2 teaspoon): Infuses the filling with classic cannoli flavor—don’t skip it!
- Orange zest (1/2 teaspoon, optional): A bright, citrusy note that makes the ricotta filling sparkle.
- Mini chocolate chips (1/4 cup): Traditional and adorable—they add melty bites of chocolate and texture.
- Melted butter (1 tablespoon): Ensures a perfectly golden, crisp top layer.
- Granulated sugar (1 tablespoon): Combines with cinnamon for a sweet, crunchy finish.
- Cinnamon (1/2 teaspoon): Adds warmth and iconic cannoli flavor to the topping.
- Extra powdered sugar (for dusting): That signature finish—don’t forget to dust before serving for a bakery-style look!
How to Make Ricotta Cannoli Squares
Step 1: Prepare Your Pan and Dough
Start off by preheating your oven to 375°F. Line an 8×8-inch baking pan with parchment paper, leaving enough overhang on the sides. This isn’t just for easier cleanup—it’s a handy trick for lifting out your Ricotta Cannoli Squares later. Unroll half of the crescent roll dough and press it gently but firmly into the bottom of the pan. Pinch the seams closed to create one even layer. Bake this base for 8–10 minutes, until it’s lightly golden, then let it cool completely. That crisp, buttery platform makes such a difference!
Step 2: Whip Up the Creamy Ricotta Filling
While your crust cools, let’s get to the good stuff: the filling. In a mixing bowl, beat together the ricotta (be sure you’ve drained it if necessary), softened cream cheese, powdered sugar, vanilla extract, and orange zest if you’re using it. The goal is a silky, fluffy filling without any lumps, so don’t be shy about mixing well. Once that’s smooth, gently fold in the mini chocolate chips. You’ll see little flecks of chocolate dotting the creamy mixture—just like classic cannoli!
Step 3: Assemble and Add the Top Layer
Spread the ricotta filling over your cooled, baked crust, smoothing it into an even layer right to the edges. Next, unroll the remaining crescent dough and place it carefully over the ricotta layer. Gently press down and seal any seams so your bars bake up with a cohesive, golden top. It doesn’t have to be perfect—these Ricotta Cannoli Squares have homespun charm!
Step 4: Finish and Bake
Brush the top layer with melted butter, then sprinkle the granulated sugar and cinnamon evenly over the surface. That cinnamon-sugar crust bakes into something magical: crunchy, fragrant, and deeply satisfying. Pop the pan back in the oven for 18–20 minutes, until the top is beautifully golden brown.
Step 5: Cool and Chill
Once the squares are baked, let them cool completely at room temperature. This is key—if you try to slice too soon, your filling may ooze out. When cooled, transfer the pan to the refrigerator for at least 2 hours. This final chill helps everything set, making slicing and serving a breeze (and delivering those gorgeous, clean layers).
Step 6: Slice and Finish
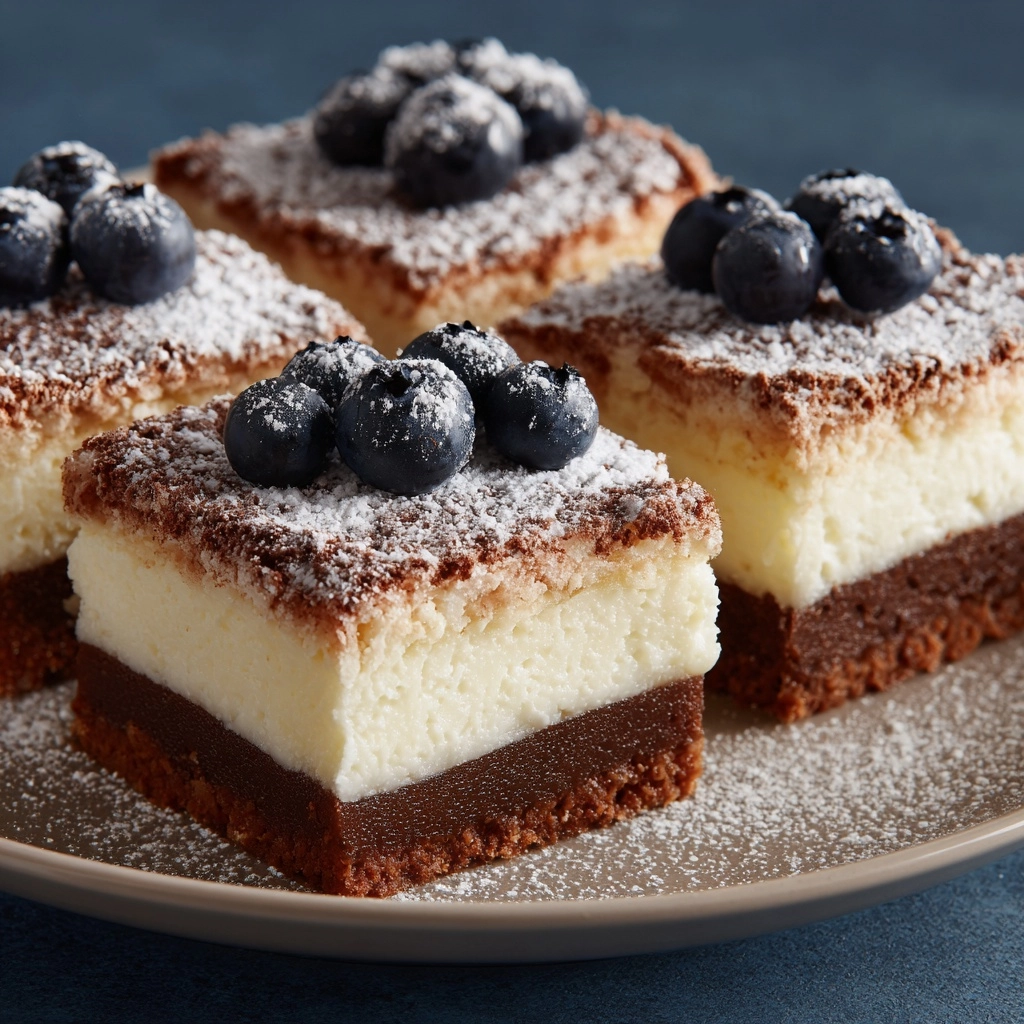
When you’re ready to serve, lift out the chilled bars using the parchment overhang. Slice into squares (typically 9 generous pieces), then dust lavishly with powdered sugar. Can you resist sneaking a bite? I never can! Your Ricotta Cannoli Squares are officially ready to steal the show.
How to Serve Ricotta Cannoli Squares
Garnishes
A finishing sprinkle of powdered sugar is the signature cannoli touch for these squares, but you can absolutely get creative. Try a grating of extra orange zest, a few more mini chocolate chips, or even some crushed pistachios for a little crunch and color. Fresh berries on the side also make for an eye-catching plate.
Side Dishes
Ricotta Cannoli Squares are rich and delicious on their own but pair beautifully with a few simple sides. Offer small cups of espresso or strong coffee to bring out the dessert’s Italian flair, or serve with a light fruit salad for balance. A scoop of vanilla gelato or even a splash of limoncello on the side can elevate the occasion to something truly special.
Creative Ways to Present
Don’t be shy about showing off your baking skills! Arrange your Ricotta Cannoli Squares on a long platter, alternating with fresh berries or candied orange slices. For a party, cut them into bite-sized cubes and serve with decorative toothpicks. Or go all out and pipe a little extra ricotta filling on top, garnished with a dusting of cinnamon for a bakery-worthy look.
Make Ahead and Storage
Storing Leftovers
Ricotta Cannoli Squares keep wonderfully if you have leftovers (though I’ll be surprised if you do!). Store them in an airtight container in the refrigerator for up to 4 days. Just be sure to separate any layers with parchment or wax paper to keep them from sticking together or absorbing fridge odors. The flavors only get better as they mingle!
Freezing
If you want to make a batch ahead, these squares are freezer-friendly. Simply wrap each square tightly in plastic wrap and place in a resealable freezer bag. They’ll keep well for up to 2 months. When you’re ready to enjoy, thaw overnight in the fridge, then dust with fresh powdered sugar before serving.
Reheating
You really don’t need to reheat Ricotta Cannoli Squares—they’re best served chilled or at room temperature to highlight that creamy filling and crisp top. If you prefer them slightly warmer, a quick 10 seconds in the microwave is plenty (just be cautious so the filling doesn’t melt out). Dust with powdered sugar after warming to maintain that classic finish.
FAQs
Can I use part-skim ricotta instead of whole milk?
You can, though whole milk ricotta gives the filling a much richer, creamier texture and authentic flavor. If you do use part-skim, be sure to drain it thoroughly to prevent the filling from becoming watery.
Is orange zest really necessary?
Orange zest is optional, but I think it adds an incredible burst of freshness that sets Ricotta Cannoli Squares apart. If you don’t have any on hand, they’re still delicious—just a touch less vibrant.
Can I make this recipe gluten-free?
Absolutely! Use your favorite gluten-free crescent roll dough or puff pastry substitute. Just make sure to check that all your ingredients (including powdered sugar and chocolate chips) are certified gluten-free for a safe treat.
What’s the best way to drain ricotta?
The easiest way is to scoop your ricotta into a fine mesh strainer or a cheesecloth-lined colander, set over a bowl. Let it sit in the refrigerator for at least an hour, or until you see most of the liquid has drained. This ensures the filling is creamy, not soggy!
Can I double this recipe for a party?
Yes! Just double all the ingredients and use a 9×13-inch pan instead of an 8×8. Baking times may increase by a few minutes, so keep an eye on it and check for that beautifully golden top. It’s perfect for feeding a crowd.
Final Thoughts
Give yourself (and your loved ones) the gift of Ricotta Cannoli Squares—you’ll be amazed at how much joy these little slices of heaven bring. With their playful twist on tradition and effortless prep, this recipe is one you’ll want to keep in rotation for every sweet occasion. Buon appetito!

