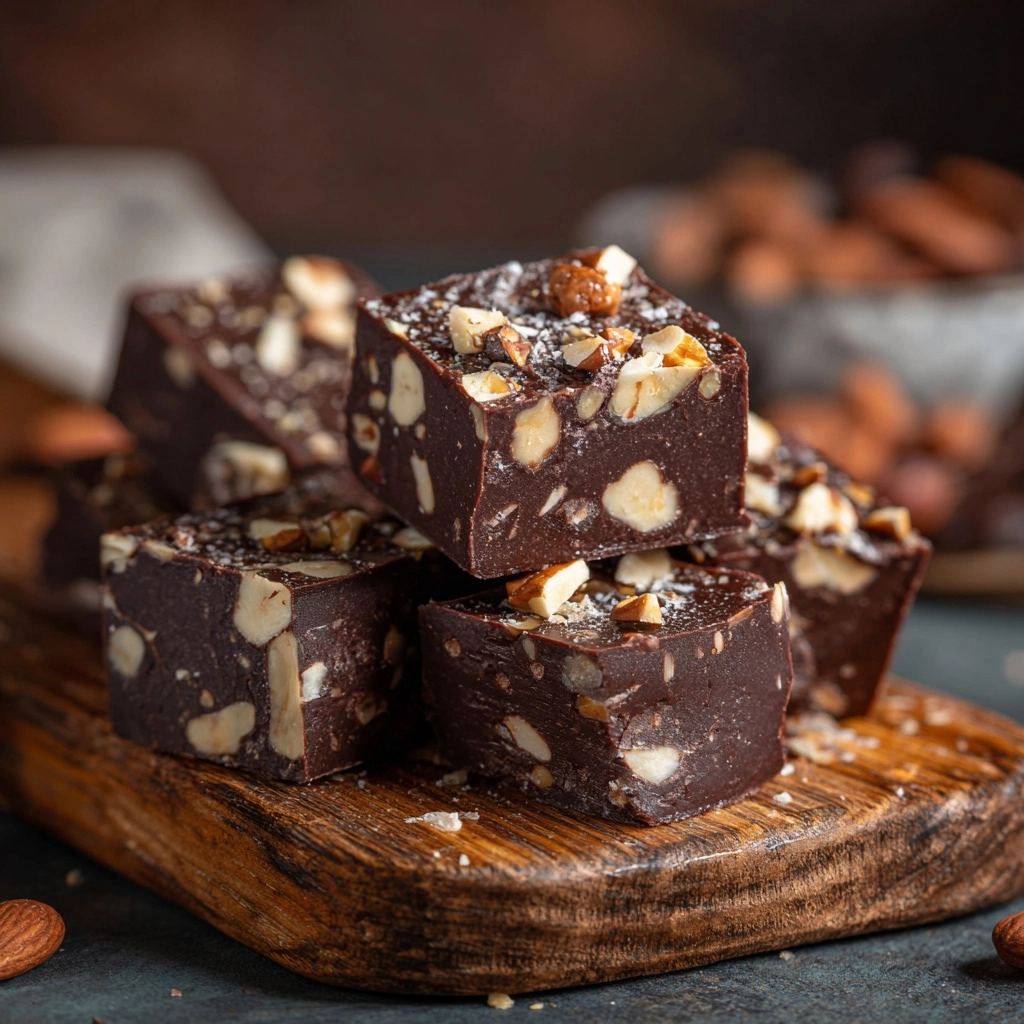
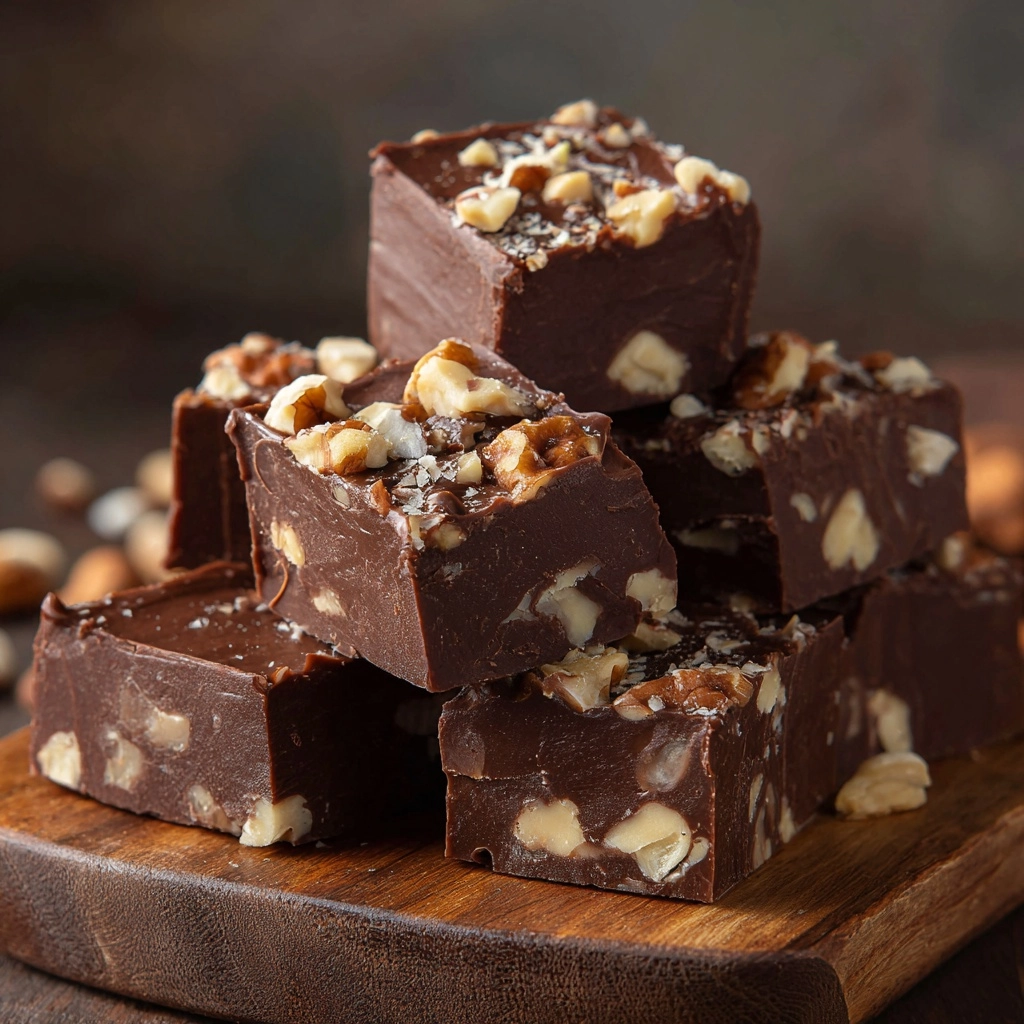
There’s just something magical about Old Fashioned Fudge that stirs up warm memories and instantly brings a smile to your face. With its rich, creamy texture and deep chocolatey flavor, this timeless treat is pure nostalgia in every bite. Crafted from simple ingredients and requiring just a touch of patience, this homemade wonder is a true crowd-pleaser for holiday gatherings, birthday parties, and cozy afternoons alike. If you’re searching for the perfect melt-in-your-mouth fudge, you’re in the right place!
Ingredients You’ll Need
The beauty of Old Fashioned Fudge lies in its simplicity—each ingredient is essential for achieving that classic, dreamy texture and flavor everyone loves. Here’s what you’ll need, plus a few helpful tips to make every bite spectacular.
- Granulated Sugar: The foundation for sweetness and smoothness; don’t be tempted to reduce it, as it’s crucial for texture.
- Unsalted Butter: Brings richness and a silky mouthfeel; using unsalted lets you control the overall taste.
- Evaporated Milk: Adds creaminess without excess moisture, ensuring the fudge sets perfectly.
- Semi-Sweet Chocolate Chips: Delivers a deep chocolate punch—feel free to swap in dark or milk if you prefer!
- Marshmallow Creme: The secret weapon for that smooth, airy consistency that melts in your mouth.
- Vanilla Extract: Rounds out the chocolate flavor with a hint of warmth and depth.
- Chopped Nuts (Optional): For an added crunch and nutty flair—walnuts or pecans are classic choices.
How to Make Old Fashioned Fudge
Step 1: Prepare Your Pan
Start by lining a 9×13-inch baking dish with parchment paper, letting the edges hang over for easy lifting later. Lightly grease the paper for extra nonstick insurance. This sets you up for easy unmolding—and picture-perfect fudge squares.
Step 2: Combine Sugar, Butter, and Evaporated Milk
In a heavy saucepan, combine the granulated sugar, unsalted butter, and evaporated milk. Use medium heat here—patience is your friend—while continuously stirring to prevent any sugar from sticking or burning at the bottom. This mixture is the backbone of your Old Fashioned Fudge, so treat it with care!
Step 3: Bring to a Rolling Boil
Keep stirring as your mixture heats up. Once it reaches a robust rolling boil (bubbles should pop quickly and continuously), keep it going for 4 to 5 minutes. It’s essential to use a candy thermometer and aim for 234°F to 240°F—the soft-ball stage—for that perfect set. Overcooking can lead to graininess, so keep a close eye.
Step 4: Add the Chocolate Chips
Quickly remove your pan from the heat, then stir in all the chocolate chips. They’ll melt almost instantly, turning your mixture glossy and deeply chocolaty. Stir until no streaks remain—for the best Old Fashioned Fudge, smoothness is key!
Step 5: Fold in Marshmallow Creme and Vanilla
Next, add all the marshmallow creme and vanilla extract. Again, beat or stir until your fudge is completely combined and creamy. The marshmallow creme transforms texture, ensuring each square is lusciously soft.
Step 6: Add the Nuts (If Using), Then Pour and Spread
If you’re including chopped nuts, quickly and gently fold them into the mixture. Immediately pour the fudge into your prepared pan and spread it evenly with a spatula. Work fast—the fudge sets as it cools, so now’s your moment for swift, confident action!
Step 7: Cool and Cut Into Squares
Let your fudge rest at room temperature for 2 to 3 hours until fully set. No peeking! Once firm, use the parchment to lift the fudge from the pan and cut into 36 bite-sized squares. Now, enjoy the fruits of your labor—classic comfort in every bite.
How to Serve Old Fashioned Fudge

Garnishes
For a beautiful finishing touch, try sprinkling a pinch of flaky sea salt, powdered sugar, or chocolate shavings over the top of your Old Fashioned Fudge. If you skipped the nuts inside, a few on top makes for an elegant, crunchy finish. Kids will love festive sprinkles for holidays!
Side Dishes
Pair your fudge squares with a scoop of vanilla ice cream, a mug of hot coffee, or a tall glass of cold milk. If you’re serving a dessert platter, fudge teams perfectly with fruit (sliced strawberries, orange segments) and crisp cookies for textural contrast.
Creative Ways to Present
Wrap each fudge square in wax paper for an old-school candy shop vibe, or box them up with a ribbon for unforgettable homemade gifts. For parties, arrange the fudge on colorful trays, stacked in pyramids, or even tuck a square on each guest’s dessert plate for a decadent surprise.
Make Ahead and Storage
Storing Leftovers
Old Fashioned Fudge keeps beautifully at room temperature in an airtight container for up to a week. For best texture, layer squares with parchment paper to prevent sticking and keep in a cool, dry place out of direct sunlight.
Freezing
Want to save some for later? Fudge freezes well! Wrap squares tightly in plastic wrap, pop in a zip-top bag or freezer-safe container, and freeze for up to three months. Thaw overnight in the fridge and let come to room temp before serving.
Reheating
If you like your Old Fashioned Fudge just a touch gooey, microwave individual squares for 5–8 seconds—just until lightly warmed. Careful not to overdo it, as fudge can melt quickly!
FAQs
Why did my fudge turn out grainy?
This usually happens if the sugar mixture was overcooked or not stirred constantly. Always use a candy thermometer and don’t let the mixture get hotter than the soft-ball stage for the smoothest Old Fashioned Fudge.
Can I make Old Fashioned Fudge without nuts?
Absolutely! The nuts add crunch and flavor, but the fudge is just as delightful without them. You can customize with your favorite mix-ins or skip them altogether.
How can I tell when the fudge is set?
Your fudge is ready when it’s firm to the touch and easily pulls away from the edges of the pan. Typically, this takes two to three hours at room temperature. Avoid refrigerating to speed up the process, as this can affect texture.
Is it possible to use other types of chocolate?
Definitely! Swap the semi-sweet chocolate chips for milk or dark chocolate chips to suit your taste. Every version yields a slightly different but equally delicious Old Fashioned Fudge.
Can I double this recipe?
You sure can! Just use a larger pan or make two separate batches to ensure even cooking. Be extra cautious with timing when boiling larger quantities, as this can affect how the fudge sets.
Final Thoughts
I hope you’re inspired to whip up a batch of Old Fashioned Fudge—because there’s nothing quite like sharing a platter of rich, creamy squares with family and friends. Try it once, and you might just start a delicious new tradition in your own kitchen!