
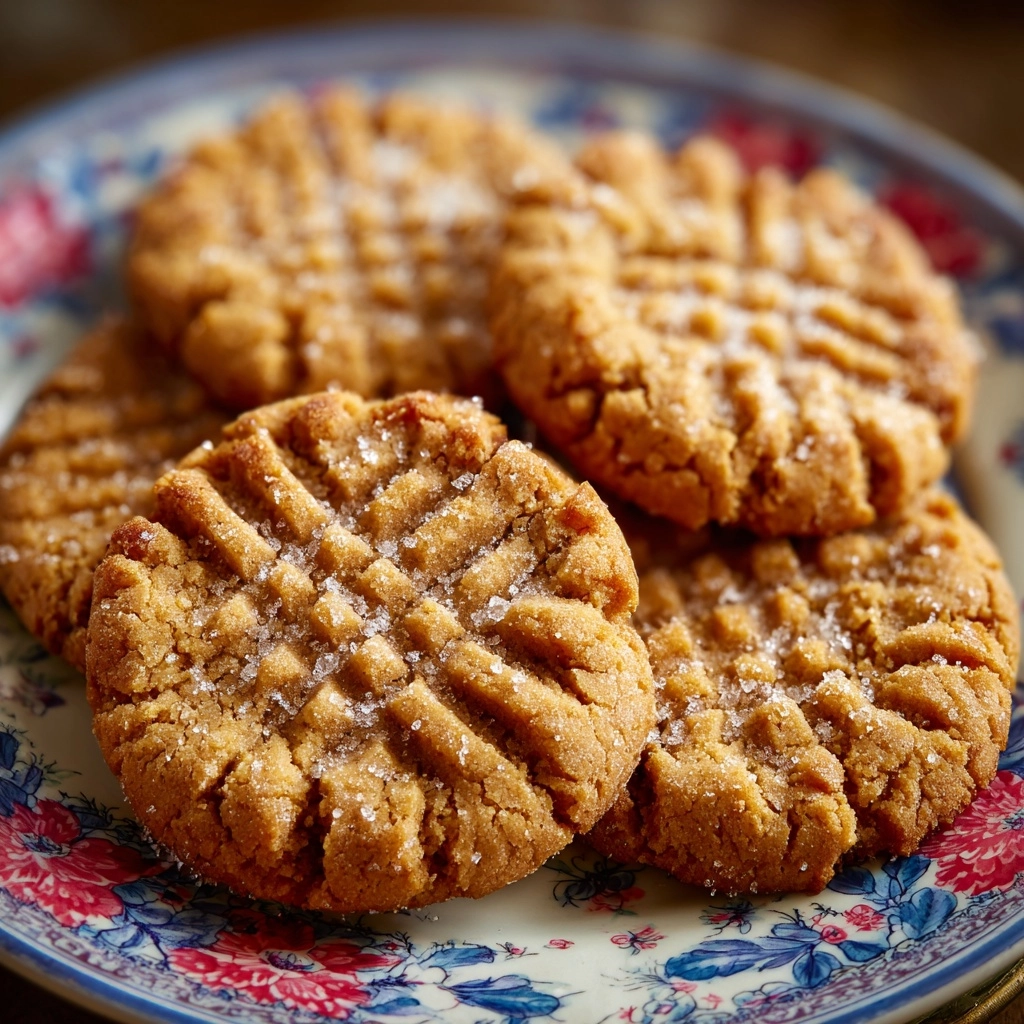
There’s just something magical about Jimmy Carter’s Grandmother’s Peanut Butter Cookies. With only a handful of pantry staples, this old-fashioned treat brings together the perfect balance of salty, sweet, and nutty flavors in every soft, chewy bite. Whether you’re a peanut butter fanatic or simply looking to bake up a batch of nostalgic, gluten-free cookies, this recipe is the kind you’ll want to share with family and friends—just like Grandma Carter did.
Ingredients You’ll Need
The beauty of these cookies lies in their simplicity. Each ingredient plays a crucial role, from the rich peanut butter to the hint of vanilla, creating a cookie that’s tender, flavorful, and delightfully easy to make.
- Peanut Butter: Go for smooth for classic texture, or use crunchy (or even toss in chopped peanuts) if you love extra bite and heartiness.
- Granulated Sugar: This sweetens the cookies and gives them a perfectly tender crumb—no brown sugar needed!
- Large Egg: Acts as a binder, holding everything together and adding a touch of moisture.
- Baking Soda: Just a teaspoon helps the cookies puff up and stay light, not dense.
- Vanilla Extract: It rounds out the flavors with warm, aromatic notes that make the peanut butter shine.
- Pinch of Salt: Essential for balancing the sweetness and enhancing the overall flavor.
How to Make Jimmy Carter’s Grandmother’s Peanut Butter Cookies
Step 1: Preheat the Oven and Prepare the Baking Sheet
Start by preheating your oven to 350°F (175°C) so it’s nice and hot when your cookies are ready to bake. Line a large baking sheet with parchment paper to keep the cookies from sticking and make cleanup a breeze.
Step 2: Mix the Peanut Butter and Sugar
In a medium bowl, combine the peanut butter and granulated sugar. Stir them together until the mixture looks smooth and creamy; this step ensures your cookies will have an even, melt-in-your-mouth texture.
Step 3: Add the Remaining Ingredients
Crack in the egg, then add the baking soda, vanilla extract, and that all-important pinch of salt. Stir until everything is fully incorporated and the dough is glossy and thick—no need for a mixer, just a sturdy spoon will do!
Step 4: Shape and Arrange the Dough
Scoop out tablespoon-sized portions of dough and roll them into balls with your hands. Place each ball on the prepared baking sheet, spacing them apart to allow for spreading as they bake.
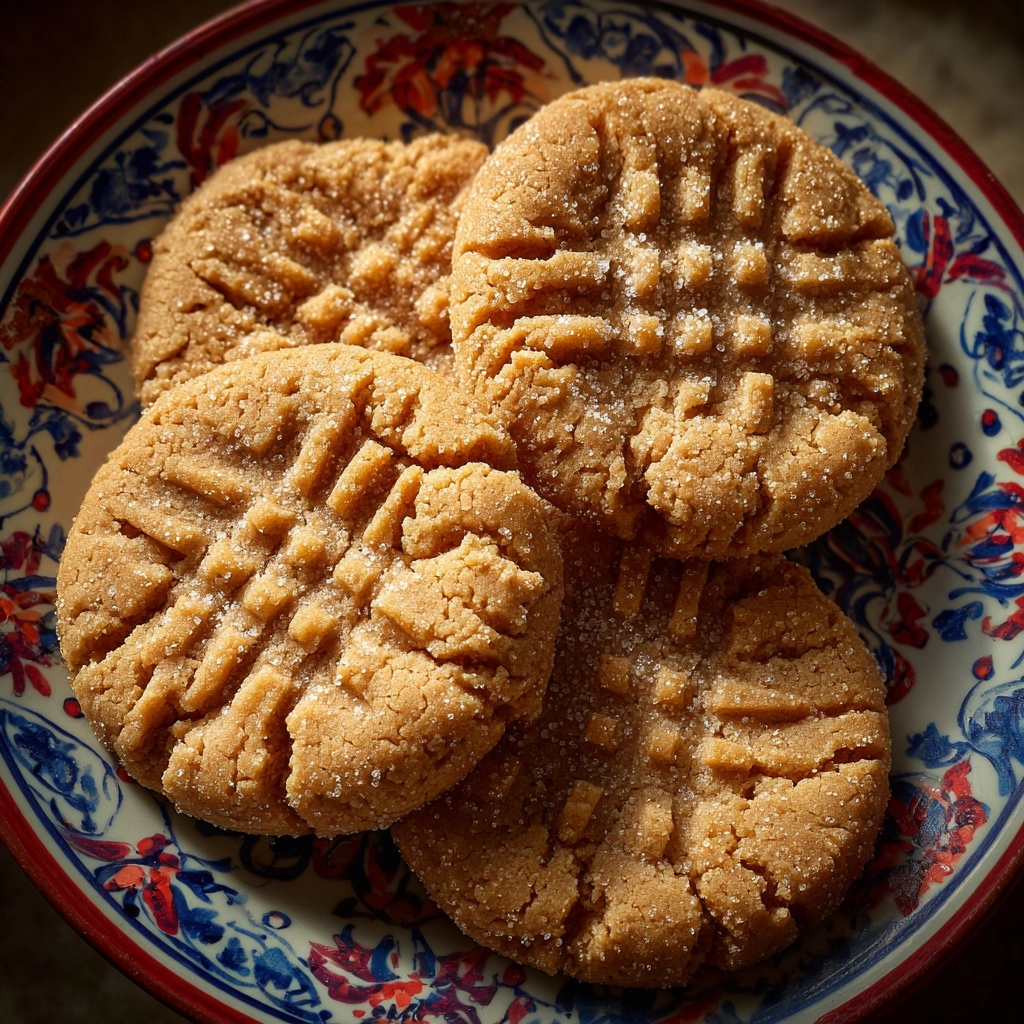
Step 5: Create the Iconic Crisscross Pattern
Using a fork, gently press down on each dough ball to flatten it slightly, then rotate the fork and press again to make that classic crisscross design. This not only looks charming but also helps the cookies bake evenly.
Step 6: Bake to Perfection
Bake the cookies for 8 to 10 minutes, or until the edges are just turning golden. The centers will still look a bit soft, but they’ll firm up as they cool. Resist the urge to overbake—soft and chewy is the goal here!
Step 7: Cool and Enjoy
Allow the cookies to cool on the baking sheet for about 5 minutes before carefully transferring them to a wire rack. This helps them set up and develop their irresistible texture. Once cool, dig in and enjoy Jimmy Carter’s Grandmother’s Peanut Butter Cookies at their finest.
How to Serve Jimmy Carter’s Grandmother’s Peanut Butter Cookies
Garnishes
For an extra-special touch, sprinkle a little flaky sea salt on top right after baking, or drizzle melted chocolate over the cooled cookies. Both options add a lovely contrast and elevate the humble peanut butter flavor.
Side Dishes
Pair these cookies with a cold glass of milk, a scoop of vanilla ice cream, or a mug of hot cocoa. They also make a nostalgic addition to any dessert tray, rounding out a spread of brownies, bars, and fruit.
Creative Ways to Present
Stack Jimmy Carter’s Grandmother’s Peanut Butter Cookies in a mason jar tied with ribbon for a heartwarming homemade gift. Or, sandwich a scoop of vanilla or chocolate ice cream between two cookies for the ultimate peanut butter ice cream sandwich!
Make Ahead and Storage
Storing Leftovers
Keep leftover cookies in an airtight container at room temperature for up to 5 days. They’ll stay soft and chewy, perfect for snacking any time the craving strikes.
Freezing
These cookies freeze beautifully. Place them in a single layer in a freezer-safe bag or container, separating layers with parchment paper. Freeze for up to 2 months—just thaw at room temperature when you’re ready for a treat.
Reheating
If you love warm cookies, pop a cookie in the microwave for 8 to 10 seconds. This quick zap brings back that fresh-from-the-oven softness and enhances the peanut butter aroma.
FAQs
Can I use natural peanut butter for this recipe?
Yes, you can use natural peanut butter, but make sure it’s well-stirred and not too oily or dry. The classic version of Jimmy Carter’s Grandmother’s Peanut Butter Cookies uses standard creamy or crunchy peanut butter for the best texture.
Are these cookies really gluten-free?
Absolutely! There’s no flour in this recipe, making Jimmy Carter’s Grandmother’s Peanut Butter Cookies naturally gluten-free. Just be sure to double-check your ingredients for cross-contamination if you’re baking for someone with celiac disease.
Can I double the recipe for a crowd?
Definitely. This recipe doubles (or even triples) beautifully, so you can make plenty of cookies for parties, bake sales, or holiday gift giving.
How do I keep the cookies from falling apart?
Let the cookies cool on the baking sheet for a few minutes before moving them to a wire rack. They firm up as they cool, making them easier to handle without crumbling.
What’s the best way to get the crisscross pattern?
Lightly dip your fork in sugar before pressing it into the dough. This keeps the fork from sticking and adds a sweet, crisp finish to the tops of Jimmy Carter’s Grandmother’s Peanut Butter Cookies.
Final Thoughts
If you’re looking for a timeless, foolproof treat that brings smiles to every table, you simply can’t go wrong with Jimmy Carter’s Grandmother’s Peanut Butter Cookies. Bake a batch, share them with loved ones, and savor the heartwarming taste of tradition—one delicious bite at a time.
Print
Jimmy Carter’s Grandmother’s Peanut Butter Cookies Recipe
- Prep Time: 10 minutes
- Cook Time: 10 minutes
- Total Time: 20 minutes
- Yield: 20 cookies
- Category: Dessert
- Method: Baking
- Cuisine: American
- Diet: Vegetarian
Description
Jimmy Carter’s Grandmother’s Peanut Butter Cookies are a classic, nostalgic treat featuring a perfect blend of creamy peanut butter and sweetness. These easy-to-make cookies are naturally gluten-free and offer a delightful soft yet slightly crisp texture with a charming crisscross pattern on top, making them a timeless dessert loved by all ages.
Ingredients
Dry Ingredients
- 1 cup peanut butter (smooth or crunchy)
- 1 cup granulated sugar
- 1 teaspoon baking soda
- Pinch of salt
Wet Ingredients
- 1 large egg
- 1 teaspoon vanilla extract
Instructions
- Preheat Oven and Prepare Baking Sheet: Preheat your oven to 350°F (175°C) and line a baking sheet with parchment paper to prevent sticking and ensure even baking.
- Mix Peanut Butter and Sugar: In a mixing bowl, combine the peanut butter and sugar. Stir until the mixture is smooth and well blended, forming the base of your cookie dough.
- Add Remaining Ingredients: Incorporate the egg, baking soda, vanilla extract, and a pinch of salt into the peanut butter mixture. Mix thoroughly until the dough is fully combined and slightly thickened.
- Shape Cookies: Scoop tablespoon-sized portions of dough and roll each into a ball. Arrange them on the prepared baking sheet, leaving enough space between each cookie for spreading during baking.
- Create Crisscross Pattern: Using a fork, gently flatten each ball and press down to create the traditional crisscross pattern on the top of each cookie.
- Bake: Place the baking sheet in the oven and bake the cookies for 8 to 10 minutes or until the edges turn golden brown, indicating perfect doneness.
- Cool: Allow the cookies to cool on the baking sheet for about 5 minutes. Then transfer them to a wire rack to cool completely before serving to ensure they set properly and maintain texture.
Notes
- For extra texture, use crunchy peanut butter or stir in a handful of chopped peanuts.
- These cookies are naturally gluten-free, but always verify ingredient labels if you require strict gluten-free compliance.
Nutrition
- Serving Size: 1 cookie
- Calories: 120
- Sugar: 10g
- Sodium: 90mg
- Fat: 7g
- Saturated Fat: 1.5g
- Unsaturated Fat: 5g
- Trans Fat: 0g
- Carbohydrates: 11g
- Fiber: 1g
- Protein: 3g
- Cholesterol: 10mg

