
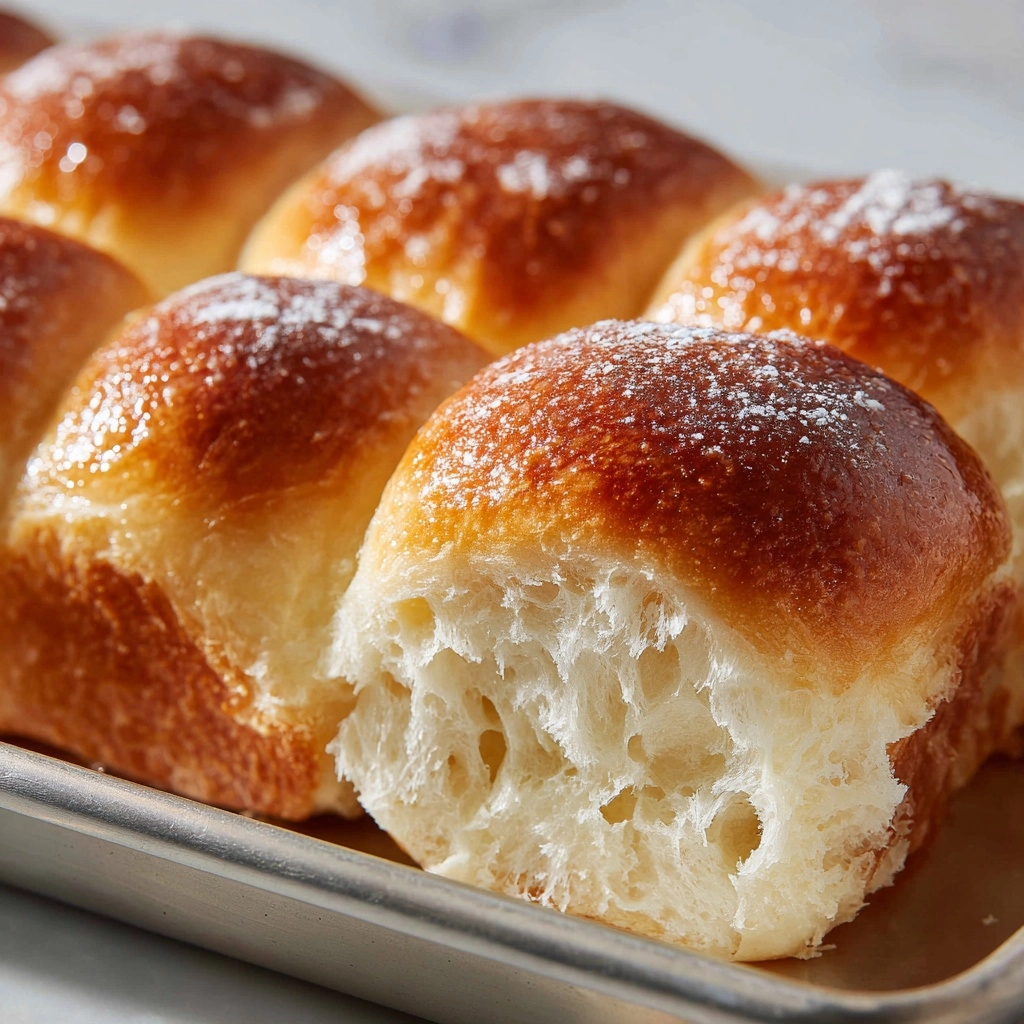
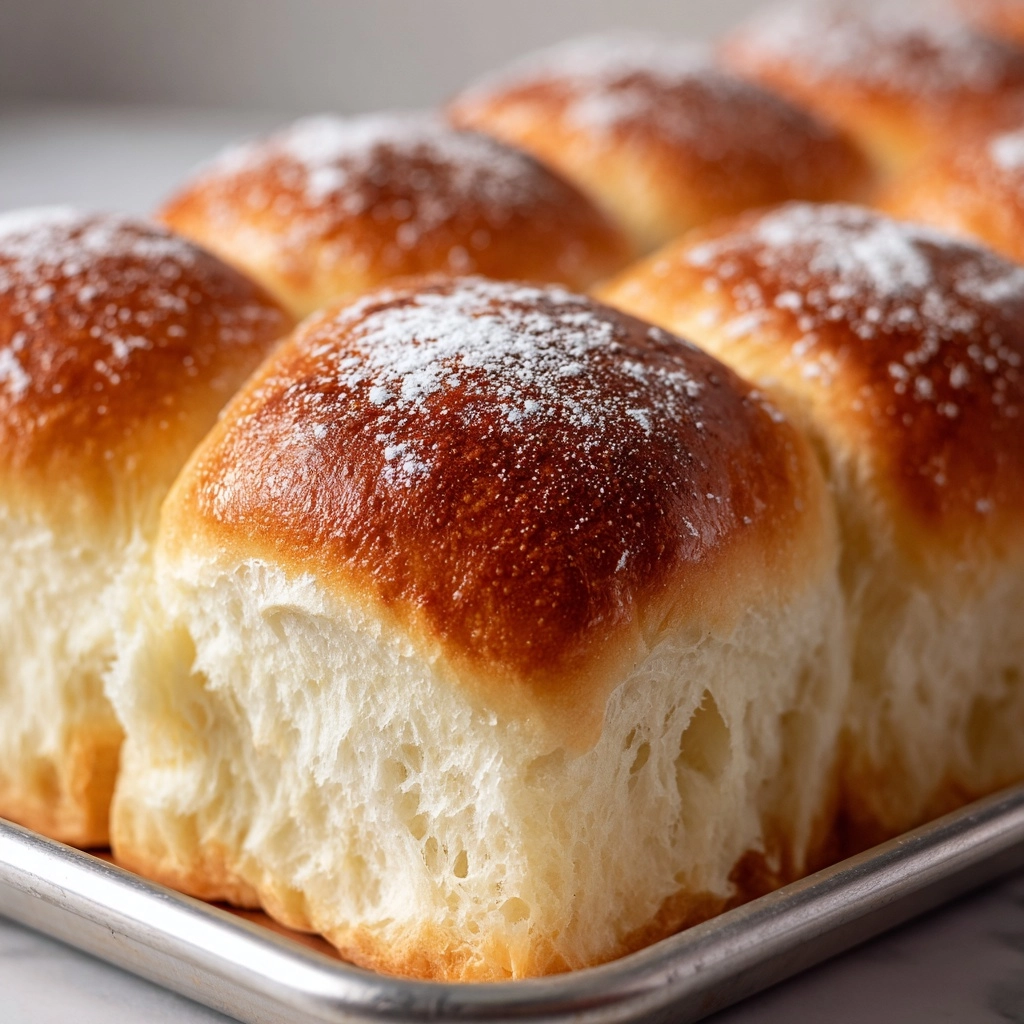
If you’re looking for the ultimate comfort food, this Homemade White Bread is about to become your new favorite kitchen project. There’s just something magical about transforming simple pantry staples into a pillowy, golden loaf that fills your house with the most inviting aroma. This classic recipe yields a soft, tender crumb with a lightly chewy crust—perfect for everything from your morning toast to the most satisfying sandwiches. Whether you’re a bread-baking beginner or a seasoned pro, the step-by-step process makes it wonderfully approachable, and the results are absolutely irresistible. Let’s dive in and discover the joys of Homemade White Bread together!
Ingredients You’ll Need
Making Homemade White Bread requires only a handful of essential ingredients, but each one plays a special role in achieving that classic taste and texture. It’s all about balance: softness, flavor, and that irresistible golden hue.
- Warm water (1 cup, 110°F): The perfect temperature to wake up your yeast without killing it; think soothing bath, not hot tub!
- Granulated sugar (2 tablespoons): Just enough sweetness to help the yeast thrive and give subtle flavor to the finished loaf.
- Active dry yeast (2 1/4 teaspoons, 1 packet): The powerhouse behind that gorgeous rise and soft, airy crumb.
- Vegetable oil (2 tablespoons): Adds moisture and tenderness, giving the bread its lovely, sliceable texture.
- Salt (1 1/2 teaspoons): Essential for flavor; it balances the sweetness and brings out the best in every bite.
- All-purpose flour (3 cups, plus more as needed): The foundation of our loaf, providing structure while keeping things light and fluffy.
- Butter for brushing (optional): Brushing the crust with butter after baking makes it extra soft and adds a hint of rich flavor.
How to Make Homemade White Bread
Step 1: Activate the Yeast
Begin by combining the warm water and sugar in a large mixing bowl. Sprinkle the active dry yeast over the top, then let it sit undisturbed for 5 to 10 minutes. You’ll know it’s ready when it turns foamy and fragrant—this means your yeast is alive and ready to work its magic!
Step 2: Add Oil and Salt
Stir in the vegetable oil and salt, making sure everything is well blended. This is where the bread starts to develop its subtle flavor, and the oil helps keep the crumb tender.
Step 3: Incorporate the Flour
Gradually add the flour, one cup at a time, mixing as you go. As the dough comes together, you’ll notice it becoming smooth and slightly sticky. If it feels too wet, sprinkle in a little extra flour until you have a soft, workable dough.
Step 4: Knead the Dough
Turn the dough onto a lightly floured surface and knead it for about 8 to 10 minutes. This hands-on step is both fun and essential—the kneading develops gluten, giving Homemade White Bread its signature chew and structure. The dough should become smooth, elastic, and slightly tacky.
Step 5: First Rise
Place your kneaded dough into a greased bowl, cover it with a towel or plastic wrap, and set it somewhere warm. Let it rise for about an hour, or until it has doubled in size. Watching the dough puff up is always a little bit magical!
Step 6: Shape and Second Rise
Punch down the risen dough to release excess air, then shape it into a loaf. Tuck the edges under for a smooth top and nestle it into a greased 9×5-inch loaf pan. Cover again and let it rise for another 30 to 40 minutes, just until it peaks above the rim of the pan.
Step 7: Bake to Golden Perfection
Preheat your oven to 375°F (190°C). Bake the loaf for 25 to 30 minutes, or until the top turns a gorgeous golden brown and the bread sounds hollow when tapped. This is when your kitchen will smell absolutely heavenly!
Step 8: Finish and Cool
If you love a soft, flavorful crust, brush the hot loaf with melted butter as soon as it comes out of the oven. Let the bread cool completely on a wire rack before slicing—this patience pays off with perfect slices every time.
How to Serve Homemade White Bread
Garnishes
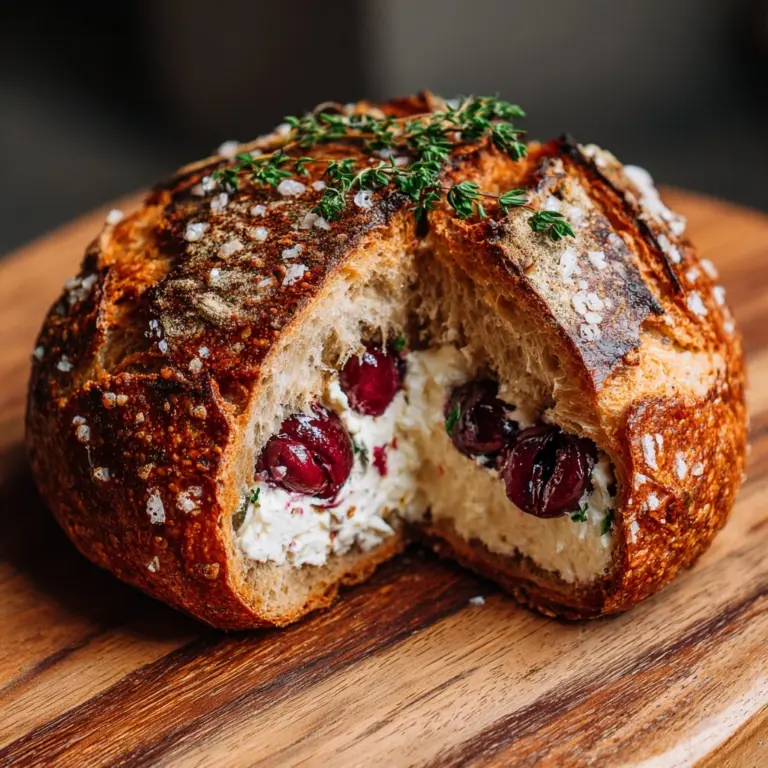
A simple swipe of butter is pure bliss, but don’t stop there! Try a sprinkle of flaky sea salt, a drizzle of honey, or a slather of your favorite fruit jam for a breakfast treat. For savory vibes, a little garlic butter or herbed cream cheese turns each slice into something special.
Side Dishes
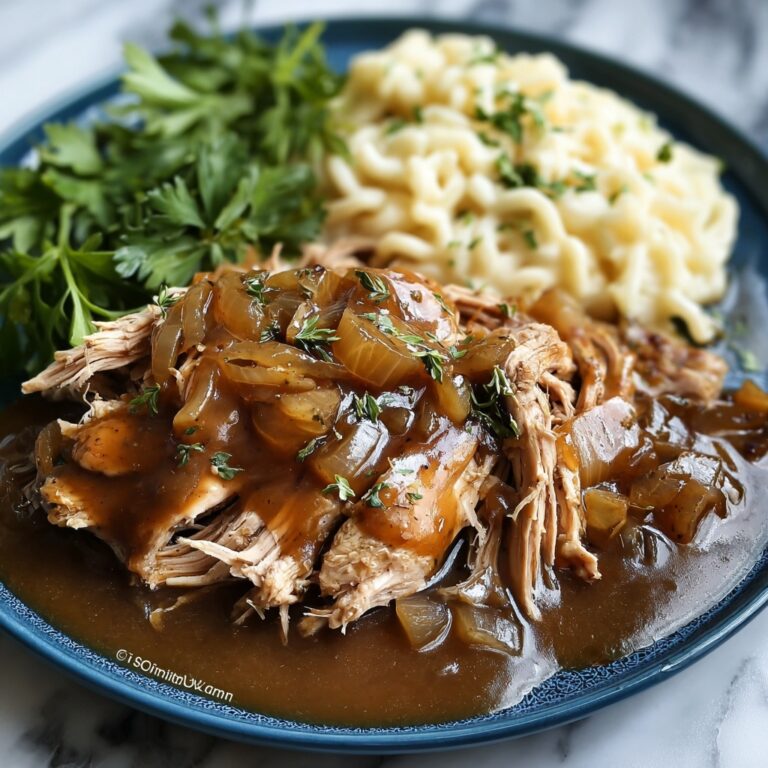
Homemade White Bread shines alongside a cozy bowl of soup or a crisp salad. It’s the perfect partner for hearty stews, classic tomato soup, or even just a humble pat of butter on the side of your dinner plate. And of course, it makes a stellar base for sandwiches of all kinds.
Creative Ways to Present
Transform slices into gourmet grilled cheese, cut thick cubes for homemade croutons, or use slightly stale pieces for the best French toast you’ve ever had. Serve a basket of warm slices at brunch or turn the loaf into adorable mini sandwiches for a party spread.
Make Ahead and Storage
Storing Leftovers
Once your Homemade White Bread has cooled completely, store it in an airtight container or a bread box at room temperature. It will stay soft and delicious for up to 3 days—just keep it out of the fridge to avoid drying out.
Freezing
This bread freezes beautifully! Slice the loaf and wrap individual pieces or the whole loaf tightly in plastic wrap, then place in a freezer bag. It’ll keep its fresh flavor for up to 3 months. Just thaw slices at room temperature or pop them straight into the toaster.
Reheating
To bring back that just-baked warmth, toast slices in a toaster or warm them in a 300°F oven for 5 to 10 minutes. If you love a soft crust, wrap the bread in foil before reheating in the oven—this helps retain moisture and keeps the bread tender.
FAQs
Can I use bread flour instead of all-purpose flour?
Absolutely! Bread flour will give your Homemade White Bread a slightly chewier texture, thanks to its higher protein content. It’s a fantastic swap if you prefer a bit more bite to your loaf.
Why didn’t my bread rise properly?
Dough that doesn’t rise is usually caused by old yeast or water that was too hot or too cold. Make sure your yeast is fresh and your water is warm (about 110°F) to give the yeast the best environment to work its magic.
Can I double this recipe?
Yes, you can easily double the ingredients to make two loaves—just make sure you have two loaf pans ready. Homemade White Bread is always a welcome gift for friends and neighbors!
How do I know when the bread is done baking?
A golden brown top and a hollow sound when you tap the loaf are your best indicators. For extra assurance, an instant-read thermometer inserted into the center should read about 190°F.
Is it okay to let the bread dough rise overnight?
You can absolutely let the dough rise in the fridge overnight for the first rise. This slow fermentation can add depth of flavor to your Homemade White Bread and is a great option if you want fresh bread the next morning.
Final Thoughts
There’s nothing quite as rewarding as pulling a loaf of Homemade White Bread from your own oven—it’s a simple joy that never gets old. Whether you enjoy it warm from the oven or as the foundation for a favorite sandwich, this recipe is sure to bring smiles to your table. Go ahead and give it a try; you’ll be amazed at how easy and delicious homemade bread can be!
Print
Homemade White Bread Recipe
- Prep Time: 15 minutes
- Cook Time: 30 minutes
- Total Time: 2 hours
- Yield: 1 loaf (about 12 slices)
- Category: Bread
- Method: Baking
- Cuisine: American
- Diet: Vegetarian
Description
This homemade white bread recipe yields a soft, classic sandwich loaf with a tender crumb and golden crust. Perfect for everyday sandwiches or toasting, it uses simple pantry ingredients and an easy-to-follow process for novice and experienced bakers alike.
Ingredients
Liquid Ingredients
- 1 cup warm water (110°F)
- 2 tablespoons vegetable oil
- Butter for brushing (optional)
Dry Ingredients
- 2 tablespoons granulated sugar
- 2 1/4 teaspoons active dry yeast (1 packet)
- 1 1/2 teaspoons salt
- 3 cups all-purpose flour (plus more as needed)
Instructions
- Activate Yeast: In a large mixing bowl, combine warm water and sugar, then sprinkle yeast on top. Let it sit for 5 to 10 minutes until foamy, indicating the yeast is active.
- Add Oils and Salt: Stir in the vegetable oil and salt to the yeasty mixture to incorporate flavor and moisture.
- Combine Flour: Gradually add the flour, one cup at a time, mixing with a spoon or your hands until a soft dough forms without being too sticky.
- Knead Dough: Turn the dough onto a lightly floured surface and knead for 8 to 10 minutes until smooth and elastic, helping develop gluten for good texture.
- First Rise: Place the dough in a greased bowl, cover with a towel or plastic wrap, and let it rise in a warm spot for about 1 hour until it doubles in size.
- Shape Bread: Punch down the risen dough to release air, shape it into a loaf, and place it in a greased 9×5-inch loaf pan.
- Second Rise: Cover and let the dough rise again for 30 to 40 minutes, until it rises just above the pan’s rim, ready for baking.
- Preheat Oven: Set your oven to 375°F (190°C) to prepare for baking.
- Bake: Bake the loaf for 25 to 30 minutes until the crust is golden brown and the bread sounds hollow when tapped.
- Cool and Finish: Remove from oven and, if desired, brush the top with melted butter for extra softness and flavor. Cool completely on a wire rack before slicing to ensure best texture.
Notes
- For a softer crust, cover the bread with a clean kitchen towel while cooling to retain moisture.
- This recipe can be doubled to make two loaves; simply double all ingredient quantities and use two loaf pans.
- Bread flour can be substituted for all-purpose flour to produce a chewier, more elastic texture.
Nutrition
- Serving Size: 1 slice
- Calories: 140
- Sugar: 2g
- Sodium: 190mg
- Fat: 3g
- Saturated Fat: 0.5g
- Unsaturated Fat: 2.5g
- Trans Fat: 0g
- Carbohydrates: 24g
- Fiber: 1g
- Protein: 3g
- Cholesterol: 0mg


