
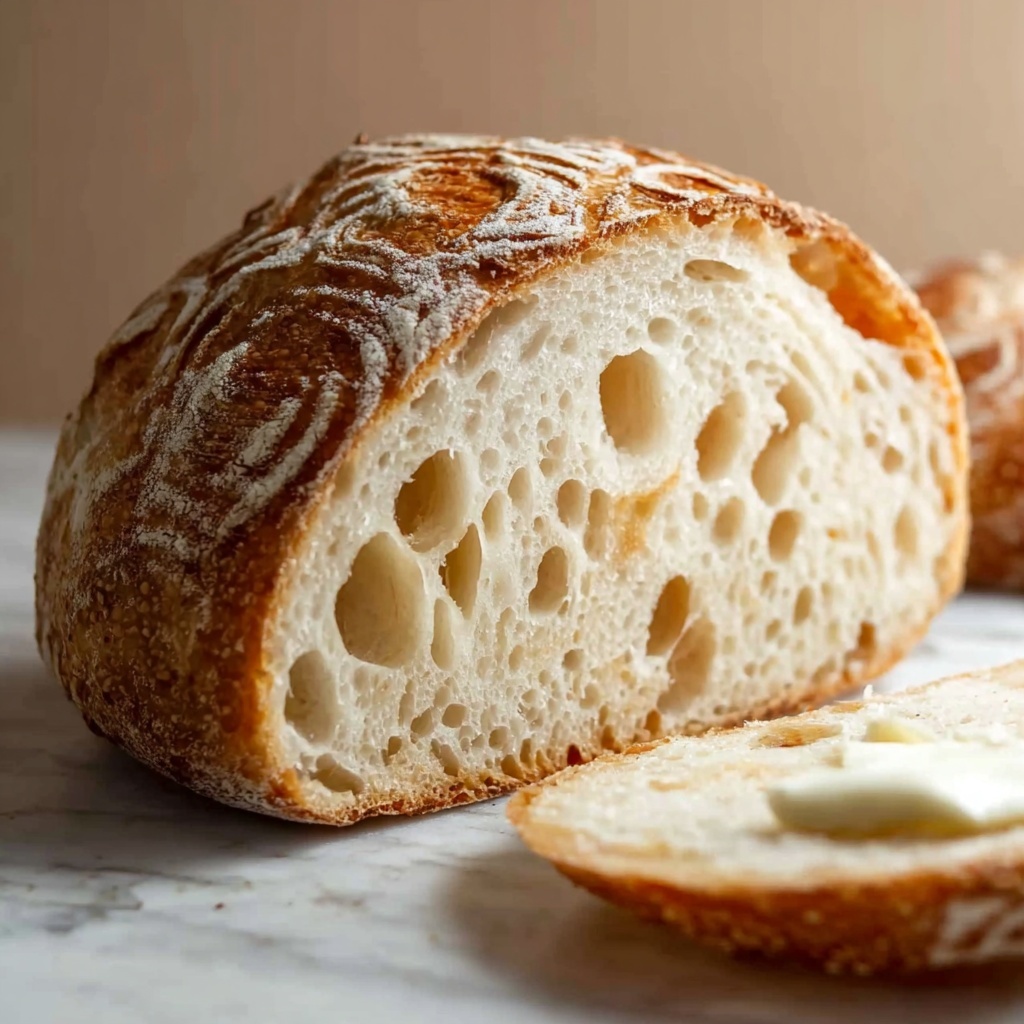
There is something incredibly rewarding about nurturing your own wild yeast culture right on your kitchen counter, transforming simple ingredients into the base for endless delicious loaves. This Homemade Sourdough Starter in 7 Days Recipe is the perfect journey for anyone eager to bake authentic sourdough bread with that signature tang and airy crumb. Over just one week, you’ll cultivate a lively starter that brings the magic of natural fermentation right to your fingertips, making every loaf uniquely yours.
Ingredients You’ll Need
The beauty of this recipe lies in its simplicity yet essential ingredients. Each component plays a crucial role, whether it’s jump-starting fermentation or influencing flavor and texture, making it accessible for anyone to master.
- Whole wheat flour: This flour jump-starts the fermentation by providing a rich source of natural yeasts and nutrients, perfect for day one.
- Unbleached all-purpose flour: Offers a balanced texture and flavor for feeding the starter after the initial days.
- Filtered water at room temperature: Using non-chlorinated water ensures the wild yeast and bacteria can thrive without harmful chemicals.
How to Make Homemade Sourdough Starter in 7 Days Recipe
Step 1: Begin Your Starter
On day one, in a clean glass jar, combine 1/2 cup of whole wheat flour and 1/4 cup of room temperature filtered water. Stir this mixture until there are no dry patches of flour left. Cover the jar loosely to allow airflow and let it rest at room temperature for 24 hours. This step introduces the natural yeasts and bacteria and gets the fermentation process underway.
Step 2: Feed and Discard
On day two, it’s time to feed your starter. Discard about half the mixture to keep the acidity in check and prevent overcrowding of yeast. Then add 1/2 cup flour (switch to unbleached all-purpose if you want a milder flavor) and 1/4 cup water. Stir well and cover loosely again. This feeding process is key for building a strong, lively culture.
Step 3: Repeat Daily Feeding
Continue the discard and feeding routine every day from day three through day five. Watch carefully for bubbles forming on the surface, which show the yeast is active and living. You’ll also start to notice a mild tangy scent developing—this is the hallmark aroma of a healthy sourdough starter.
Step 4: Assess Activity Between Days Five and Seven
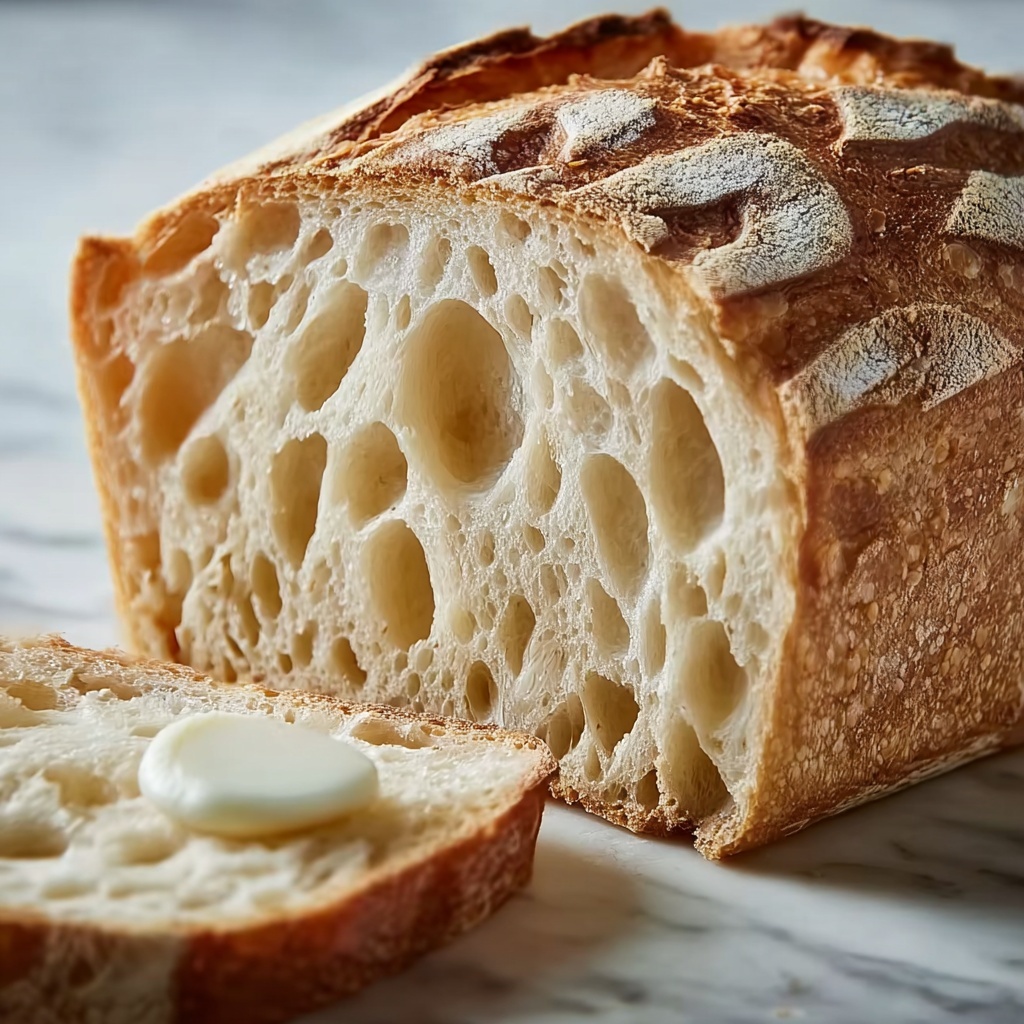
Between days five and seven, your starter should visibly double in size within 4 to 6 hours after feeding. At this point, it will have a pleasant sour smell that’s slightly sweet and tangy—exactly what you want to see. If it’s not quite there yet, don’t worry; some starters take a little longer to mature based on temperature and flour type.
Step 5: Maintenance Feeding
Once your starter is active and doubling reliably, maintain it by feeding daily if kept at room temperature. Alternatively, you can store it in the refrigerator and feed it once a week. This ensures your wild yeast stays happy and your starter remains ready to bake whenever you like.
How to Serve Homemade Sourdough Starter in 7 Days Recipe
Garnishes
While you don’t “serve” sourdough starter in the traditional sense, incorporating it into your baked goods adds that wonderful, tangy complexity. For an extra touch, try dusting your bread crust with a sprinkle of flour before baking or brushing it with olive oil after baking for a flavorful sheen.
Side Dishes
Sourdough bread crafted from your starter pairs beautifully with an array of dishes. It’s excellent alongside savory soups, creamy cheeses, fresh salads, or simply slathered with homemade jams and butters. The versatility makes every meal feel special.
Creative Ways to Present
Consider baking your sourdough into artisan-style boules, sandwich loaves, or crackers. You can even create sourdough waffles or pancakes using your starter for a tangy twist on breakfast classics. Sharing starter jars with friends also makes a lovely, personal gift for fellow bread lovers.
Make Ahead and Storage
Storing Leftovers
If you bake with your starter and have leftover portions, keep the remainder in a loosely covered jar at room temperature and feed it daily. This keeps the culture vibrant and ready to bake again soon. Feeding and discarding routinely prevents the starter from overgrowing or developing off flavors.
Freezing
You can freeze portions of your starter if you need to take a break from regular feeding. Just spoon it into a small airtight container and freeze. When ready to use again, thaw slowly in the refrigerator and revive by feeding a few times at room temperature until bubbly and active once more.
Reheating
Since sourdough starter is a living culture, reheating like you would food is not recommended. Instead, always feed it with fresh flour and water at room temperature to reactivate the yeast. This nurturing approach keeps your starter thriving for years to come.
FAQs
Can I use regular tap water for my sourdough starter?
It is best to use filtered or non-chlorinated water because chlorine in tap water can inhibit yeast activity, slowing down or even stopping fermentation.
What if my starter smells bad or has mold?
A healthy starter should smell pleasantly tangy and slightly yeasty. If there is a foul odor or visible mold, it’s safest to discard the starter and start anew, ensuring all utensils and jars are very clean.
How can I speed up the fermentation process?
Using whole wheat flour at the beginning and keeping your starter in a warm place around 70-75°F helps encourage yeast growth and speeds fermentation within the 7-day period.
Why do I need to discard part of the starter each day?
Discarding prevents a buildup of acidity and overcrowding of yeast, which can weaken the culture. It ensures your starter stays active, balanced, and ready to bake with.
Can I use gluten-free flour to make this starter?
Gluten-free flours generally do not support wild yeast fermentation the same way wheat flours do, so this recipe works best with whole wheat or unbleached all-purpose flour for reliable results.
Final Thoughts
Embarking on the journey to create your own Homemade Sourdough Starter in 7 Days Recipe is a rewarding adventure that connects you to centuries of baking tradition. With just a few simple ingredients and a little patience, you’ll unlock the door to endless baking possibilities, filling your home with the irresistible aroma of homemade bread. Dive in, and let your starter become the heart of your kitchen!
Print
Homemade Sourdough Starter in 7 Days Recipe
- Prep Time: 10 minutes
- Cook Time: 0 minutes
- Total Time: 7 days
- Yield: 1 active sourdough starter
- Category: Baking Basics
- Method: Fermentation
- Cuisine: Universal
- Diet: Vegan
Description
Learn how to create your own natural sourdough starter using simple ingredients like whole wheat or all-purpose flour and filtered water. This guide walks you through the daily feeding and fermentation process to cultivate a bubbly, tangy starter perfect for baking sourdough bread at home.
Ingredients
Starter Ingredients
- 1/2 cup whole wheat flour or unbleached all-purpose flour
- 1/4 cup filtered, room temperature water
Instructions
- Combine Ingredients: On day one, mix 1/2 cup of flour and 1/4 cup of filtered water in a clean glass jar, stirring until no dry flour remains. Loosely cover the jar and let it rest at room temperature for 24 hours.
- Discard and Feed: On day two, remove about half of the mixture from the jar. Add 1/2 cup flour and 1/4 cup water to the remaining starter, stirring well. Cover loosely and leave at room temperature.
- Repeat Feeding: Continue the discard and feeding process once every 24 hours from days three to five. Monitor for the development of bubbles and a mild tangy aroma indicating fermentation.
- Observe Activity: By days five to seven, your starter should double in size within 4 to 6 hours after feeding and give off a pleasant sour smell, signaling it is active and ready to use.
- Maintain Starter: After activation, feed your starter daily at room temperature or store it in the refrigerator and feed weekly to keep it healthy and ready for baking.
Notes
- Start with whole wheat flour to encourage robust fermentation, then switch to all-purpose flour if preferred.
- Always use non-chlorinated, filtered water to ensure the best fermentation results.
- Keep your starter loosely covered to allow airflow while preventing contaminants.


