
If you have ever dreamed of creating your own fresh cheese at home, then this Homemade Italian Ricotta Cheese Recipe is your golden ticket! Imagine the creamy, delicate texture and subtle sweetness of ricotta made entirely from scratch with simple, authentic ingredients. This recipe takes you through the fascinating transformation of raw milk into luscious ricotta, capturing the heart of traditional Italian cheesemaking in your very own kitchen. Preparing cheese yourself not only deepens your appreciation for artisan foods but also delivers a fresh, flavorful product that elevates any dish. Trust me, once you try this, you’ll never go back to store-bought ricotta again!
Ingredients You’ll Need
For this Homemade Italian Ricotta Cheese Recipe, you’ll be amazed at how just a handful of simple ingredients combine to create something truly special. Each one plays a vital role, whether it’s the milk’s freshness, the acid’s gentle curdling power, or the rennet’s magic touch to bring it all together.
- Raw unpasteurized cow or sheep’s milk: The lifeblood of your ricotta, its quality influences the final creaminess and flavor profoundly.
- Whey starter or white vinegar: Acts as the acid that begins curdling the milk, essential for that perfect ricotta texture.
- Organic calf rennet: This natural enzyme helps the milk set gently without bitterness, giving ricotta its classic softness.
- Demineralized water: Used to dissolve the powdered rennet, ensuring even distribution in the milk for flawless curd formation.
How to Make Homemade Italian Ricotta Cheese Recipe
Step 1: Filter the Milk
Begin your ricotta journey by pouring your raw milk through a fine strainer to remove any impurities. This step makes sure your ricotta will be silky smooth and free of any unwanted particles, setting the stage for pure deliciousness.
Step 2: Acidify and Warm the Milk
Add your whey starter or a splash of white vinegar to the milk. Gently mix and heat it to 40°C (104°F) on the stove. This gentle warming wakes up the milk molecules making them ready to separate and form those luscious curds in moments.
Step 3: Add the Rennet
Once your milk is at the perfect temperature, remove it from heat and stir in your calf rennet dissolved in demineralized water. Pour it slowly in a smooth circular motion as you stir very gently, coaxing the milk to coagulate beautifully without disrupting the delicate curds.
Step 4: Coagulate and Check
Let your mixture sit quietly and watch the transformation—curds will start forming slowly, thickening the milk into a soft gel. When ready, your finger should come away clean if you gently press the curds; this tells you it’s time for the next step.
Step 5: Cut and Rest the Curds
Using a knife, make an initial cut to separate the whey from the curds gently. Then continue slicing in long, smooth strokes across the pot. Leaving this to rest helps the curds firm up and release whey—fun fact, these curds can be reserved later to make mozzarella!
Step 6: Strain Through Cheesecloth
Transfer your mixture carefully into a cheesecloth-lined strainer over a second large pot, allowing the whey to drain naturally. This straining is key to concentrating the curds and setting up the final heating phase.
Step 7: Heat the Whey and Milk Again
Return the strained liquid to the stove. Slowly heat it to between 77-80°C (176°F). This boiling temperature is where the ricotta begins to form as tiny white curds surfacing in the pot—pure magic at work in your kitchen!
Step 8: Scoop and Drain the Ricotta
Once you see those lovely ricotta curds floating and firming up, turn off the heat. Use a slotted spoon to scoop your fresh ricotta into a container and allow any excess whey to drain away. This draining helps achieve the perfect creamy but not watery consistency.
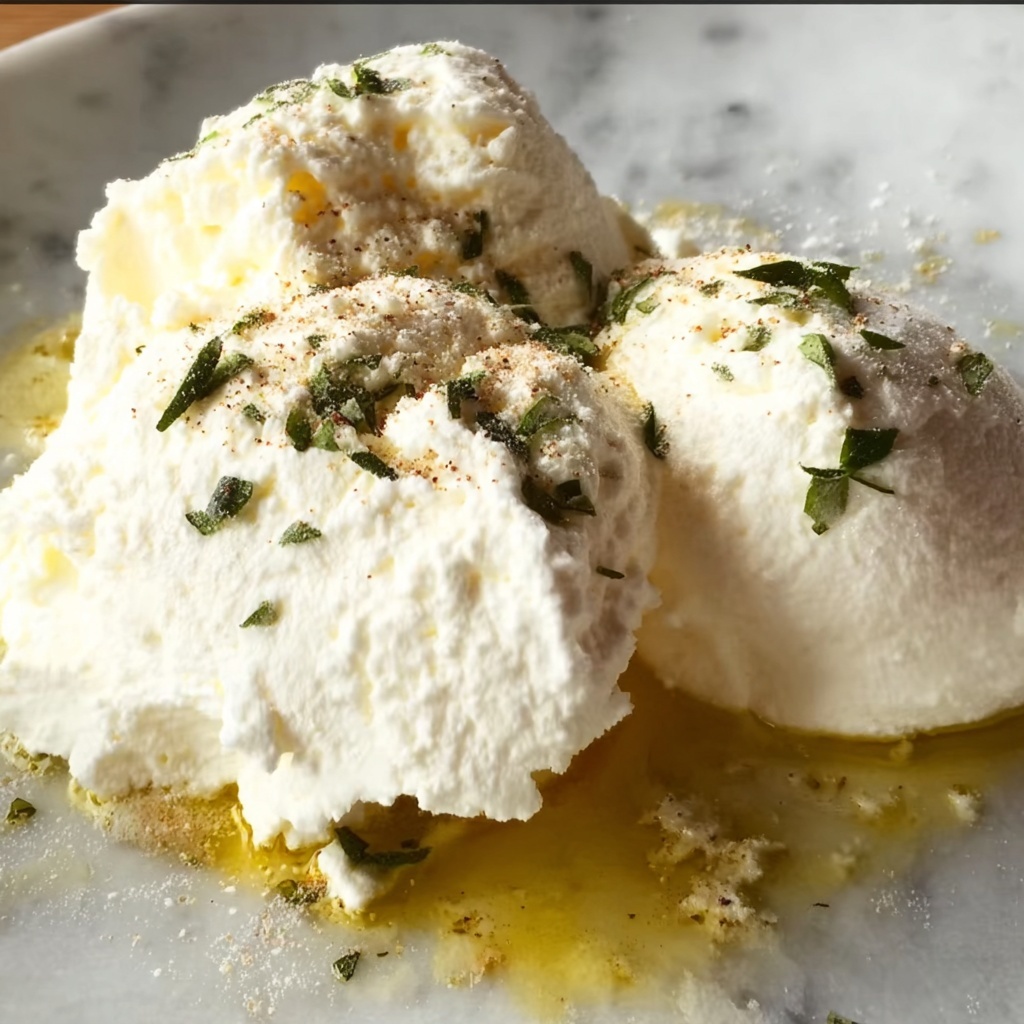
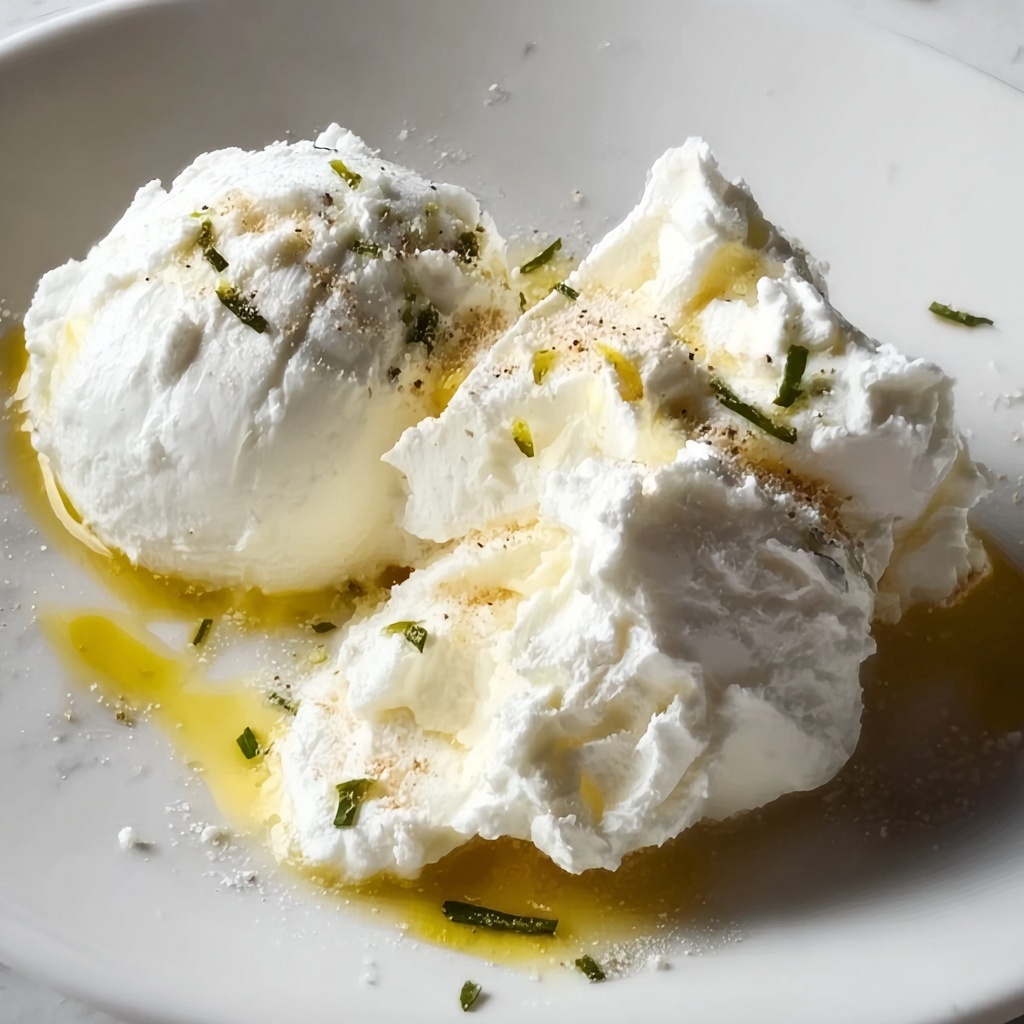
Step 9: Enjoy Fresh or Store
Your ricotta is now ready! You can savor it immediately—hot or cooled down—or store it for future recipes. There’s nothing quite like the flavor of homemade ricotta in your favorite dishes.
How to Serve Homemade Italian Ricotta Cheese Recipe
Garnishes
Fresh ricotta is a blank canvas and welcomes a variety of garnishes to enhance its mild creaminess. Think vibrant fresh herbs like basil or mint, a drizzle of golden olive oil, a sprinkle of flaky sea salt, or even a pinch of fresh black pepper to bring out its subtle nuances.
Side Dishes
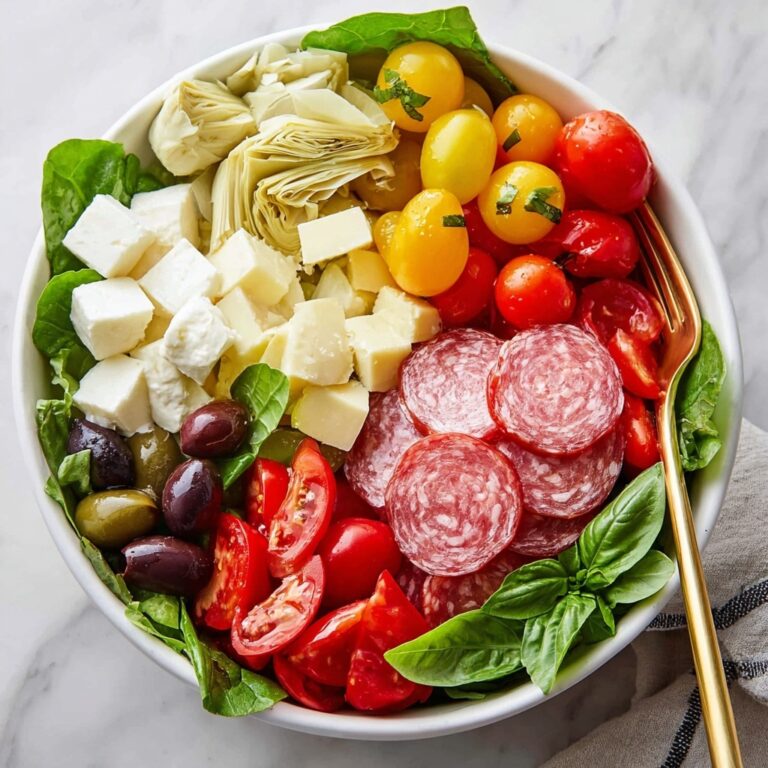
Pair your ricotta with crusty bread or toasted focaccia to enjoy it in its simplest form. It also shines alongside roasted vegetables or in a salad featuring ripe tomatoes and olives—classic Italian inspirations that complement ricotta’s gentle tang and richness perfectly.
Creative Ways to Present
Don’t hesitate to get creative! Swirl ricotta onto warm pasta, stuff it into ravioli, dollop it on pizza just before serving, or blend it with honey and lemon zest for a delightful dessert topping. This recipe invites you to explore endless delicious possibilities.
Make Ahead and Storage
Storing Leftovers
Fresh Homemade Italian Ricotta Cheese Recipe keeps best in an airtight container in the fridge for up to 3 days. Be sure to keep it cold and avoid contaminating it with other foods to maintain its creamy texture and fresh flavor.
Freezing
While ricotta can be frozen, it’s best enjoyed fresh. If you must freeze it, place it in a tightly sealed container and consume within one month. Note that freezing may slightly alter the texture, making it more crumbly, so it’s ideal for cooked recipes after thawing.
Reheating
When reheating ricotta, do so gently over low heat or incorporate it into hot dishes to avoid curdling or drying out. Its luscious texture melts beautifully into sauces, soups, or baked dishes when treated with care.
FAQs
Can I use pasteurized milk instead of raw milk for this recipe?
Yes, you can use pasteurized milk if raw milk is unavailable. Just ensure the milk is fresh and high quality. The flavor may be slightly different but still delicious!
What if I don’t have whey starter; can I only use vinegar?
Vinegar is an excellent alternative to whey starter and works well to acidify the milk. You might notice a subtle difference in taste, but the texture will remain creamy and satisfying.
How important is the temperature when heating the milk?
Maintaining the correct temperatures at each step is crucial. Too hot or too cold, and the coagulation might not happen properly, affecting the curd formation and your ricotta yield.
Can I make this Homemade Italian Ricotta Cheese Recipe in smaller batches?
Absolutely! Just adjust the ingredient quantities proportionally. Smaller batches still require careful attention to temperature and timing to get the best results.
What can I do with leftover curds after making ricotta?
Leftover curds from the first cutting step are perfect for making mozzarella or other fresh cheeses. They’re a wonderful bonus to explore once you’ve mastered ricotta.
Final Thoughts
Embarking on this Homemade Italian Ricotta Cheese Recipe is like inviting a little piece of Italy into your kitchen. It’s rewarding, fun, and results in a fresh cheese that’s far beyond anything store-bought. Whether you’re a cheese lover or a curious cook, making your own ricotta opens doors to creative cooking and delicious meals. So grab your ingredients, get cozy at the stove, and enjoy the incredible satisfaction of crafting this timeless Italian classic all on your own!
Print
Homemade Italian Ricotta Cheese Recipe
- Prep Time: 60 minutes
- Cook Time: 20 minutes
- Total Time: 80 minutes
- Yield: 10 servings
- Category: Cheese Making
- Method: Stovetop
- Cuisine: Italian
Description
This Homemade Italian Ricotta Recipe guides you through the traditional process of making fresh, creamy ricotta cheese using raw unpasteurized milk, whey starter or vinegar, and calf rennet. Perfect for cheese lovers looking to craft authentic ricotta at home, this recipe requires patience and gentle handling to achieve the delicate curds that define quality ricotta.
Ingredients
Milk and Starter
- 20 liters raw unpasteurized cow or sheep’s milk
- Whey starter (or white vinegar, as an alternative)
Coagulating Agents
- Organic calf rennet (powdered)
- Demineralized water (for dissolving rennet)
Instructions
- Filter the Milk: Use a fine strainer to remove any impurities from the raw unpasteurized milk before beginning the cheesemaking process.
- Add Starter and Heat Milk: Add the whey starter or vinegar to the milk and gently mix. Then heat the milk to 40°C (104°F) in a large boiler pot over the stove, ensuring even temperature for optimal fermentation.
- Add Rennet: Remove the pot from heat and dissolve powdered calf rennet in demineralized water. Pour the rennet slowly in a circular motion over the milk while gently stirring in one direction, then stop the motion by stirring the opposite way.
- Coagulate the Milk: Allow the milk to coagulate undisturbed until the curds form. Test readiness by lightly touching the mixture—your finger should come back clean.
- Cut the Curd: Make the first cut to separate whey from the curd, then continue cutting in smooth strokes across the pot. Let it rest to facilitate further separation.
- Strain the Mixture: Pour the curds and whey into another boiler pot lined with a strainer and cheesecloth to separate the curds.
- Heat the Whey and Milk: Return the filtered liquid to the stove and heat gently to 77-80°C (176°F), essential for ricotta formation. Stir gently initially but allow it to come to the surface without mixing as it heats.
- Boil the Mixture: Continue to boil gently to tighten and harden the ricotta curds, signaling they are ready.
- Collect the Ricotta: Use a slotted spoon to scoop the ricotta into draining containers and allow excess liquid to drain into a tray below.
- Enjoy or Store: Serve your ricotta fresh, or incorporate it into your favorite recipes. The cheese can be enjoyed hot or cold, or stored for later use.
Notes
- Using raw unpasteurized milk is traditional and essential for authentic flavor, but ensure it is from a trusted source to maintain safety.
- Whey starter promotes better flavor development; if unavailable, white vinegar can serve as a substitute.
- Maintain the correct temperatures precisely for successful coagulation and ricotta formation.
- The curds formed in step 7 can be reserved for making mozzarella if desired.
- Gentle stirring and careful handling help produce delicate curds that are key to creamy ricotta texture.


