
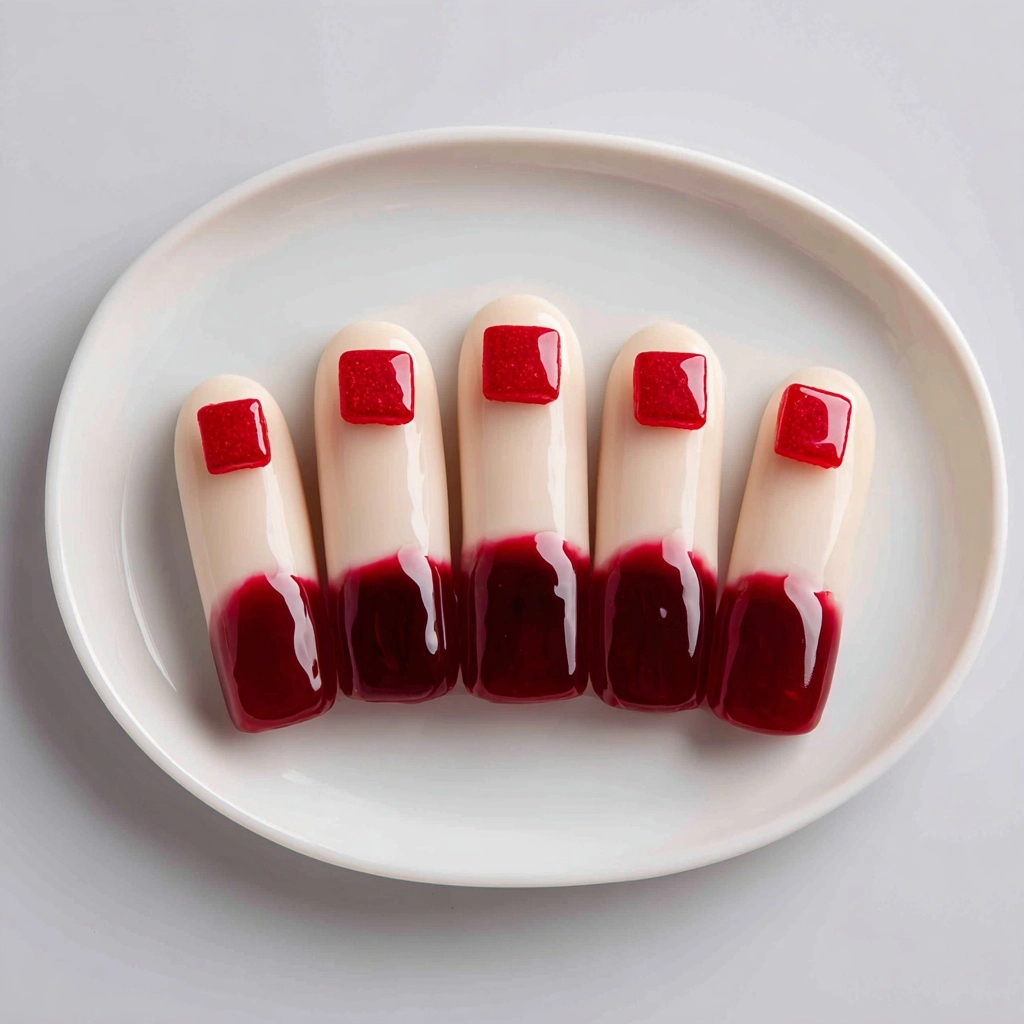
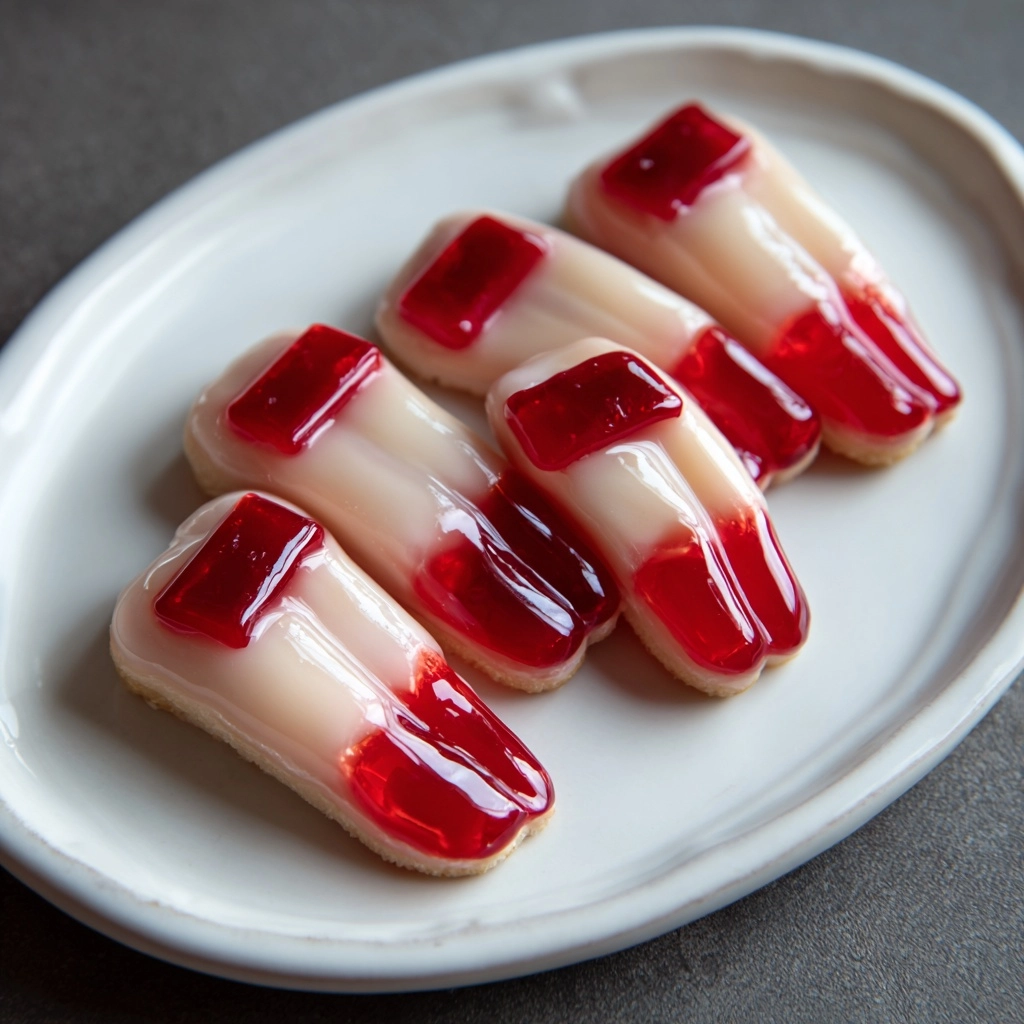
Get ready to steal the show at your next Halloween bash with this Halloween Zombie Fingers Recipe! Each “finger” combines flaky puff pastry, juicy cocktail sausages, and creepy almond “nails,” all brought together with a delightfully gory splash of ketchup for the ultimate fright-night snack. These devilishly delicious treats are surprisingly easy to make and deliver big on both flavor and spooky fun, making them a guaranteed hit with kids and adults alike.
Ingredients You’ll Need
-
Puff Pastry:
- 1 sheet puff pastry (thawed)
Cocktail Sausages:
- 10 cocktail sausages or mini hot dogs
Egg Wash:
- 1 egg (beaten)
Fingernails:
- 10 sliced almonds
Bloody Decoration:
- ketchup or red gel icing for “blood”
Optional Texture:
- 1 tablespoon sesame seeds
Additional:
- flour for dusting
How to Make Halloween Zombie Fingers Recipe
Step 1: Prep Your Baking Area
Start by preheating your oven to 400°F to ensure a crisp, golden finish. Lightly dust your work surface with flour—this step is key for preventing the puff pastry from sticking, so you can smoothly roll out your zombie fingers.
Step 2: Roll and Slice the Puff Pastry
Take the thawed puff pastry sheet and use a rolling pin to gently flatten and slightly thin it out. This helps create more realistic, knobbly “skin.” Next, slice the pastry into 10 uniform strips, each wide enough to completely wrap around your cocktail sausages.
Step 3: Wrap and Shape the Fingers
Wrap each sausage with one pastry strip, making sure to leave the ends exposed for a gruesome knuckle-effect. Don’t be afraid to play around with the dough—pinch and press along the length to mimic finger joints and knuckles, making them look extra terrifying!
Step 4: Add the Nails and Texture
Brush each wrapped finger with beaten egg for beautiful color. Gently press a sliced almond into the tip of each to imitate a sinister zombie fingernail. If you like a little extra texture, sprinkle with sesame seeds at this stage for bumpy, undead skin.
Step 5: Bake to Golden Perfection
Place your assembled fingers on a parchment-lined baking sheet, spacing them out so they bake evenly. Bake for 15 to 18 minutes, or until the pastry is puffed up and gloriously golden brown. Remove from oven and let them cool just enough to handle.
Step 6: Finish with Bloody Details
For that final spine-chilling touch, squirt or dab ketchup (or red gel icing) around the almond nails and at the base of each finger. The effect is deliciously gruesome and absolutely perfect for your Halloween Zombie Fingers Recipe.
How to Serve Halloween Zombie Fingers Recipe
Garnishes
Amp up the horror factor by drizzling extra ketchup on your serving platter, or dot the “nail beds” with even more bloody sauce. Want a little green slime? Swirl some prepared guacamole or herby ranch dip for a creepy, colorful contrast. Edible googly eyes are a whimsical (and hilarious) bonus.
Side Dishes
Halloween Zombie Fingers Recipe goes great with bowls of crunchy veggie sticks, cheesy “witches’ broomsticks,” or a big pot of bubbling chili for heartier appetites. Even a spooky green punch or apple cider makes a fitting drink match for these savory snacks.
Creative Ways to Present
Pile your fingers high on a slate or dark platter to really make those gory details pop. Try arranging them sticking out of a mound of “dirt” (use crushed crackers or cookie crumbs) or display them standing upright in a bed of shredded lettuce for a graveyard vibe. The more creatively you present them, the more spooked (and impressed) your guests will be!
Make Ahead and Storage
Storing Leftovers
Leftover Halloween Zombie Fingers Recipe can be stored in an airtight container in the refrigerator for up to three days. Be sure to let them cool completely before storing to keep the pastry from getting soggy.
Freezing
If you want to get ahead, assemble the fingers (without the ketchup or “bloody” detail) and freeze them unbaked on a tray until solid. Transfer to a zip-top bag and freeze for up to one month. When ready, bake straight from frozen, adding just a few extra minutes to the time.
Reheating
Reheat your zombie fingers in a 350°F oven for 8–10 minutes, or until heated through and the pastry crisped back up. Avoid the microwave, as it tends to make the pastry chewy rather than flaky.
FAQs
Can I make the Halloween Zombie Fingers Recipe vegetarian?
Absolutely! Swap in veggie cocktail sausages or cheese sticks—both work wonderfully and still keep the spooky, finger-like look that makes these so popular.
What’s the best way to keep the puff pastry from unraveling?
Brushing the overlapping edges with a little beaten egg before baking helps seal the pastry nicely, so your zombie fingers hold their shape perfectly every time.
Can I use something other than almonds for the fingernails?
Yes! Try thin-sliced olives, pumpkin seeds, or even cut-out bits of roasted red pepper for a different look or to suit any allergies.
How far in advance can I assemble the Halloween Zombie Fingers Recipe?
You can assemble the wrapped fingers (without the ketchup) up to a day ahead. Store them covered in the fridge, then pop them in the oven close to party time for maximum flakiness.
How do I add more flavor to the inside?
Before wrapping, brush the sausages lightly with mustard, sriracha, or tuck a strip of cheese alongside for an extra burst of taste with every bite!
Final Thoughts
If you’re looking to serve a crowd-pleaser that’s equal parts hilarious and delicious, this Halloween Zombie Fingers Recipe is your ticket to spooktacular snacking. Don’t be surprised if you get requests for an encore—these creepy treats are as memorable as they are tasty. Happy haunting and happy baking!
Print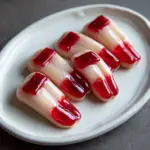
Halloween Zombie Fingers Recipe
- Prep Time: 15 minutes
- Cook Time: 18 minutes
- Total Time: 33 minutes
- Yield: 10 fingers
- Category: Appetizer
- Method: Baking
- Cuisine: American
- Diet: Non-Vegetarian
Description
These Halloween Zombie Fingers are a spooky and fun appetizer perfect for Halloween parties. Made with puff pastry, cocktail sausages, and sliced almonds, these creepy treats are sure to impress your guests!
Ingredients
Puff Pastry:
- 1 sheet puff pastry (thawed)
Cocktail Sausages:
- 10 cocktail sausages or mini hot dogs
Egg Wash:
- 1 egg (beaten)
Fingernails:
- 10 sliced almonds
Bloody Decoration:
- ketchup or red gel icing for “blood”
Optional Texture:
- 1 tablespoon sesame seeds
Additional:
- flour for dusting
Instructions
- Preheat Oven: Preheat the oven to 400°F.
- Prepare Pastry: Roll out the puff pastry on a floured surface and cut it into 10 strips.
- Wrap Sausages: Wrap each cocktail sausage with a pastry strip, leaving the ends exposed for knuckles.
- Add Details: Shape the dough to resemble finger segments and add a sliced almond at the tip for a fingernail.
- Egg Wash: Brush the pastry with beaten egg and sprinkle with sesame seeds if desired.
- Bake: Place the wrapped fingers on a baking sheet and bake for 15–18 minutes until golden brown.
- Decorate: Add ketchup or red gel icing for a bloody effect.
- Serve: Serve warm or at room temperature.
Notes
- For a vegetarian version, use veggie sausages or cheese sticks.
- Enhance flavor by adding mustard or cheese inside.
Nutrition
- Serving Size: 1 finger
- Calories: 130
- Sugar: 1g
- Sodium: 270mg
- Fat: 9g
- Saturated Fat: 2g
- Unsaturated Fat: 6g
- Trans Fat: 0g
- Carbohydrates: 8g
- Fiber: 0g
- Protein: 4g
- Cholesterol: 15mg


