
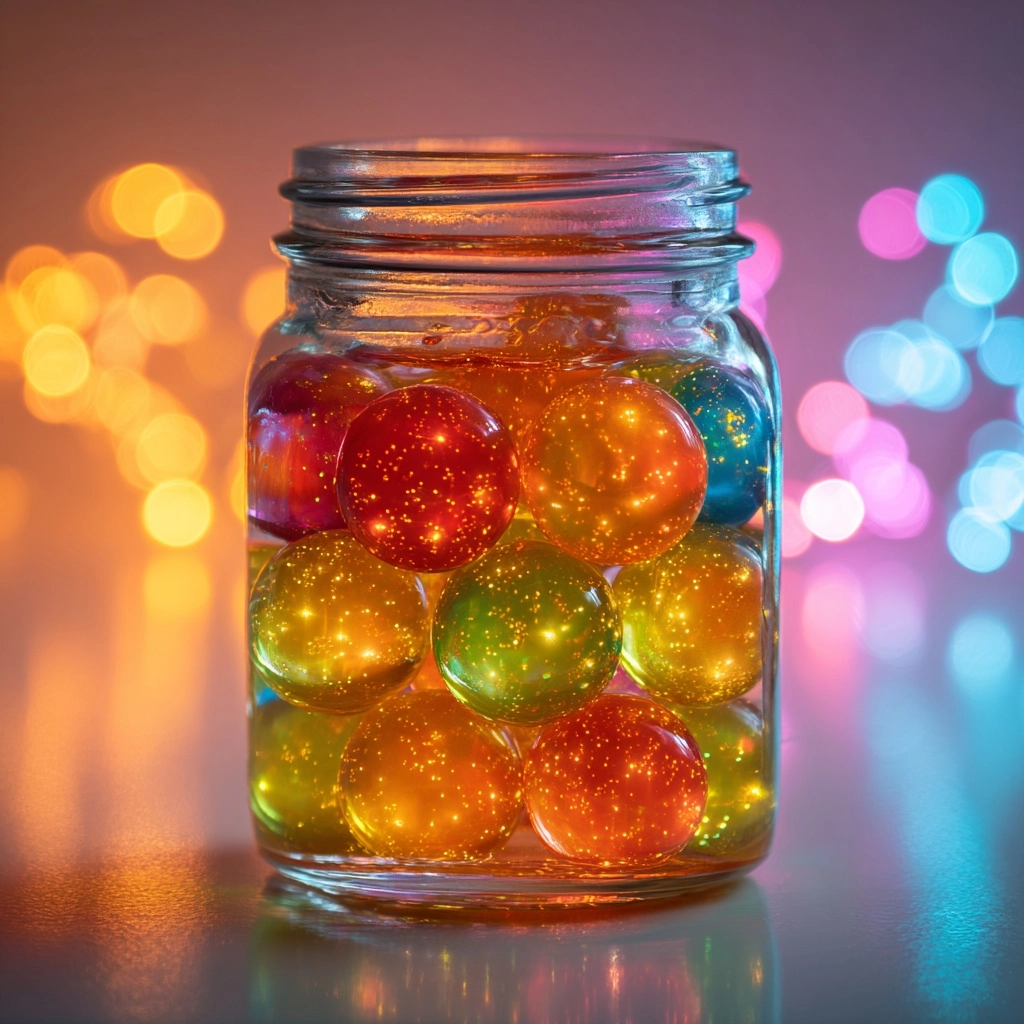
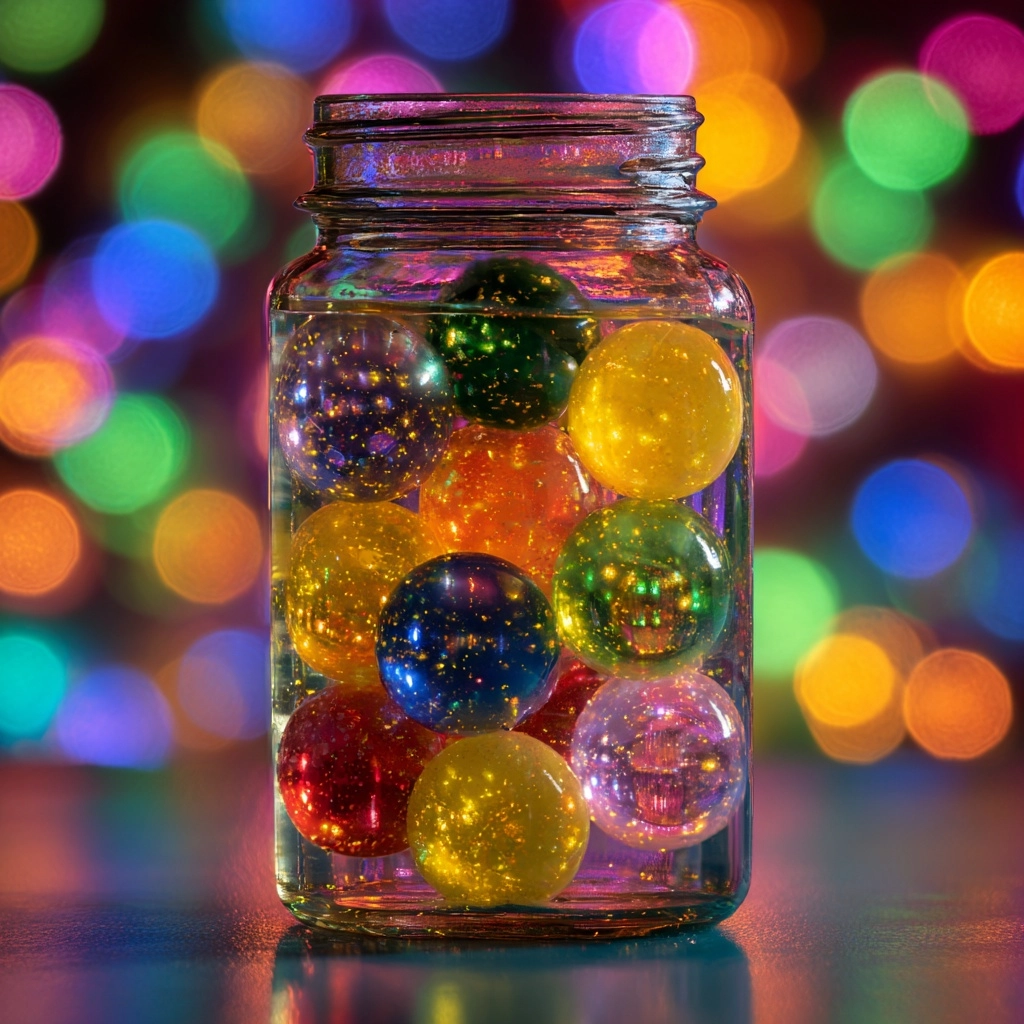
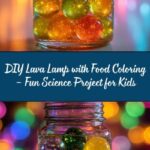
If you’ve ever wanted to bring a little retro magic into your home, the Easy DIY Lava Lamp: Spark Joy with This Fun Project! is the perfect way to do it. This hands-on science experiment is a dazzling blend of color, bubbles, and sparkle that will light up both your room and your creativity. Whether you’re looking for a rainy-day activity with kids or you simply want to relive a childhood favorite, this project promises instant gratification and hours of fascination. Plus, you likely have all the ingredients already in your kitchen—making it as convenient as it is captivating!
Ingredients You’ll Need
The magic of the Easy DIY Lava Lamp: Spark Joy with This Fun Project! is how it transforms a handful of simple household items into a mesmerizing display. Each ingredient plays a key role in creating those iconic dancing bubbles and vivid hues—don’t skip a thing if you want the full effect!
- Clear glass or plastic bottle (16–20 oz): A see-through bottle is crucial so you can fully enjoy the “lava” movement inside.
- 1/2 cup vegetable oil: Oil forms the main body of the lamp and creates the slow, graceful movement of the bubbles.
- 1/4 cup water: Water provides the base layer and helps the colored bubbles form and float.
- 6–8 drops food coloring (any color): The secret to those vibrant, eye-catching bubbles—pick your favorite shade!
- 1–2 tablespoons effervescent tablets (such as Alka-Seltzer): These are what make the bubbles dance, fizz, and float, mimicking the lava lamp’s signature look.
- Optional glitter or small sequins: Want extra sparkle? A sprinkle of glitter or sequins takes your lamp to the next level of fun.
How to Make Easy DIY Lava Lamp: Spark Joy with This Fun Project!
Step 1: Prepare Your Bottle
Start by selecting a clean, clear bottle—glass or plastic both work great. Remove any labels so you have an unobstructed view of the magic inside. If you have a funnel, now’s a good time to grab it to help prevent spills and keep your workspace tidy.
Step 2: Add the Vegetable Oil
Pour the vegetable oil into your bottle until it’s about three-quarters full. The oil is what gives your lamp its signature slow-motion bubbles, and its clarity helps the colors really shine. Don’t worry if bubbles form on the surface; they’ll settle quickly.
Step 3: Pour in the Water
Next, slowly add the water to fill the remaining space in the bottle, leaving about an inch at the top so your lava has room to move. You’ll notice the oil and water separate almost instantly—this is exactly what you want, as the water will form the canvas for your colored bubbles.
Step 4: Add Food Coloring
Drop in 6–8 drops of your chosen food coloring directly into the bottle. Watch as the drops pass through the oil and burst into the water, instantly transforming it into a pool of bright color. This is the step where your lamp really starts to come to life!
Step 5: Activate the Lava Effect
Break your effervescent tablet into a few pieces, then drop one piece into the bottle. Instantly, bubbles of colored water start to rise and fall, creating the mesmerizing “lava lamp” effect. For continuous fun, add another tablet piece whenever the bubbling slows down.
Step 6: Add Extra Sparkle (Optional)
If you want even more sparkle and pizzazz, sprinkle in some glitter or small sequins. They’ll swirl around with the bubbles, catching the light and making your creation even more enchanting.
How to Serve Easy DIY Lava Lamp: Spark Joy with This Fun Project!
Garnishes
While you can’t exactly garnish a lava lamp like a cake, you can absolutely personalize your creation. Try using different colors of food coloring for a layered or ombre effect, or toss in themed confetti for special occasions. The “garnish” is all about making your Easy DIY Lava Lamp: Spark Joy with This Fun Project! uniquely yours.
Side Dishes
Pair the experience with a fun science discussion, a cozy craft session, or even a themed movie night featuring retro vibes. This activity is perfect alongside snacks and drinks, making it a centerpiece for playdates, sleepovers, or family STEM nights.
Creative Ways to Present
Display your finished lava lamp in a sunny window so the colors catch the light, or line up several in a row for a rainbow effect. For parties, set up a DIY lava lamp station and let everyone make their own. No matter how you present it, your Easy DIY Lava Lamp: Spark Joy with This Fun Project! is sure to be a conversation starter!
Make Ahead and Storage
Storing Leftovers
If you want to keep your lava lamp around for future fun, simply screw the cap on tightly and store it upright at room temperature. The color and sparkle will last for days, and you can reactivate the bubbling effect anytime by adding a fresh piece of effervescent tablet.
Freezing
Freezing is not recommended for this project. The separation between oil and water is key to the effect, and freezing could disrupt the layers or cause the bottle to crack. Room temperature is the best environment for your Easy DIY Lava Lamp: Spark Joy with This Fun Project!.
Reheating
No reheating required! Whenever you’re ready to relive the magic, just drop in another piece of effervescent tablet and watch the bubbles dance again. It’s as easy as that—no microwave or stovetop needed.
FAQs
Can I use any kind of oil for this project?
Vegetable oil works best because it’s clear and inexpensive, but you can also experiment with other light-colored oils like canola or sunflower. Avoid olive oil, as its color can muddy the effect.
Is the Easy DIY Lava Lamp: Spark Joy with This Fun Project! safe for kids?
Absolutely! Just be sure to supervise young children, especially when handling effervescent tablets and glass bottles. Remind everyone that the contents are not edible.
How long does the bubbling effect last?
Each piece of effervescent tablet will bubble for a few minutes. You can keep the fun going for as long as you like by adding more tablet pieces whenever the bubbles slow down.
Can I add multiple colors of food coloring?
Definitely! For a multi-color effect, add different shades one at a time and watch them mix and swirl. Just be mindful that too many colors may blend into brown, so a little restraint goes a long way.
What should I do if my lava lamp stops working?
If the bubbling seems sluggish, try adding fresh effervescent tablet pieces. If things still aren’t moving, give the bottle a gentle swirl to remix the layers—just don’t shake too hard, or you’ll end up with foam instead of “lava.”
Final Thoughts
There’s just something magical about watching colorful bubbles rise and fall in your very own Easy DIY Lava Lamp: Spark Joy with This Fun Project!. Whether you’re sharing it with kids or indulging your own sense of wonder, this activity brings instant smiles and a burst of creativity to any day. Gather your supplies, get swirling, and let your imagination light up the room!
Print
Easy DIY Lava Lamp: Spark Joy with This Fun Project! Recipe
- Prep Time: 5 minutes
- Cook Time: 0 minutes
- Total Time: 5 minutes
- Yield: 1 lava lamp
- Category: Kids’ Activity, Science Experiment
- Method: Assembly
- Cuisine: N/A
- Diet: Vegetarian
Description
Create a mesmerizing and fun DIY lava lamp with simple household ingredients. This easy project combines oil, water, food coloring, and effervescent tablets to produce a captivating science experiment perfect for kids and educational activities.
Ingredients
Materials
- 1 clear glass or plastic bottle (16–20 oz)
- 1/2 cup vegetable oil
- 1/4 cup water
- 6–8 drops food coloring (any color)
- 1–2 tablespoons effervescent tablets (such as Alka-Seltzer)
- Optional: glitter or small sequins for extra sparkle
Instructions
- Pour the vegetable oil: Fill the bottle about three-quarters full with vegetable oil.
- Add water: Pour water into the bottle to fill the remaining space, leaving about an inch at the top to prevent spills.
- Let separate: Wait a few moments for the oil and water to separate into two distinct layers.
- Add food coloring: Drop 6–8 drops of food coloring into the bottle. The color will mix with the water layer but not with the oil, creating a colorful effect.
- Start the lava effect: Break the effervescent tablet into small pieces. Drop one piece into the bottle and watch as bubbles rise and fall, simulating lava movement.
- Maintain the effect: Add more pieces of effervescent tablets as needed to keep the bubbles flowing.
- Add sparkle (optional): Sprinkle in glitter or small sequins for extra visual appeal.
Notes
- Use a funnel to prevent spills when pouring liquids into the bottle.
- Clear bottles work best to fully enjoy the lava effect.
- Always supervise children during this activity, especially when handling effervescent tablets.
Nutrition
- Serving Size: Not edible
- Calories: 0
- Sugar: 0g
- Sodium: 0mg
- Fat: 0g
- Saturated Fat: 0g
- Unsaturated Fat: 0g
- Trans Fat: 0g
- Carbohydrates: 0g
- Fiber: 0g
- Protein: 0g
- Cholesterol: 0mg

