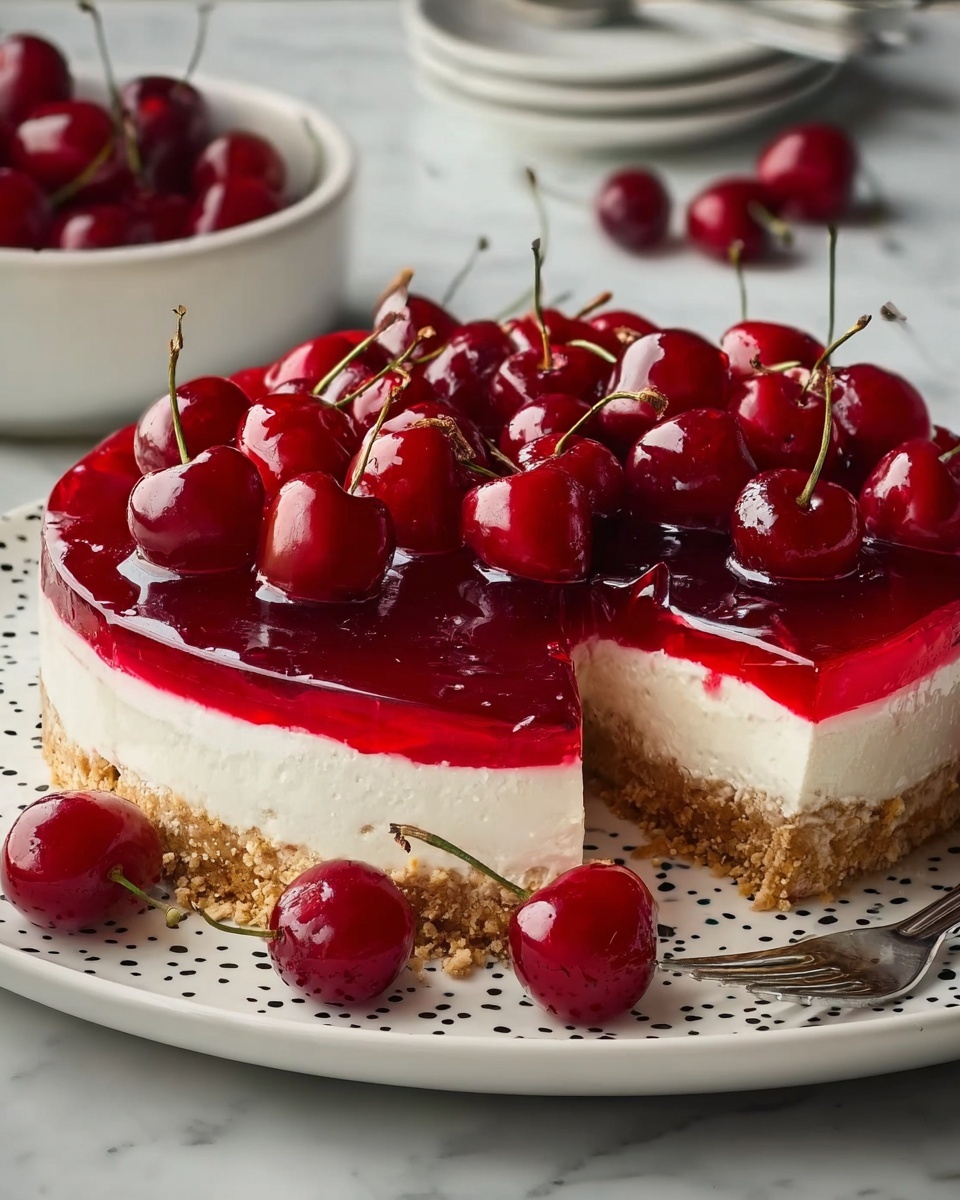
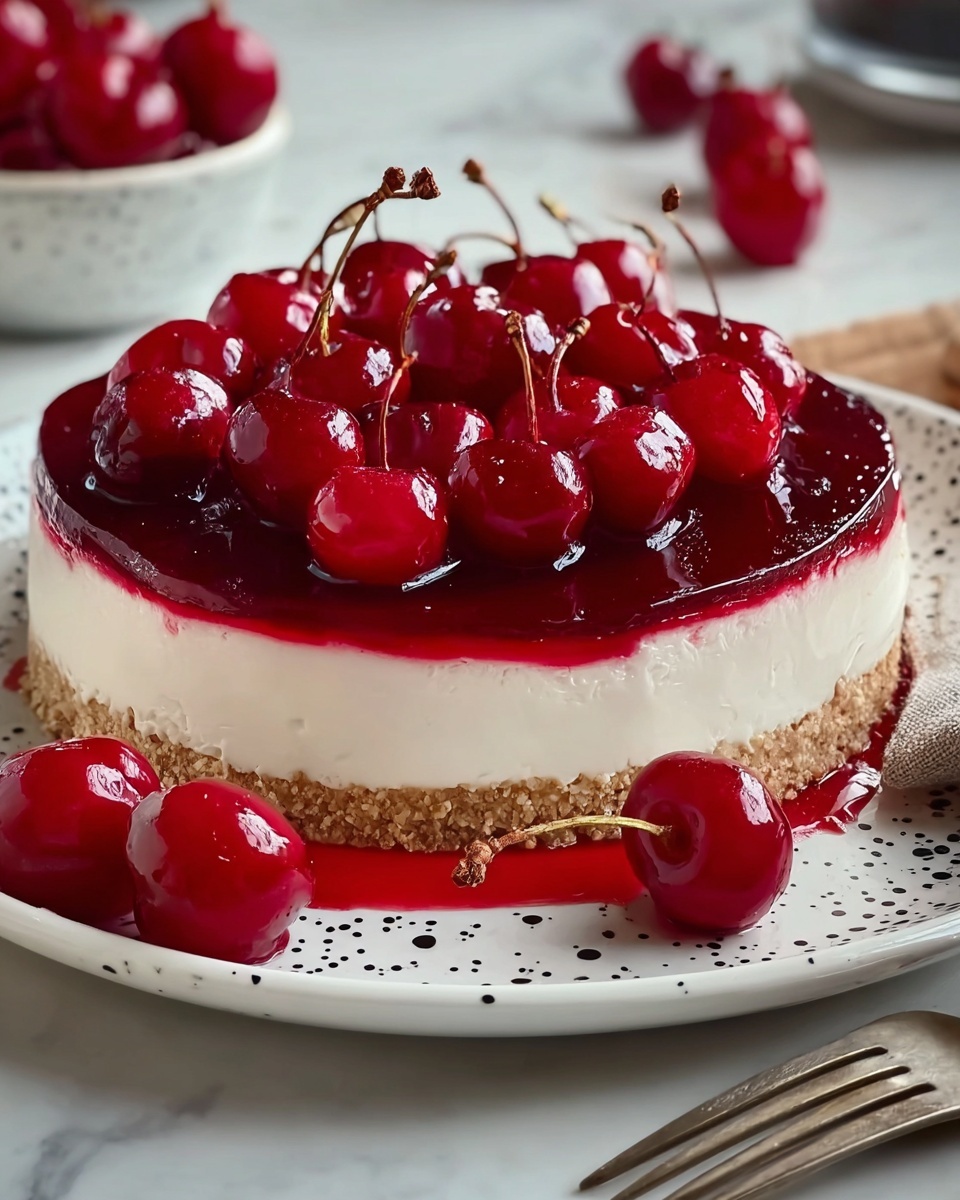
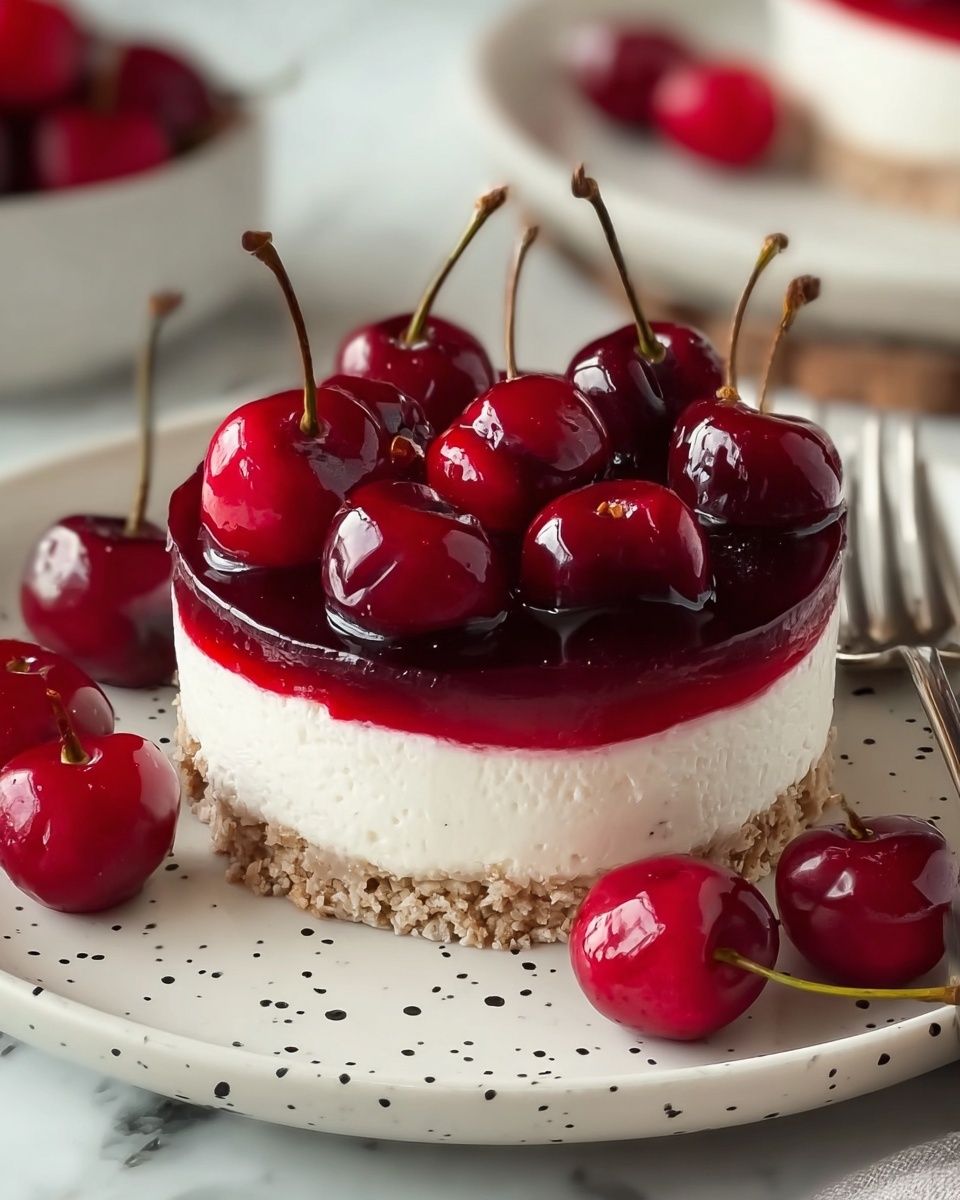
If you’re craving a dessert that’s both irresistibly creamy and bursting with the sweet tang of cherries without turning on the oven, you’ve got to try the Easiest No-Bake Cherry Cheesecake: A Delightful Treat Recipe. This luscious cheesecake is a crowd-pleaser that comes together swiftly with simple ingredients, requiring nothing more than some mixing, chilling, and a little patience. The result is a silky smooth cheesecake sitting atop a buttery, crunchy crust, crowned with juicy cherry topping—pure dessert heaven that’s perfect for any occasion.
Ingredients You’ll Need
Keeping this cheesecake easy means using straightforward ingredients that each play a starring role in flavor and texture. Every component is carefully chosen to create that perfect balance between tangy, sweet, creamy, and crunchy that makes this cheesecake truly special.
- Graham cracker crumbs (1 ½ cups): For a buttery, crisp crust that holds together beautifully and provides a warm base.
- Unsalted butter, melted (½ cup): Helps bind the crust ingredients and adds rich flavor without overpowering the cheesecake.
- Sugar (¼ cup): Adds a subtle sweetness to the crust to complement the creamy filling.
- Cream cheese, softened (16 oz or 2 packages): The heart of the cheesecake that gives it its signature smooth and tangy texture.
- Powdered sugar (1 cup): Sweetens the filling easily and blends smoothly without grit.
- Vanilla extract (1 teaspoon): Enhances the flavors, adding warmth and depth to the filling.
- Heavy whipping cream (1 cup): Whipped to stiff peaks for lightness, folding into the cream cheese mix for that dreamy, airy texture.
- Cherry pie filling, 1 can (21 oz) or fresh cherries: The jewel on top delivering sweet-tart bursts that elevate the whole cheesecake experience.
How to Make Easiest No-Bake Cherry Cheesecake: A Delightful Treat Recipe
Step 1: Make the Crust
Start by combining the graham cracker crumbs, melted butter, and sugar in a mixing bowl. Stir well until every crumb is coated and the mixture feels like damp sand. Press this mixture firmly into the bottom of a 9-inch springform pan, using the back of a measuring cup or your fingers to pack it compactly. This step is vital to ensure the crust holds together after chilling. Pop the crust into the fridge while you prepare the filling so it sets nicely.
Step 2: Prepare the Filling
In a large bowl, beat the softened cream cheese with an electric mixer until perfectly smooth and creamy—no lumps allowed here! Gradually add the powdered sugar and vanilla extract, blending continuously to incorporate each addition fully. In a separate chilled bowl, whip the heavy cream until stiff peaks form. This means when you lift the whisk, the cream holds firm peaks without drooping. Gently fold the whipped cream into the cream cheese mixture with a spatula, using slow, folding motions. This keeps the filling light and airy, the magic behind the cheesecake’s luxurious texture.
Step 3: Assemble and Chill
Pour the dreamy cream cheese filling over your chilled crust and spread it evenly with a spatula for a smooth top. Cover the pan with plastic wrap or foil and refrigerate for at least 4 hours. Trust me, allowing it to set overnight yields the best results, letting flavors meld and the cheesecake firm up to the perfect sliceable consistency.
Step 4: Add the Cherry Topping
When you’re ready to serve, spread the cherry pie filling evenly over the top of your set cheesecake layer. The vibrant red cherries create a stunning contrast against the creamy white base, and their sweet-tart zing rounds out every bite beautifully.
Step 5: Slice and Enjoy!
Carefully remove the cheesecake from the springform pan, slice with a sharp knife dipped in warm water for clean edges, and serve up generous portions of your homemade delight. Get ready to bask in compliments!
How to Serve Easiest No-Bake Cherry Cheesecake: A Delightful Treat Recipe
Garnishes
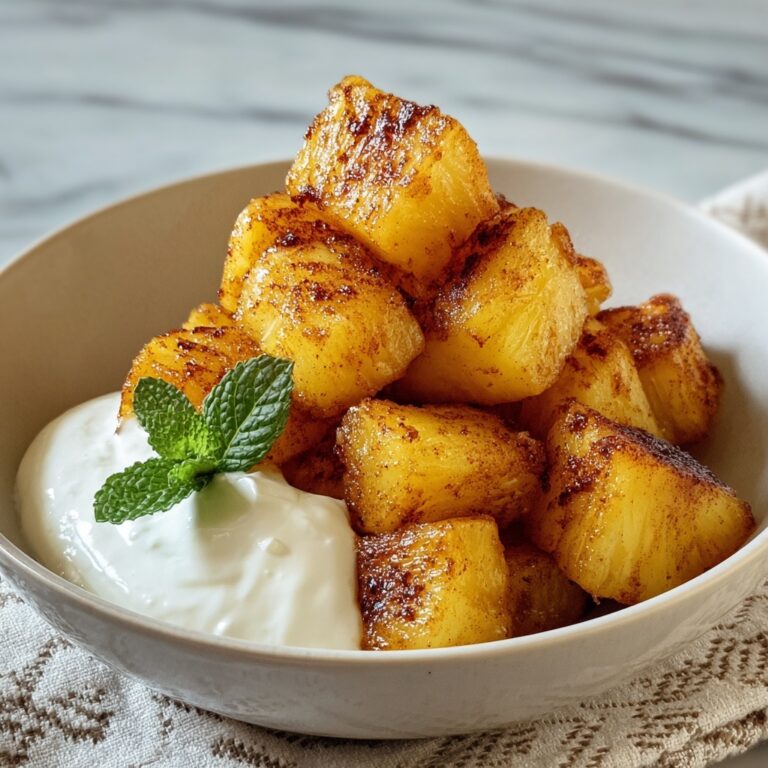
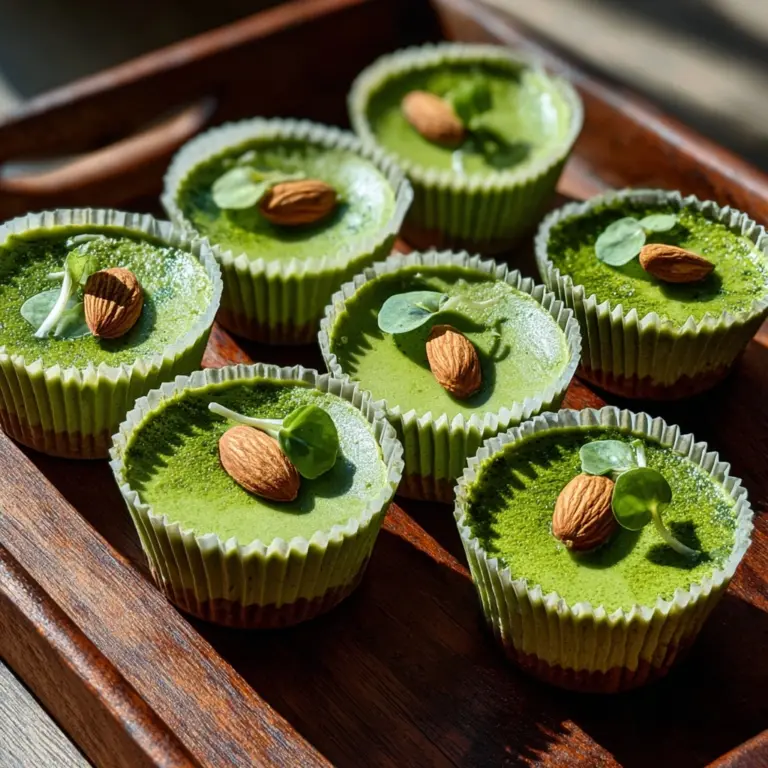
For an eye-catching finish, sprinkle some finely chopped toasted almonds or pistachios on top to add a subtle crunch and nutty aroma. Fresh mint leaves also make a beautiful and refreshing garnish that pairs perfectly with the cherry topping.
Side Dishes
Keep it simple with fresh berries or a drizzle of dark chocolate sauce on the side to intensify the decadent vibe. A scoop of vanilla bean ice cream can also complement each forkful, turning your dessert into a luxurious treat fit for special celebrations.
Creative Ways to Present
Serve individual portions in clear glass jars layered with extra cherry filling for a charming, rustic look. For festive occasions, consider decorating slices with edible flowers for a delicate and colorful touch that will wow your guests.
Make Ahead and Storage
Storing Leftovers
This cheesecake keeps beautifully in the refrigerator for up to 4 days when covered tightly with plastic wrap or stored in an airtight container. Make sure the cherry topping remains fresh and not soggy by adding it fresh just before serving when possible.
Freezing
Want to enjoy this delightful treat later? You can freeze the fully assembled cheesecake for up to 1 month. Wrap it well in plastic wrap and aluminum foil to prevent freezer burn. Thaw overnight in the fridge before serving to restore its perfect texture.
Reheating
This dessert is best served chilled, so there’s no need to reheat. If you prefer it slightly less cold, let it sit at room temperature for 15-20 minutes before slicing for the smoothest texture and flavors to shine.
FAQs
Can I use fresh cherries instead of canned cherry pie filling?
Absolutely! Fresh cherries are a fantastic choice if they are in season. Simply pit and lightly cook them with a little sugar and cornstarch to create a luscious topping that matches the canned version’s sweetness and consistency.
Is it possible to make this cheesecake gluten-free?
Yes, just swap the graham cracker crumbs for gluten-free graham crumbs or crushed gluten-free cookies. This way, you keep the delicious crust without worrying about gluten.
How long does it take for the cheesecake to set properly?
We recommend chilling the cheesecake for at least 4 hours, but ideally, overnight. This time allows the filling to firm up and the flavors to deepen, resulting in the perfect slice every time.
Can I use low-fat cream cheese or whipped cream?
While it’s possible, using low-fat versions will affect the texture and richness of the cheesecake. For the classic creamy and smooth result, full-fat cream cheese and heavy whipping cream are best.
What’s the best way to get clean cheesecake slices?
Dip your knife in hot water and wipe it clean between slices. This simple trick ensures smooth, neat cuts and beautiful presentation every time you serve your cheesecake.
Final Thoughts
There’s truly nothing quite like sharing a slice of this Easiest No-Bake Cherry Cheesecake: A Delightful Treat Recipe with friends and family. It’s an impressive yet simple dessert that will quickly become a favorite in your recipe collection. So go ahead, treat yourself and your loved ones to this sweet, creamy delight that feels like a little slice of happiness in every bite!
Print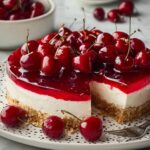
Easiest No-Bake Cherry Cheesecake: A Delightful Treat Recipe
- Prep Time: 15 minutes
- Cook Time: 0 minutes
- Total Time: 4 hours 15 minutes
- Yield: 10 servings
- Category: Dessert
- Method: No-Cook
- Cuisine: American
- Diet: Vegetarian
Description
This no-bake cherry cheesecake is a simple and delightful dessert featuring a buttery graham cracker crust, a smooth and creamy cream cheese filling, and a luscious cherry topping. Perfect for any occasion, it requires no oven time and comes together quickly, making it an ideal treat for warm days or when you want a fuss-free dessert.
Ingredients
Crust
- 1 ½ cups graham cracker crumbs
- ½ cup unsalted butter, melted
- ¼ cup sugar
Filling
- 16 oz (2 packages) cream cheese, softened
- 1 cup powdered sugar
- 1 teaspoon vanilla extract
- 1 cup heavy whipping cream
Topping
- 1 can (21 oz) cherry pie filling (or fresh cherries if preferred)
Instructions
- Make the crust: In a bowl, combine the graham cracker crumbs, melted butter, and sugar until well mixed. Press the mixture firmly into the bottom of a 9-inch springform pan using the back of a measuring cup to compact it. Place in the refrigerator while preparing the filling to let it chill and firm up.
- Prepare the filling: Using an electric mixer, beat the softened cream cheese until smooth and creamy. Gradually add the powdered sugar and vanilla extract, mixing well to ensure everything is incorporated. In a separate bowl, whip the heavy cream until stiff peaks form, then gently fold the whipped cream into the cream cheese mixture, maintaining the airy texture.
- Assemble: Pour the cream cheese filling over the chilled crust and spread evenly with a spatula. Refrigerate the cheesecake for at least 4 hours, allowing it to set properly; overnight refrigeration yields the best texture.
- Add the topping: Just before serving, carefully spread the cherry pie filling evenly over the surface of the set cheesecake, adding a beautiful and flavorful finishing touch.
- Serve: Slice the cheesecake into portions and enjoy this delicious, creamy no-bake cherry cheesecake with your family and friends.
Notes
- For a firmer crust, you can bake the crust at 350°F (175°C) for 8-10 minutes before chilling, though this step is optional.
- Use fresh cherries for topping if you prefer a fresher taste over canned pie filling.
- Ensure the cream cheese is softened to room temperature for smooth mixing and a creamy texture.
- Refrigerate the cheesecake for at least 4 hours; overnight chilling improves flavor and consistency.
- Store leftovers covered in the refrigerator for up to 3 days.
