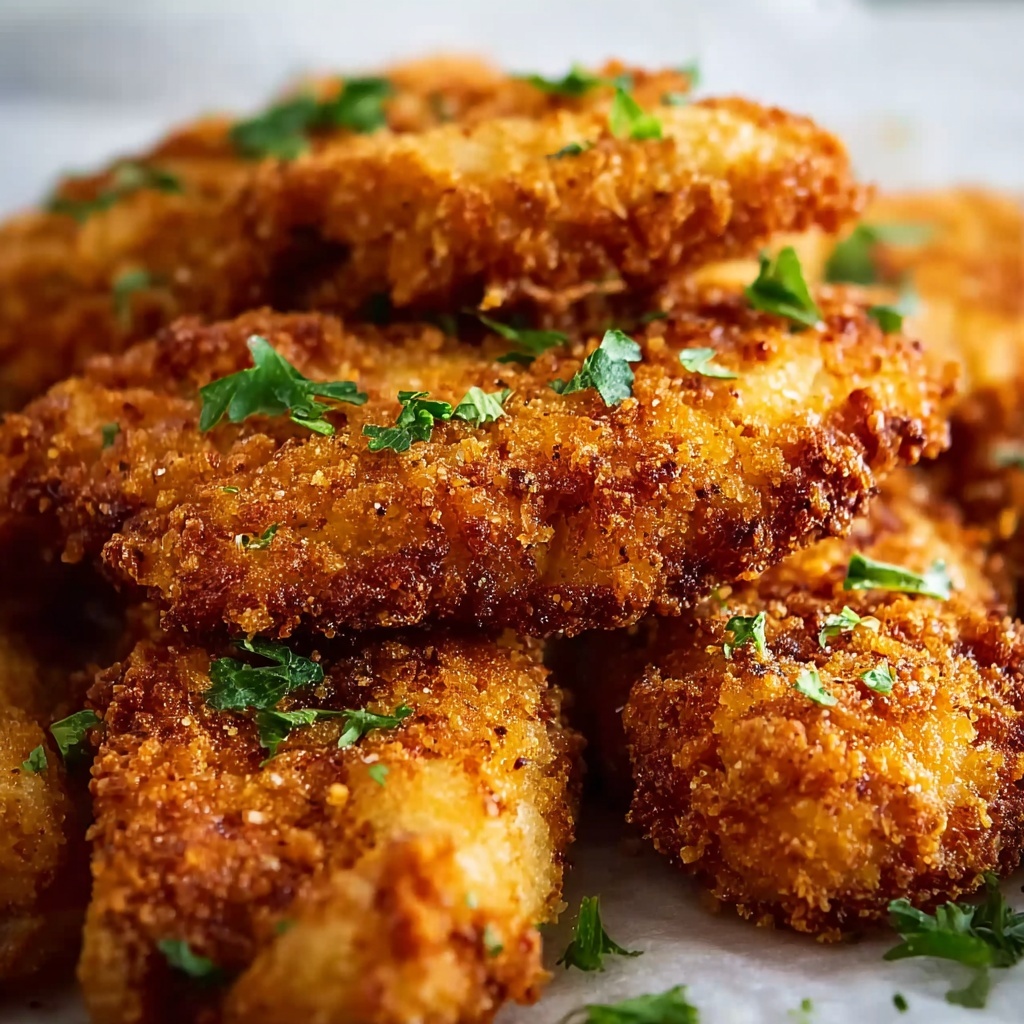
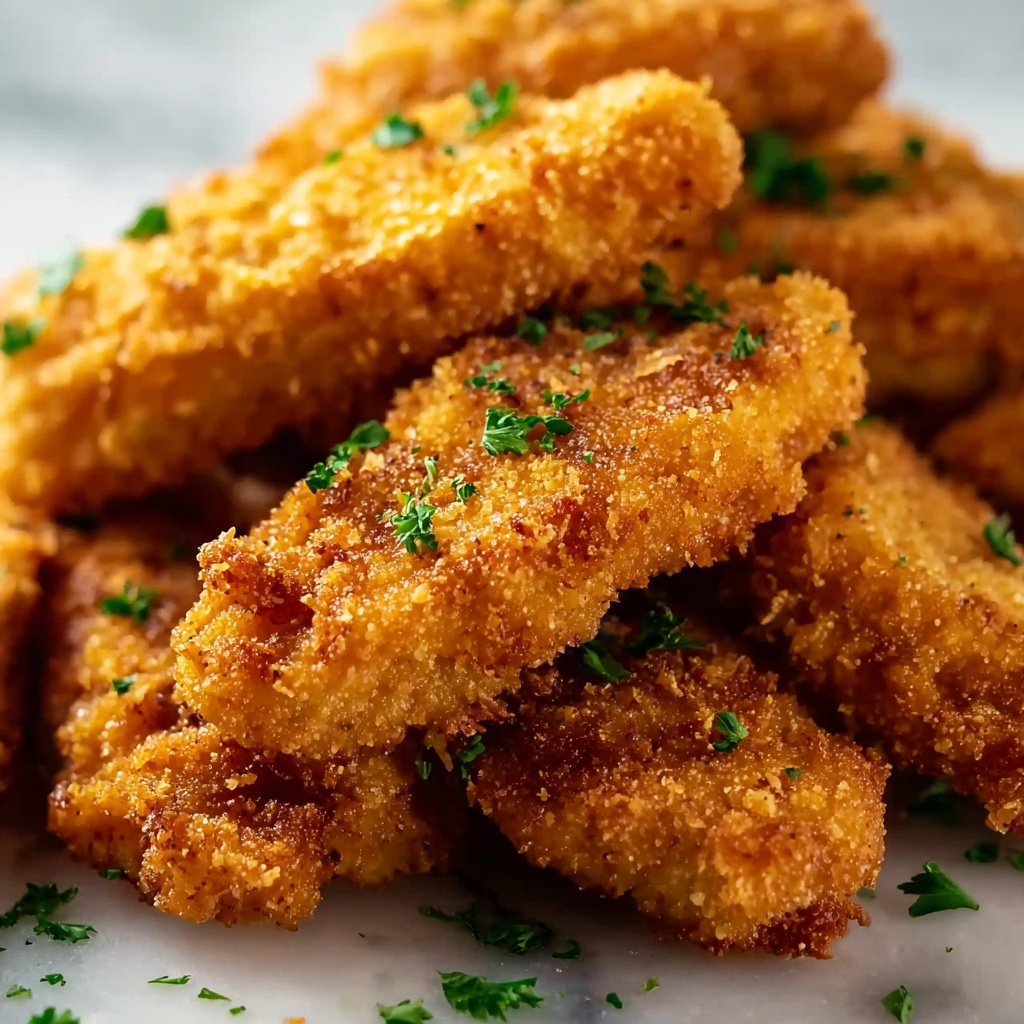
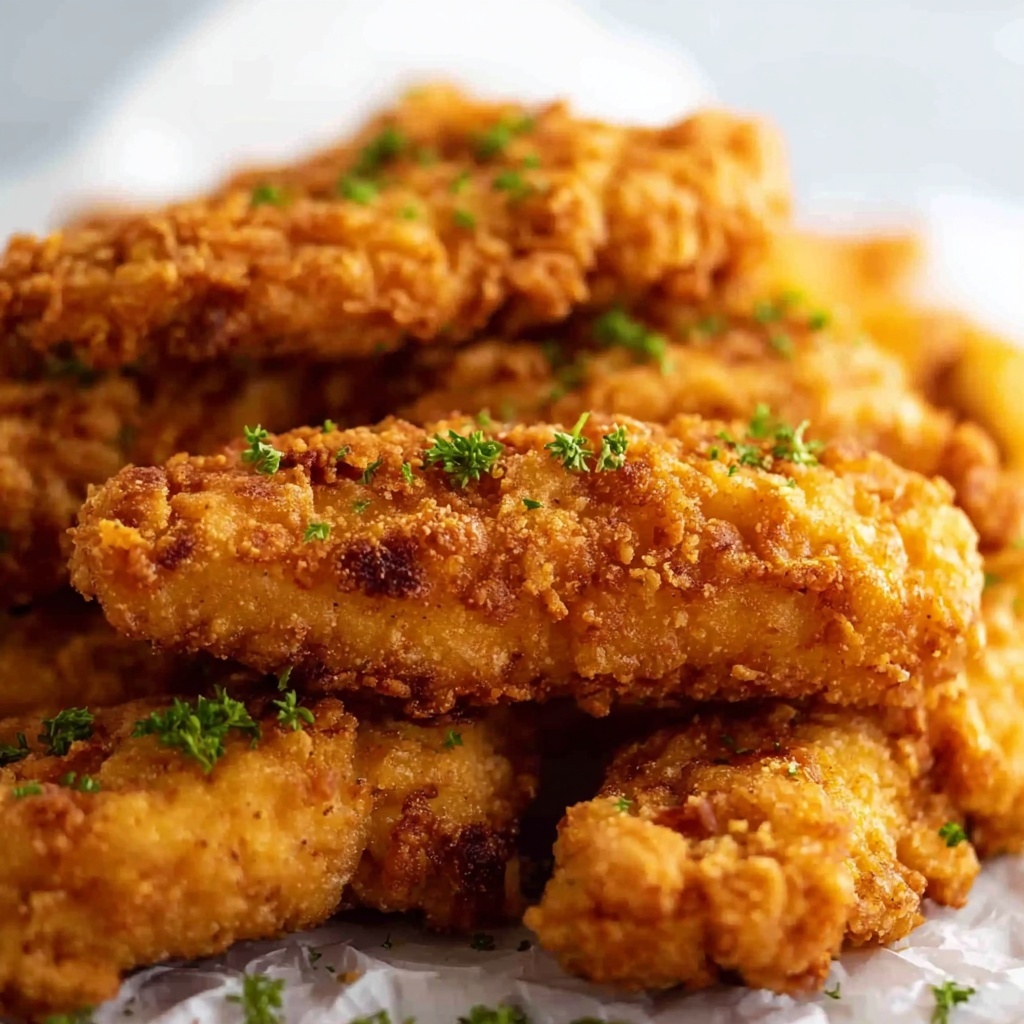
If you have a craving for something that’s irresistibly crunchy, buttery, and bursting with zesty ranch flavor, you are going to love this Crispy Buttered Ranch Chicken Recipe. It’s a perfect blend of crispy panko coating, savory Parmesan, and that classic ranch seasoning all coming together to create a dish that’s truly comfort food magic. Whether you’re cooking for a family dinner or want to impress friends with minimal fuss, this recipe promises juicy chicken with a golden crust that’s simply unforgettable.
Ingredients You’ll Need
Each ingredient in this Crispy Buttered Ranch Chicken Recipe plays a crucial role, from flavor building to achieving the perfect texture. Simple pantry staples combine with fresh touches, ensuring every bite hits the right note of crispy, buttery, and savory goodness.
- 4 boneless, skinless chicken breasts: Choose breasts or thighs depending on your preference for lean or juicier meat.
- 1/4 cup unsalted butter, melted: Butter adds richness and helps the seasoning stick beautifully to the chicken.
- 1 packet ranch seasoning mix (about 1 ounce): The star flavoring that infuses every bite with herby zest.
- 1 cup panko breadcrumbs: These create the ultra-crispy texture you crave on the outside of your chicken.
- 1/2 cup grated Parmesan cheese: Adds a nutty, salty dimension that perfectly complements the ranch.
- 1 teaspoon garlic powder: Gives a subtle pungent depth without overpowering the other flavors.
- 1 teaspoon onion powder: Enhances the savory profile quietly but effectively.
- Salt and pepper, to taste: Essential seasonings that bring all the flavors into balance.
- 2 tablespoons olive oil: Used for searing to lock in juices and add a golden crust before baking.
- Fresh parsley, chopped: A bright, herbaceous garnish that adds freshness and lovely color.
- Lemon wedges: A squeeze of lemon adds a tangy brightness that cuts through the richness.
How to Make Crispy Buttered Ranch Chicken Recipe
Step 1: Preheat and Prep Your Oven
Start by preheating your oven to 400°F (200°C). Line a baking sheet with parchment paper or lightly grease it to keep the chicken from sticking. This ensures even cooking and helps with easy clean-up later.
Step 2: Mix the Butter and Ranch Seasoning
In a small bowl, combine the melted unsalted butter with the ranch seasoning mix. This ranch butter mixture is what makes the chicken irresistibly flavorful and provides the perfect sticky base for the breadcrumb crust.
Step 3: Prepare the Crunchy Coating
In another bowl, mix the panko breadcrumbs with grated Parmesan cheese, garlic powder, onion powder, salt, and black pepper. This seasoning blend brings layers of crunch and savory notes that perfectly complement the chicken.
Step 4: Coat the Chicken Thoroughly
Dip each chicken breast fully into the ranch butter mixture to ensure it’s generously coated. Then press it firmly into the breadcrumb mixture so every side is covered in that crispy, cheesy crust. This double coating creates the signature crunch you’ll love.
Step 5: Sear the Chicken to Start the Crisping
Heat olive oil in a large oven-safe skillet over medium-high heat. Once shimmering, add your coated chicken breasts and sear for 2 to 3 minutes on each side until they develop a gorgeous golden-brown exterior. This initial sear locks in the juiciness and jumpstarts the crisp texture.
Step 6: Bake to Finish Cooking
Transfer the skillet with the seared chicken into the preheated oven. Bake for about 20 to 25 minutes depending on thickness until the chicken reaches an internal temperature of 165°F (75°C) and the coating is crisp and golden. This step guarantees tender meat with a beautifully crunchy crust.
Step 7: Rest and Garnish
Remove the skillet from the oven and let the chicken rest for a few minutes—this helps the juices redistribute and keeps the meat moist. Garnish with freshly chopped parsley and a few lemon wedges for an extra pop of freshness and color.
How to Serve Crispy Buttered Ranch Chicken Recipe
Garnishes
Fresh chopped parsley is the perfect herbaceous touch that adds bright green color and a light, fresh flavor to the rich chicken. Lemon wedges are essential too, because a gentle squeeze of lemon juice wakes up the buttery, cheesy flavors and balances the richness perfectly.
Side Dishes
This Crispy Buttered Ranch Chicken Recipe pairs beautifully with creamy mashed potatoes or garlic butter green beans for classic comfort. For a lighter option, try a crisp Caesar salad or roasted seasonal vegetables to keep the meal vibrant and balanced.
Creative Ways to Present
For a family-style feast, serve the chicken on a large platter surrounded by colorful sides and lemon wedges. You can also slice the breasts thinly and serve over warm quinoa or fluffy rice for an easy weeknight meal. Or turn the leftovers into hearty sandwiches with lettuce, tomato, and a drizzle of ranch dressing for extra indulgence.
Make Ahead and Storage
Storing Leftovers
Store any leftover chicken in an airtight container in the refrigerator for up to 3 days. It keeps surprisingly well and makes for a fantastic next-day meal or snack with minimal reheating.
Freezing
If you want to save some for later, wrap the cooked chicken tightly in plastic wrap and foil, then place in a freezer-safe bag. It can be frozen for up to 2 months. Thaw overnight in the fridge before reheating for best results.
Reheating
To reheat without losing crispiness, place the chicken on a baking sheet and warm it in a preheated 350°F (175°C) oven for about 10-15 minutes. This method revives the crunchy crust better than a microwave.
FAQs
Can I use chicken thighs instead of breasts?
Absolutely! Chicken thighs add extra juiciness and flavor, and the recipe works wonderfully with them. Just adjust baking time slightly, as thighs may need a little longer.
Is it possible to make this recipe gluten-free?
Yes! Simply swap the panko breadcrumbs for a gluten-free breadcrumb alternative. The crispy texture might differ slightly but will still be delicious.
Can I prepare the chicken coating ahead of time?
You can mix the breadcrumb coating and even the ranch butter mixture a few hours in advance and store them separately. Dip and coat the chicken right before cooking for the best crisp.
What can I use if I don’t have ranch seasoning mix?
If you don’t have a packet, no worries—make a quick homemade ranch blend using dried dill, garlic powder, onion powder, dried parsley, salt, and pepper for a similar flavor boost.
How do I know when the chicken is fully cooked?
The safest way is to use a meat thermometer and check for an internal temperature of 165°F (75°C). The chicken should also be firm to the touch and no longer pink inside.
Final Thoughts
This Crispy Buttered Ranch Chicken Recipe is an absolute joy to make and even more delightful to eat. The effortless combination of buttery, crunchy, and flavorful elements makes it a surefire winner for any occasion. Once you try it, I bet it’ll become one of your go-to chicken recipes to share with friends and family. So grab your ingredients and get ready to enjoy a delicious, satisfying meal that everyone will rave about!
Print
Crispy Buttered Ranch Chicken Recipe
- Prep Time: 10 minutes
- Cook Time: 30 minutes
- Total Time: 40 minutes
- Yield: 4 servings
- Category: Main Course
- Method: Stovetop and Baking
- Cuisine: American
Description
This Crispy Buttered Ranch Chicken recipe features juicy chicken breasts coated in a flavorful ranch butter mixture and a crispy Parmesan panko breadcrumb crust. The chicken is first seared in a skillet and then finished in the oven to achieve a golden, crunchy exterior while remaining tender and moist inside. Perfect for a quick weeknight dinner or a satisfying family meal.
Ingredients
Chicken
- 4 boneless, skinless chicken breasts (or thighs for juicier meat)
Butter Ranch Mixture
- 1/4 cup unsalted butter, melted
- 1 packet (about 1 ounce) ranch seasoning mix (or homemade ranch seasoning)
Breading
- 1 cup panko breadcrumbs
- 1/2 cup grated Parmesan cheese
- 1 teaspoon garlic powder
- 1 teaspoon onion powder
- Salt and pepper, to taste
Cooking
- 2 tablespoons olive oil (for cooking)
Garnish
- Fresh parsley, chopped
- Lemon wedges
Instructions
- Preheat the Oven: Preheat your oven to 400°F (200°C). Line a baking sheet with parchment paper or lightly grease it with non-stick spray to prepare for baking.
- Prepare the Ranch Butter Mixture: In a small bowl, thoroughly mix together the melted unsalted butter and the ranch seasoning mix. Set this flavorful mixture aside to coat the chicken later.
- Mix the Breading: In another bowl, combine the panko breadcrumbs, grated Parmesan cheese, garlic powder, onion powder, and salt and pepper. This mixture will provide the crunchy and savory coating for the chicken.
- Coat the Chicken: Dip each chicken breast into the ranch butter mixture, making sure it is fully coated on all sides. Then dredge the chicken in the breadcrumb mixture, pressing lightly to ensure the breadcrumbs adhere evenly and form a crispy crust.
- Sear the Chicken: Heat the olive oil in a large oven-safe skillet over medium-high heat. When the oil is hot, add the coated chicken breasts and sear them for about 2 to 3 minutes on each side, or until they turn a golden brown color. This step helps lock in flavor and create a crispy exterior.
- Bake to Finish: Transfer the skillet with the seared chicken directly into the preheated oven. Bake for 20 to 25 minutes, depending on the thickness of the chicken breasts, until the internal temperature reaches 165°F (75°C) and the coating is crispy and golden.
- Rest and Serve: Remove the skillet from the oven and let the chicken rest for a few minutes to retain its juices. Garnish with freshly chopped parsley and serve with lemon wedges for a fresh, tangy finish.
Notes
- You can substitute chicken thighs for breasts if you prefer juicier meat; cooking times may vary slightly.
- For extra crispiness, use panko breadcrumbs instead of regular breadcrumbs.
- If you don’t have ranch seasoning packets, you can make your own by combining dried dill, garlic powder, onion powder, dried parsley, salt, and pepper.
- Ensure the skillet you use is oven-safe when transferring from stovetop to oven.
- Letting the chicken rest after baking allows juices to redistribute, keeping the meat moist.


