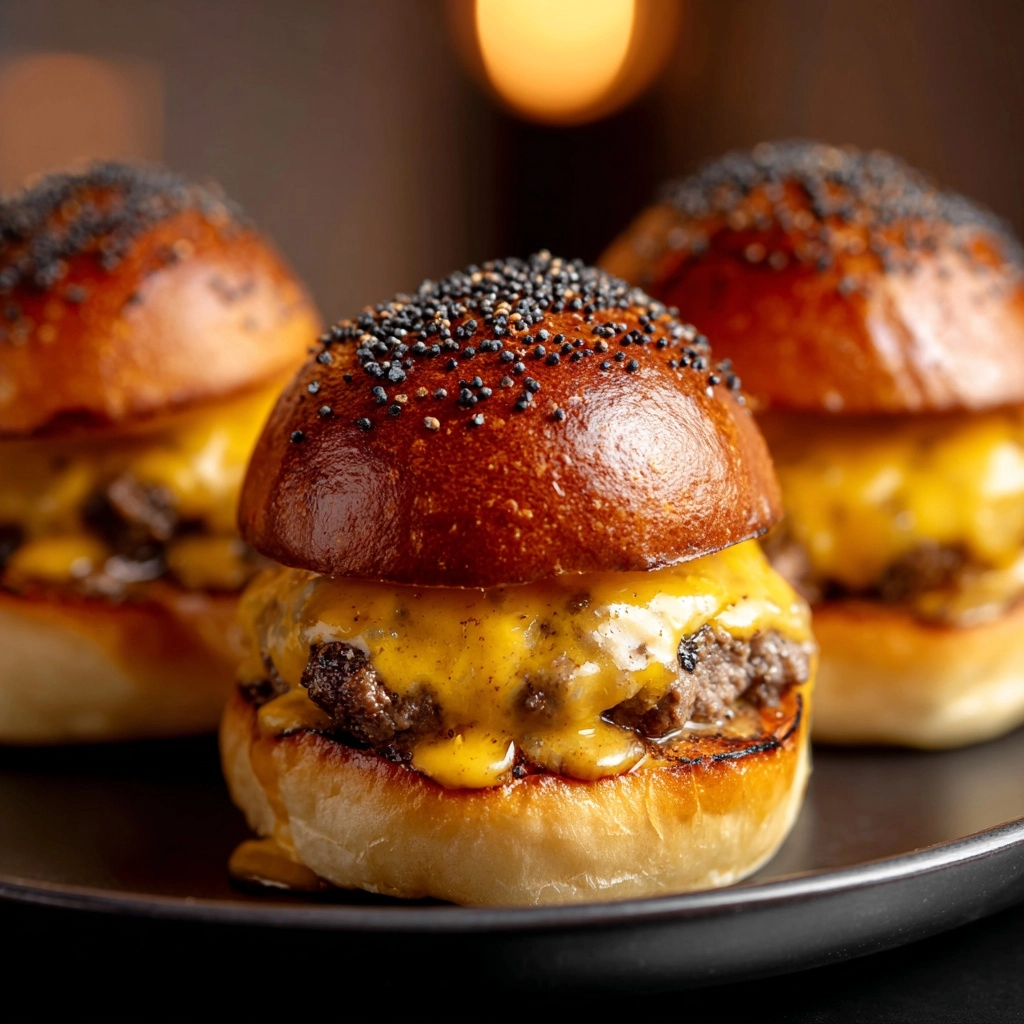
If there’s one dish guaranteed to put a smile on your face in the morning, it’s Breakfast Sliders. These adorable, golden sandwich squares are everything you crave—warm, savory, melty, and satisfyingly portable. Imagine layers of fluffy scrambled eggs, crispy bacon, juicy breakfast sausage, and bubbly cheese all snuggled inside sweet Hawaiian rolls. Whether you’re feeding a hungry brunch crowd or meal-prepping for the week, these sliders are about to become your new go-to breakfast treat. Trust me: you’ll look for every excuse to whip up Breakfast Sliders again and again!
Ingredients You’ll Need
This recipe uses simple, crowd-pleasing ingredients, but the way they come together is what makes Breakfast Sliders so irresistible. Every component plays its part, bringing crunch, creaminess, or a pop of color to your plate.
- Hawaiian rolls (12): Their pillowy softness and slight sweetness are the perfect canvas for rich breakfast fillings.
- Large eggs (6): Fluffy, scrambled eggs are the heart of each slider, adding unbeatable creaminess.
- Milk (2 tablespoons): Just a splash makes the eggs extra tender and light.
- Cooked bacon (6 slices): For crispy, smoky flavor tucked into every bite.
- Breakfast sausage patties (6): Savory sausage brings bold, satisfying flavor—try turkey or chicken sausage for a twist.
- Cheddar or American cheese (6 slices): Melting cheese seals everything together in gooey, delicious fashion.
- Butter, melted (2 tablespoons): Brushed on top for a glossy, golden finish and extra bakery flavor.
- Everything bagel seasoning (1 teaspoon, optional): Sprinkles a pop of oniony, garlicky crunch right before baking—so fun and flavorful!
- Salt and black pepper, to taste: For seasoning your eggs and letting every ingredient shine.
How to Make Breakfast Sliders
Step 1: Prep the Rolls
Preheat your oven to 350°F (175°C). Grab your Hawaiian rolls or slider buns, and without separating them, slice them horizontally in half. Place the bottom half in a greased 9×13-inch baking dish—this helps keep every slider together and makes assembly a breeze.
Step 2: Scramble the Eggs
In a mixing bowl, whisk together the eggs, milk, a good pinch of salt, and some cracked black pepper. Pour the mixture into a nonstick skillet over medium heat. Gently scramble until the eggs are just set and still a touch creamy, then remove from the heat. You want soft eggs, since they’ll finish cooking in the oven.
Step 3: Layer on the Fillings
Spread the scrambled eggs evenly over the bottom layer of rolls. Next, add a generous layer of bacon, then nestle the sausage patties on top, making sure each future slider gets plenty of both. Drape the cheese slices over the whole thing—there’s no such thing as too much melty cheese here!
Step 4: Assemble and Top It Off
Place the top half of the rolls gently over your towering breakfast fillings. Brush the tops with the melted butter for a glossy, bakery-style finish. If you’re a fan of extra flavor and crunch, sprinkle everything bagel seasoning across the tops.
Step 5: Bake to Golden Perfection
Cover the dish with foil and bake for 15 minutes. This helps the cheese get ooey-gooey and melds all the flavors. Then, remove the foil and bake uncovered for another 5 minutes until the slider tops are golden and just slightly crisp. Let the sliders rest for a moment before slicing into 12 individual pieces. Serve warm and enjoy the applause.
How to Serve Breakfast Sliders

Garnishes
Take your Breakfast Sliders to the next level with a few clever garnishes—think fresh chopped chives, a sprinkle of extra bagel seasoning, or even a light drizzle of hot honey for sweet-heat magic. A little chopped parsley or cilantro adds fresh color and wakes up the whole pan.
Side Dishes
Pair your sliders with simple breakfast sides like fresh fruit salad, crispy hash browns, or a leafy green salad tossed with a zesty vinaigrette. They also love company with roasted potatoes, yogurt parfaits, or even a pitcher of cold brew for a brunch that feels celebration-worthy.
Creative Ways to Present
For gatherings, arrange the sliders on a big wooden board surrounded by fruit, pickled veggies, or small bowls of dipping sauces like salsa or sriracha mayo. If you’re serving kids, stick a fun party pick in each slider for easy grab-and-go bites. Stack them high on a platter and watch them vanish in minutes!
Make Ahead and Storage
Storing Leftovers
If you’re lucky enough to have any sliders left, cool them completely before storing in an airtight container in the fridge. They’ll keep well for two to three days, ready for a quick breakfast or snack whenever you need it.
Freezing
Breakfast Sliders freeze beautifully! After baking and cooling, wrap each slider individually in plastic wrap, then transfer them to a freezer-safe bag. They’ll keep their flavor and texture for up to two months, making breakfast prep remarkably easy on busy mornings.
Reheating
For the best results, reheat the sliders in a 350°F (175°C) oven, covered with foil, for 10-15 minutes until hot and melty. If you’re in a hurry, a quick zap in the microwave does the trick—just unwrap and heat in 30-second intervals until warmed through.
FAQs
Can I use different meats in Breakfast Sliders?
Absolutely! Feel free to swap in ham, turkey sausage, or even veggie sausage patties for a different twist. Mix and match depending on what you love or what’s hanging out in your fridge.
How do I keep the sliders from getting soggy?
Make sure your eggs aren’t overly wet and let both the sausage and bacon drain on paper towels after cooking. Assembling the sliders right before baking and avoiding watery add-ins keeps everything deliciously crisp.
Can these sliders be made vegetarian?
Yes! Use plant-based sausage or omit the meat altogether, and pile on sautéed veggies like peppers, spinach, or mushrooms for a colorful, satisfying vegetarian Breakfast Slider.
What’s the best way to assemble these ahead of time?
Assemble the sliders up to the baking step, cover with foil, and refrigerate overnight. In the morning, just pop them straight into a preheated oven and bake as directed. Perfect for brunch parties or early mornings!
Do these work for meal prep?
They’re fantastic for meal prep! Make a pan on Sunday, slice, and refrigerate. Grab a slider each morning, reheat, and you have a portable, homemade breakfast that travels as well as it tastes.
Final Thoughts
Breakfast Sliders are a little bit magic: quick to make, so easy to customize, and guaranteed to win over everyone at the table. I hope you give them a try soon—your mornings (and your taste buds) will thank you!


