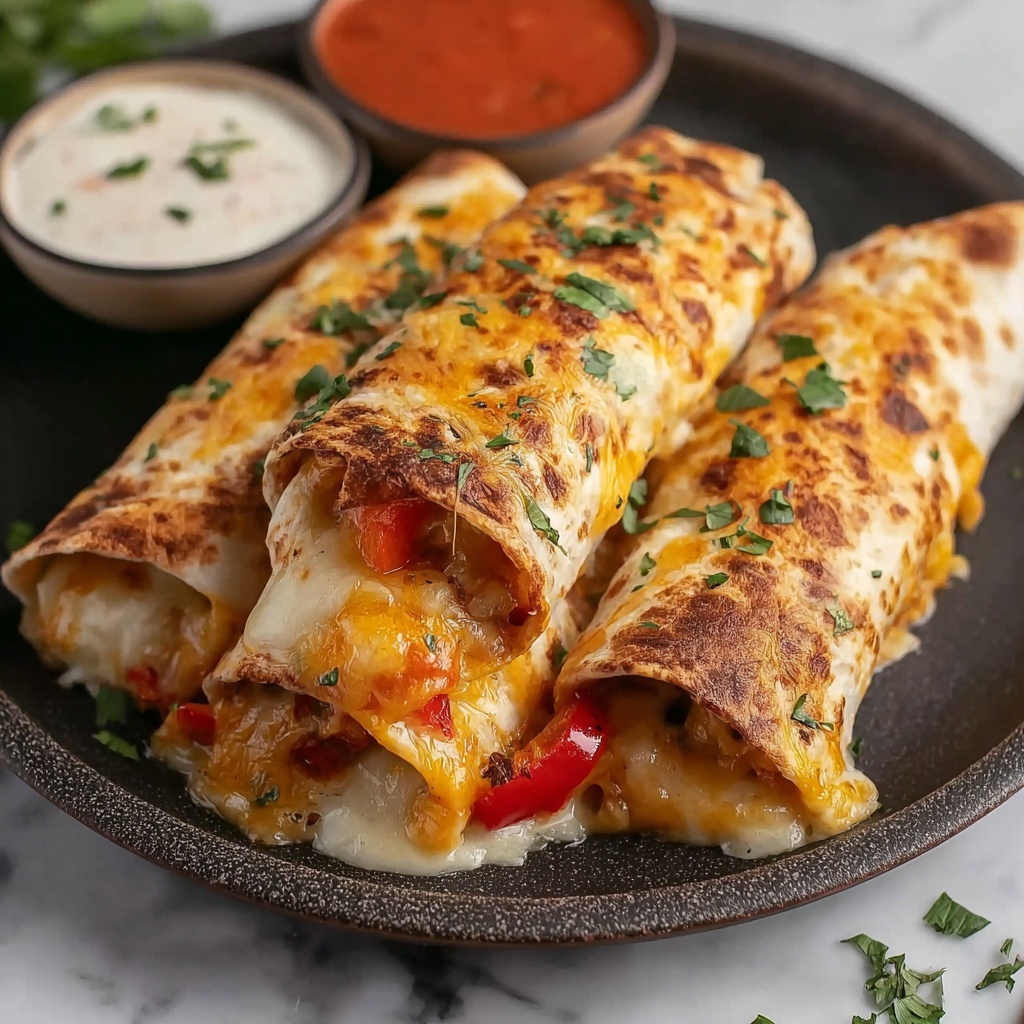
If you’re craving a crowd-pleasing Mexican-inspired dish that’s both satisfying and simple to prepare, these Baked Chicken Chimichangas: Easy and Delicious Recipe are your new best friend. Crispy on the outside with a creamy, cheesy, seasoned chicken filling on the inside, these baked chimichangas bring together bold flavors and irresistible textures, all without the fuss of frying. Whether you’re feeding a family or hosting friends, this recipe guarantees that everyone will go back for seconds, eager to savor every bite.

Ingredients You’ll Need
The magic in any dish comes down to the ingredients, and this recipe shines because it keeps things straightforward yet flavorful. Each element is carefully chosen to bring creaminess, spice, and that perfect crispy finish that turns simple tortillas into something exceptional.
- Cream cheese: Adds smoothness and a rich, tangy base to balance the spices.
- Pepperjack cheese, shredded: Brings a nice kick and meltability that makes the filling extra gooey.
- Taco seasoning: Packs in that classic southwest flavor that wakes up the entire dish.
- Cooked chicken, shredded: The hearty protein that soaks up all the cheesy goodness.
- Flour tortillas: Soft and pliable, perfect for wrapping up the filling tightly.
- Cooking spray: Ensures a golden, crispy surface without the oiliness of frying.
- Shredded cheddar cheese (for garnish): Adds a sharp, gooey topping that enhances every bite.
- Green onions (for garnish): A fresh pop of color and mild flavor to balance richness.
- Sour cream and salsa (for serving): Classic accompaniments that bring cooling creaminess and tangy spice.
How to Make Baked Chicken Chimichangas: Easy and Delicious Recipe
Step 1: Mix the Cheeses and Seasoning
This is the flavor foundation. Start by combining the cream cheese, shredded Pepperjack cheese, and taco seasoning in a bowl. Stir them together until the mixture is smooth and well-blended. This step ensures every bite is creamy, cheesy, and packed with southwestern flair.
Step 2: Add Chicken
Next, gently fold in the shredded cooked chicken. Make sure the chicken is evenly coated with the cheesy seasoning blend to infuse the whole filling with bold, savory flavor.
Step 3: Fill and Roll
Lay out your flour tortillas flat on a clean surface. Divide the chicken mixture evenly among them, placing it in the center of each tortilla. Then tuck in the sides tightly and roll them up to seal the filling inside. This careful wrapping keeps the chimichangas neat and prevents any filling from escaping during baking.
Step 4: Bake
Preheat your oven to 350°F (175°C). Spray a 9×13-inch baking dish with cooking spray for easy cleanup and to avoid sticking. Place the rolled chimichangas seam side down in the dish. Then spray the tops with a little more cooking spray to help achieve that perfect golden crust. Bake for 15 minutes, carefully flip each chimichanga, and bake for another 15 minutes until they’re crisp and beautifully browned.
Step 5: Serve
Once out of the oven, sprinkle with shredded cheddar cheese and sliced green onions for an inviting finish. Serve with dollops of sour cream and salsa on the side for all those classic, tangy, and cooling complements to your Baked Chicken Chimichangas: Easy and Delicious Recipe.
How to Serve Baked Chicken Chimichangas: Easy and Delicious Recipe
Garnishes
Adding the right garnishes takes your baked chimichangas from great to memorable. Fresh sliced green onions not only add a vibrant splash of green but also introduce a slight onion sharpness that balances the creamy filling. Don’t forget a sprinkle of shredded cheddar cheese after baking, which melts slightly and adds great flavor depth.
Side Dishes
For a complete meal, think about serving these chimichangas with sides like Mexican rice, refried beans, or a crisp, refreshing salad. These sides complement the richness of the chimichangas and offer a nice variety of textures and flavors, making the meal both balanced and satisfying.
Creative Ways to Present
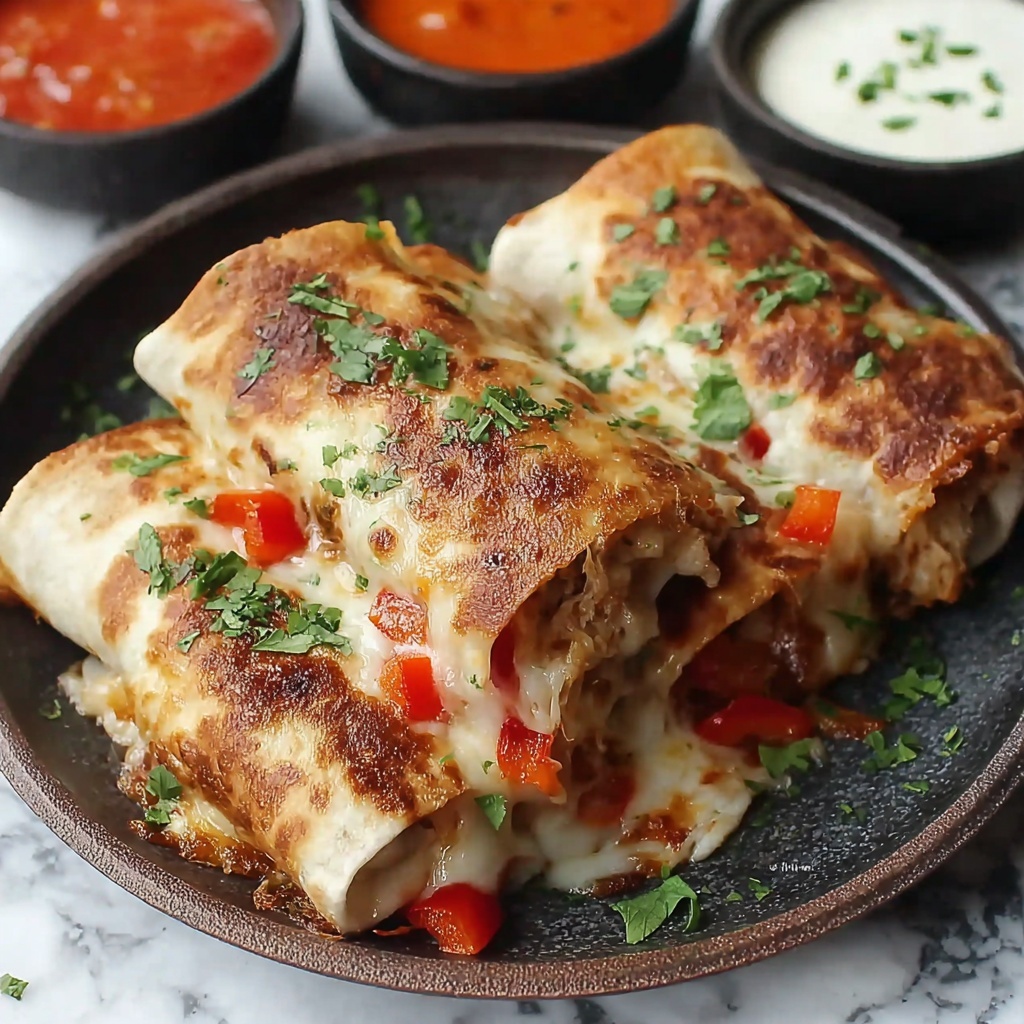
Want to impress your guests? Slice the chimichangas into pinwheels to showcase that cheesy, chicken-filled spiral inside. Arrange them on a vibrant plate with colorful salsa artfully drizzled around for a festive look. You can also pile them high on a platter for a casual family-style presentation that invites everyone to dig in.
Make Ahead and Storage
Storing Leftovers
If you have leftovers, store the baked chimichangas in an airtight container in the refrigerator. They will keep nicely for up to three days while preserving their flavor and texture.
Freezing
These chimichangas freeze beautifully before baking. Wrap each rolled chimichanga tightly in plastic wrap and place in a freezer bag. Freeze for up to two months for easy meals on busy days. When ready, pop them in the oven directly from frozen, just add extra baking time.
Reheating
To reheat, place leftover chimichangas on a baking sheet and warm in a 350°F oven for 10–15 minutes until heated through and crispy again. Avoid microwaving if you want to keep that fantastic crunchy exterior.
FAQs
Can I use other types of cheese instead of Pepperjack?
Absolutely! You can substitute Pepperjack with Monterey Jack, mozzarella, or even a mild cheddar. Each will give a slightly different flavor but maintain the creamy, melty texture.
Is it necessary to cook the chicken before using it in the chimichangas?
Yes, pre-cooked chicken works best here because the chimichangas are only baked to crisp the tortilla and warm the filling. Using raw chicken could leave you with undercooked meat.
Can I make these chimichangas gluten-free?
Definitely. Simply swap the flour tortillas for gluten-free tortillas, which are widely available. The rest of the ingredients are naturally gluten-free.
Why bake instead of frying the chimichangas?
Baking results in a lighter, less greasy chimichanga while still delivering a crispy shell. It’s a healthier option that still satisfies that craving for crunchy, cheesy goodness.
Can I add vegetables to the filling?
Yes, adding finely chopped bell peppers, onions, or corn can add a wonderful crunch and extra nutrition without overwhelming the flavors.
Final Thoughts
This Baked Chicken Chimichangas: Easy and Delicious Recipe is truly a game changer for anyone who loves bold, cheesy comfort food but prefers a lighter cooking method. It’s straightforward to prepare, wonderfully tasty, and perfect for any occasion. I can’t wait for you to try making these at home and enjoy the smiles they bring around your table!
Print
Baked Chicken Chimichangas: Easy and Delicious Recipe
- Prep Time: 10 minutes
- Cook Time: 30 minutes
- Total Time: 40 minutes
- Yield: 8 servings
- Category: Main Course
- Method: Baking
- Cuisine: Mexican-American
Description
These Baked Chicken Chimichangas are an easy and delicious twist on a classic favorite. Cream cheese and Pepperjack blend with seasoned shredded chicken, all wrapped in flour tortillas and baked to golden perfection. A healthier alternative to frying, they’re crispy, cheesy, and perfect for a family dinner or casual gathering.
Ingredients
Filling
- 8 oz package cream cheese
- 8 oz Pepperjack cheese, shredded
- 1 1/2 tbsp taco seasoning
- 1 lb cooked chicken, shredded
Wraps
- 8 flour tortillas
- Cooking spray
Garnish & Serving
- Shredded cheddar cheese (for garnish)
- Green onions, sliced (for garnish)
- Sour cream (for serving)
- Salsa (for serving)
Instructions
- Mix the Cheeses and Seasoning: In a medium bowl, stir together the cream cheese, shredded Pepperjack cheese, and taco seasoning until the mixture becomes smooth and well combined.
- Add Chicken: Fold the shredded cooked chicken into the cheese mixture, making sure the chicken is evenly coated with the seasoning and cheese blend.
- Fill and Roll: Lay out the flour tortillas on a flat surface. Divide the chicken mixture evenly among the tortillas. Spoon the filling onto each tortilla, tuck in the sides, and roll tightly to form chimichangas.
- Bake: Preheat your oven to 350°F (175°C). Lightly spray a 9×13-inch baking dish with cooking spray. Place the rolled chimichangas seam side down in the dish. Spray the tops gently with cooking spray to promote crisping. Bake for 15 minutes, then carefully flip each chimichanga and bake for another 15 minutes or until they turn golden brown and crispy.
- Serve: Remove the chimichangas from the oven. Garnish with shredded cheddar cheese and sliced green onions. Serve hot with sour cream and salsa on the side for dipping.
Notes
- For extra crispiness, you can broil the chimichangas for 1-2 minutes after baking, keeping a close watch to avoid burning.
- Use rotisserie chicken or leftover roasted chicken to save time.
- Feel free to add finely chopped jalapeños or corn to the filling for added flavor and texture.
- To make this recipe gluten-free, substitute flour tortillas with corn tortillas that can hold the filling without tearing.
- Leftovers can be refrigerated for up to 3 days and reheated in the oven to retain crispiness.
