
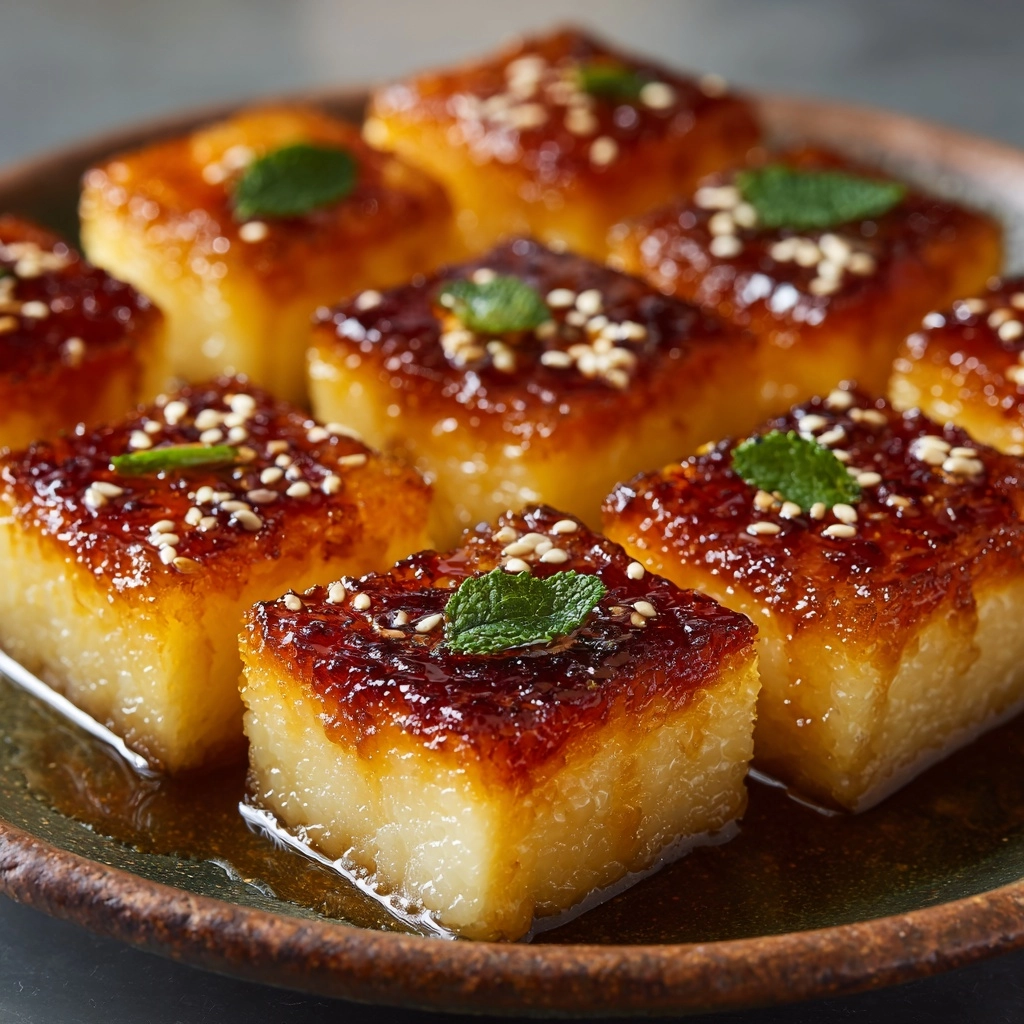
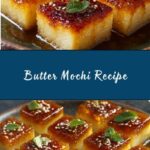
If you’re looking for a treat that’s comfortingly chewy, just sweet enough, and always a crowd-pleaser, Butter Mochi is the answer! This beloved Hawaiian dessert is a magical marriage of rice flour and coconut, with a golden, buttery top and a soft, bouncy center you’ll crave again and again. With every bite, you get a taste of island nostalgia, and the best part is how easy it is to make right at home. Whether you’re new to mochi or already a fan, this recipe is about to become your go-to for potlucks, picnics, and weeknight cravings.
Ingredients You’ll Need
The beauty of Butter Mochi is that it only takes a handful of pantry staples, but each one plays a key role in creating that signature chewy texture and rich flavor. Here’s what you’ll need, along with a little tip for each ingredient to help you bake with confidence.
- Mochiko sweet rice flour: This glutinous rice flour is the secret to mochi’s signature chew; don’t substitute with regular rice flour!
- Granulated sugar: Adds the perfect amount of sweetness without overpowering the coconut flavor.
- Baking powder: Gives just enough lift to keep the mochi light without making it cakey.
- Salt: Balances out the sweetness and brings out the buttery notes.
- Eggs: Help bind everything together and add a little richness.
- Evaporated milk: Adds creaminess and a subtle caramel note that pairs beautifully with coconut.
- Coconut milk: The true heart of Butter Mochi, this gives the dessert its irresistible tropical flavor.
- Vanilla extract: Rounds out the flavors with a warm, fragrant finish.
- Unsalted butter (melted and cooled): The namesake ingredient—adds richness and helps that golden, crisp top form in the oven.
How to Make Butter Mochi
Step 1: Prep Your Pan and Preheat the Oven
Start by preheating your oven to 350°F (175°C) and generously greasing a 9×13-inch baking pan. This step ensures your Butter Mochi won’t stick, so you’ll get perfect, clean-edged squares every time. If you like, you can also line the pan with parchment paper for extra insurance.
Step 2: Mix the Dry Ingredients
In a large mixing bowl, whisk together the mochiko flour, sugar, baking powder, and salt. Make sure everything is thoroughly combined—this will help the batter come together smoothly and prevent any lumps of flour from sneaking into your finished mochi.
Step 3: Blend the Wet Ingredients
In a separate bowl, lightly beat the eggs. Then add the evaporated milk, coconut milk, vanilla extract, and melted butter. Whisk until everything is well blended and the mixture looks creamy and uniform. This is where the magic begins: you’ll notice the coconut scent right away!
Step 4: Combine Wet and Dry
Gradually pour the wet mixture into the dry ingredients, whisking as you go. Keep stirring until the batter is completely smooth—no lumps, just a silky, pourable batter that almost shimmers. Don’t rush this step; a minute or two of patience here pays off with perfect texture later.
Step 5: Bake to Golden Perfection
Pour the batter into your prepared pan, smoothing the top with a spatula. Bake for 55 to 60 minutes, or until the top is beautifully golden and a toothpick inserted into the center comes out clean. The kitchen will smell like heaven! Let the Butter Mochi cool completely in the pan before slicing—it needs this time to set properly for those neat, chewy squares.
How to Serve Butter Mochi

Garnishes
While Butter Mochi is delightful on its own, you can dress it up with a dusting of powdered sugar, some toasted coconut flakes, or even a drizzle of sweetened condensed milk if you’re feeling decadent. For a pop of color, try adding a sprinkle of sesame seeds or a few edible flowers right before serving.
Side Dishes
This chewy treat pairs perfectly with hot tea or coffee, balancing out its richness. For a Hawaiian-style dessert spread, serve Butter Mochi alongside fresh pineapple, mango slices, or a tangy fruit salad to brighten every bite.
Creative Ways to Present
Cut the mochi into bite-sized cubes for party platters, or use a cookie cutter for fun shapes at birthdays. For extra flair, layer squares with whipped cream and fresh berries for a casual trifle, or skewer them with fruit for a playful dessert kabob. Butter Mochi’s versatility makes it a star at any gathering!
Make Ahead and Storage
Storing Leftovers
Butter Mochi keeps like a dream! Store any leftovers in an airtight container at room temperature for up to two days. If you’re in a hot or humid climate, it’s best to keep it in the fridge, where the texture holds up beautifully for up to five days.
Freezing
To freeze, wrap individual squares tightly in plastic wrap and place them in a freezer-safe bag or container. Butter Mochi freezes well for up to two months. When you’re ready for a treat, just thaw a square at room temperature or in the fridge overnight.
Reheating
If you prefer your mochi warm and extra soft, just pop a square in the microwave for 10 to 15 seconds. This little trick revives the chewy texture and brings out that dreamy, buttery flavor all over again.
FAQs
Can I make Butter Mochi without coconut milk?
Coconut milk is what gives Butter Mochi its iconic flavor and tender texture. If you really need to substitute, try another full-fat non-dairy milk (like oat or almond), but just know the taste and chewiness won’t be quite the same.
What’s the difference between mochiko rice flour and regular rice flour?
Mochiko is made from glutinous rice and is essential for the classic mochi chew. Regular rice flour won’t give you the same texture, so stick with mochiko for authentic Butter Mochi.
Why is my Butter Mochi too dense or oily?
If your mochi turns out dense, the batter may not have been mixed enough, or the baking powder wasn’t distributed evenly. Oily mochi could be from not letting the melted butter cool before mixing it in—so let it cool to room temp first!
Can I add extra flavors or mix-ins?
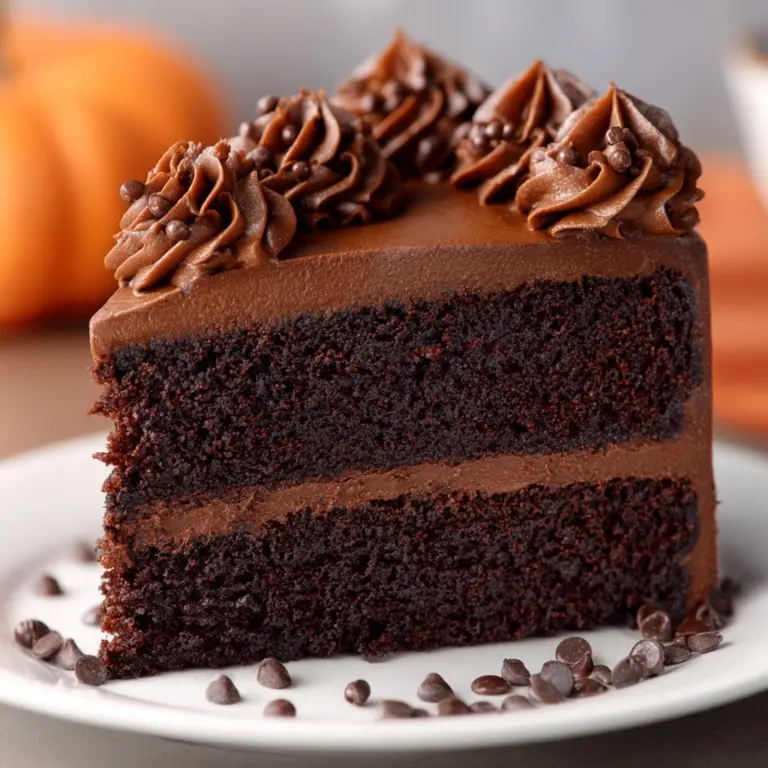
Absolutely! Shredded coconut, a splash of almond extract, or even a handful of mini chocolate chips can make your Butter Mochi unique. Just don’t go too wild—too many add-ins might affect the texture.
Is Butter Mochi gluten-free?
Yes! Because it’s made with sweet rice flour, Butter Mochi is naturally gluten-free, making it a perfect treat for those avoiding wheat.
Final Thoughts
If you haven’t tried Butter Mochi yet, you’re about to fall in love with its chewy, coconutty charm! This recipe is simple, reliable, and absolutely irresistible—perfect for sharing with friends or savoring solo with a cup of tea. Give it a try, and don’t be surprised if your kitchen becomes the most popular spot on the block!
Print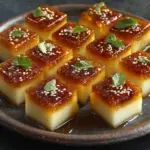
Butter Mochi Recipe
- Prep Time: 15 minutes
- Cook Time: 1 hour
- Total Time: 1 hour 15 minutes
- Yield: 24 squares
- Category: Dessert
- Method: Baking
- Cuisine: Hawaiian
- Diet: Vegetarian
Description
Butter Mochi is a beloved Hawaiian dessert known for its chewy texture and rich coconut flavor. Made with mochiko (sweet rice flour), evaporated milk, coconut milk, and butter, this cake is a luscious treat that combines the best of mochi and traditional baking. It’s simple to make and perfect for sharing at gatherings or enjoying as a sweet snack.
Ingredients
Dry Ingredients
- 1 box (16 ounces) mochiko sweet rice flour
- 2 cups granulated sugar
- 2 teaspoons baking powder
- 1/2 teaspoon salt
Wet Ingredients
- 4 large eggs
- 1 can (12 ounces) evaporated milk
- 1 can (13.5 ounces) coconut milk
- 1 teaspoon vanilla extract
- 1/2 cup unsalted butter (melted and cooled)
Instructions
- Preheat and Prepare Pan: Preheat the oven to 350°F (175°C) and grease a 9×13-inch baking pan thoroughly to prevent sticking.
- Mix Dry Ingredients: In a large bowl, whisk together the mochiko flour, granulated sugar, baking powder, and salt until evenly combined.
- Combine Wet Ingredients: In a separate bowl, beat the eggs well. Then add the evaporated milk, coconut milk, vanilla extract, and melted cooled butter, mixing thoroughly.
- Blend Wet into Dry: Gradually pour the wet ingredient mixture into the dry ingredients, whisking continuously until the batter is smooth and free of lumps.
- Pour and Smooth Batter: Transfer the batter into the prepared baking pan and gently smooth the surface with a spatula to ensure even cooking.
- Bake: Place the pan in the preheated oven and bake for 55–60 minutes. Bake until the top turns golden brown and a toothpick inserted into the center comes out clean.
- Cool and Serve: Remove from oven and allow the butter mochi to cool completely in the pan before cutting into 24 squares. Serve at room temperature or slightly warmed for the best texture.
Notes
- For an extra burst of flavor, consider adding shredded coconut or a splash of almond extract to the batter.
- Butter mochi can be stored at room temperature for up to 2 days or refrigerated for up to 5 days.
- Rewarm slightly before serving to regain its soft and chewy texture.
Nutrition
- Serving Size: 1 square
- Calories: 190
- Sugar: 16 g
- Sodium: 95 mg
- Fat: 7 g
- Saturated Fat: 5 g
- Unsaturated Fat: 2 g
- Trans Fat: 0 g
- Carbohydrates: 28 g
- Fiber: 1 g
- Protein: 3 g
- Cholesterol: 30 mg

