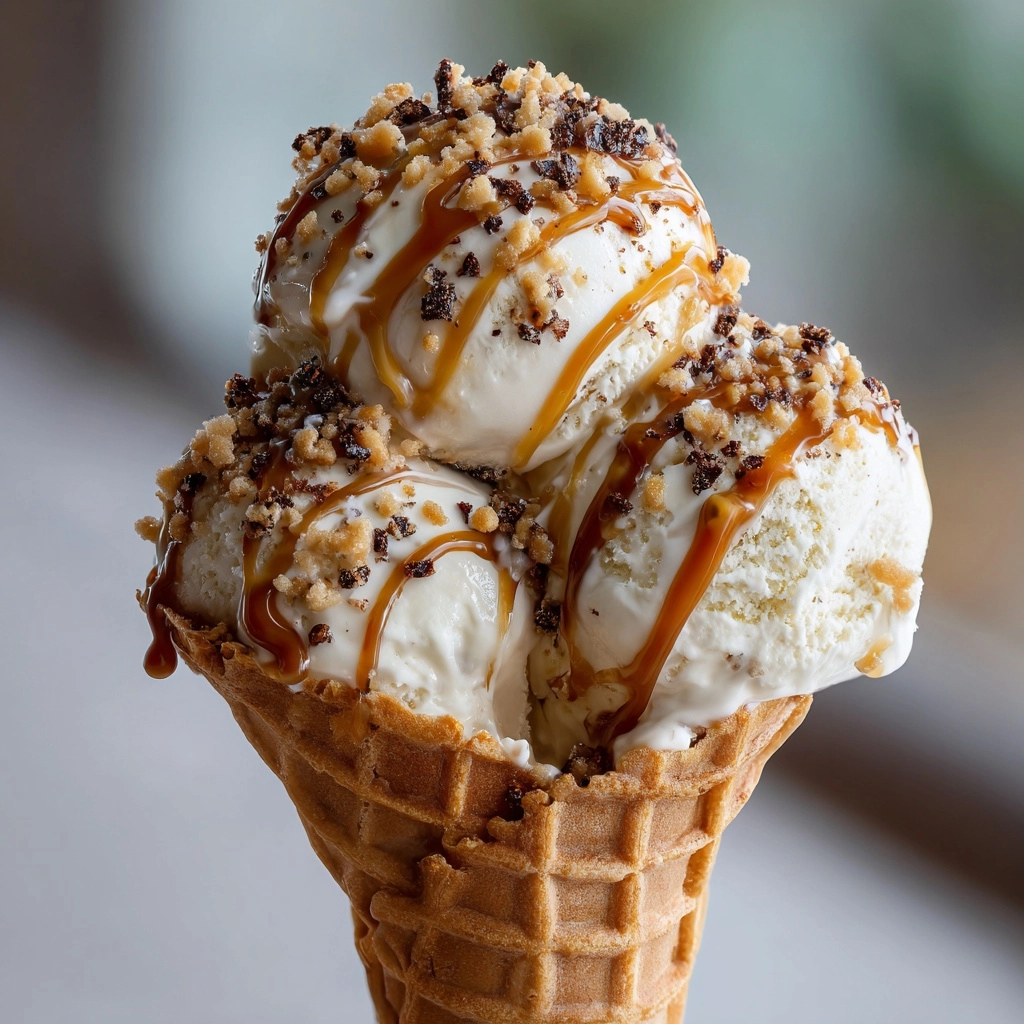
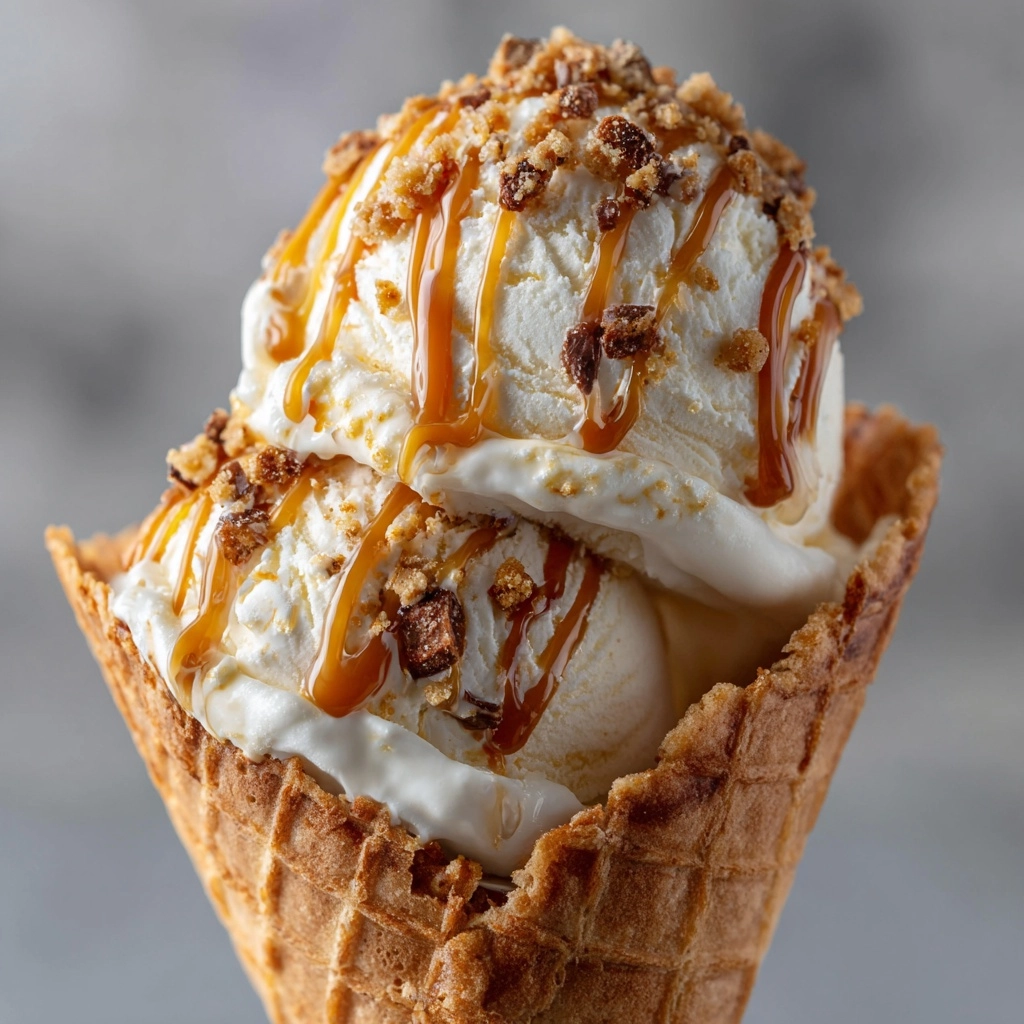
If you dream of the ultimate luxurious treat that is both sweet and salty, Homemade Salted Caramel Ice Cream is about to become your new obsession. Its silky texture, swirls of decadent caramel, and pops of sea salt create a swoon-worthy experience—honestly, every spoonful feels like a tiny celebration. Whether you’re entertaining friends or simply treating yourself, this ice cream is proof that the best desserts start in your very own kitchen. Let’s turn simple ingredients into pure homemade magic!
Ingredients You’ll Need
This recipe truly shines because of its handful of carefully chosen ingredients—each one has a delicious purpose, giving the ice cream its signature flavor and creamy consistency. It all starts with sugar and ends with a little sea salt sparkle!
- Granulated Sugar: The foundation of our luscious homemade caramel; melting it just right brings out those deep toffee notes.
- Unsalted Butter: Adds richness and body to the caramel, giving every bite that irresistible smoothness.
- Heavy Cream (½ cup, warmed): Makes the caramel extra velvety and helps create those dreamy swirls.
- Sea Salt (flaky or kosher): The magic ingredient! Balances the sweetness and highlights the deep caramel flavor with a savory touch.
- Heavy Cream (2 cups): Ensures the ice cream churns up rich and creamy—never icy.
- Whole Milk: Gives the custard base a slightly lighter, scoopable texture.
- Egg Yolks: Responsible for that luxurious custard mouthfeel—don’t skip them for classic, rich ice cream.
- Vanilla Extract: Brightens and rounds out all the caramel notes with subtle warmth.
How to Make Homemade Salted Caramel Ice Cream
Step 1: Create the Caramel Base
Start by melting your granulated sugar in a medium saucepan over medium heat, stirring continuously until it becomes a gorgeous, deep amber liquid. The transformation is mesmerizing! Once it’s ready, drop in your unsalted butter and mix until completely melted and glossy. This is where the caramel’s complexity really develops.
Step 2: Add Cream and Salt
Slowly pour in that warmed half-cup of heavy cream—brace yourself for the dramatic bubbling! Keep stirring as you add your sea salt, embracing those savory sparkles. Take the pan off the heat and let your caramel sauce cool slightly. Now you have the heart and soul of your Homemade Salted Caramel Ice Cream!
Step 3: Make the Custard
In a second saucepan, gently heat the milk and remaining heavy cream until they’re just steaming. Then, whisk your egg yolks in a bowl until pale and creamy. Slowly pour a bit of the hot milk mixture into the yolks, whisking all the while (this keeps the eggs silky-smooth, not scrambled!). Pour everything back into the saucepan and cook, stirring constantly, until thick enough to coat the back of a spoon.
Step 4: Combine with Caramel and Chill
Off the heat, fold in your homemade caramel and vanilla extract. If you want to swirl in some caramel later, remember to hold back 2–3 tablespoons at this stage. Let this custard base cool to room temperature, then chill it in the fridge for at least 4 hours, or overnight for maximum flavor infusion.
Step 5: Churn and Freeze
Once your base is really cold, churn it in your ice cream maker according to the manufacturer’s instructions. Just before it finishes, drizzle in any reserved caramel for those delightful ribbons. Spoon the ice cream into a freezer container, then freeze until perfectly firm (about 4 hours). At last, scoop and savor the magic of Homemade Salted Caramel Ice Cream!
How to Serve Homemade Salted Caramel Ice Cream

Garnishes
Homemade Salted Caramel Ice Cream shines with a final flourish! Try a pinch of flaky sea salt on top, a few crunchy chopped pecans, or an extra drizzle of warm caramel sauce. Even a sprinkle of toasted coconut can add a surprising twist. These little touches play up the flavors and turn every bowl into a work of art.
Side Dishes
Pairing ideas abound: serve scoops beside fudgy brownies, soft-baked chocolate chip cookies, or even buttery pound cake. Fresh, barely sweetened berries make a lively counterpoint to the richness, and don’t underestimate the simplicity of waffles or crepes as elegant ice cream companions.
Creative Ways to Present
There’s more than one way to enjoy your Homemade Salted Caramel Ice Cream! Layer it into ice cream sandwiches with crisp chocolate cookies, build a decadent sundae with candied nuts and whipped cream, or serve it in homemade cookie cups for a playful touch. For special occasions, try affogato-style with a shot of hot espresso poured over top—the caramel notes sing!
Make Ahead and Storage
Storing Leftovers
Transfer any leftover ice cream to an airtight container and press a piece of wax paper or plastic wrap directly onto the surface before sealing. This keeps the ice cream creamy and prevents icy crystals from forming. Stored properly, it will taste freshly churned for up to a week.
Freezing
If you need to keep your Homemade Salted Caramel Ice Cream for longer, it will hold in the freezer for up to two weeks without losing much of its smoothness or flavor. Let it sit on the counter for a few minutes before scooping to soften perfectly—homemade ice cream loves a little patience!
Reheating
While you won’t “reheat” ice cream, you can refresh the texture by transferring your container from the freezer to the fridge about 10–15 minutes before serving. The slight thaw brings out all the creaminess and lets those caramel swirls melt beautifully on the tongue.
FAQs
Can I make Homemade Salted Caramel Ice Cream without an ice cream maker?
Absolutely! Simply freeze the chilled custard base in a shallow dish, stirring vigorously with a fork every 30 minutes for 2–3 hours until it’s creamy and scoopable. The result will be rich and delicious, though maybe a touch less airy than churned.
What kind of salt is best for this recipe?
Flaky or kosher sea salt is ideal for that distinctive salted caramel taste, offering pops of salty crunch without overpowering the sweetness. Table salt will work in a pinch, but start with less and taste as you go.
Is it safe to eat homemade ice cream with egg yolks?
Yes! The custard base is gently cooked until it thickens, which safely tempers the egg yolks. Just be sure to cook until it coats the back of a spoon and reaches 170–175°F if using a thermometer.
Can I double the recipe?
Doubling the ingredients works beautifully, just make sure your ice cream maker or freezer space can handle the extra volume. You’ll also want to use a larger saucepan for the caramel to prevent bubbling over.
How can I swirl extra caramel without it sinking?
Wait until the ice cream is half-frozen (very thick but still spoonable), then gently fold in reserved caramel. Limit how much you use in one area for even swirls. This technique keeps the caramel visible and beautifully marbled.
Final Thoughts
If ever a dessert begged to be made from scratch, it’s Homemade Salted Caramel Ice Cream. Each spoonful brings you rich caramel, creamy custard, and just the right pop of salt—all swirled together with love. I truly hope you whip up a batch soon, share it with someone special, and discover firsthand just how magical homemade ice cream can be!