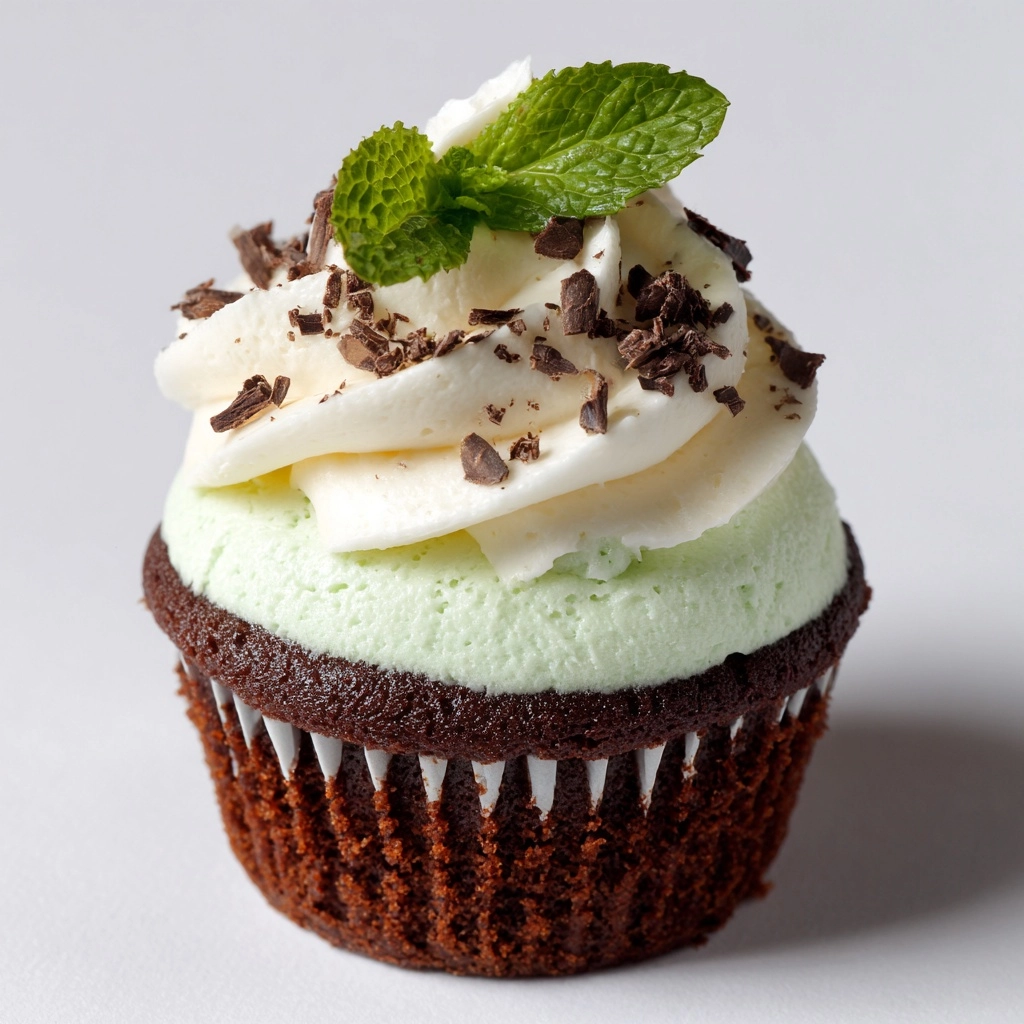
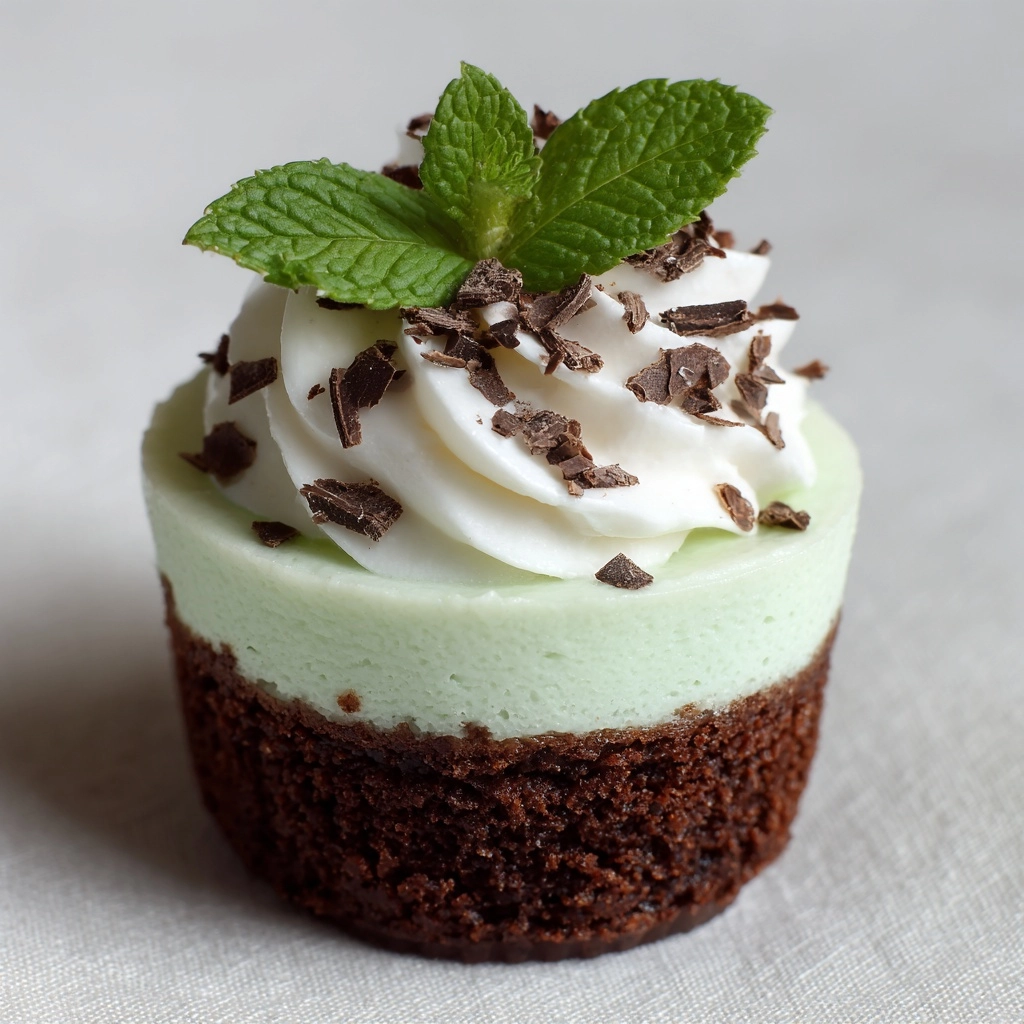
If you’re looking for a dessert that’s both adorable and absolutely irresistible, Mini Mint Cheesecakes are your answer! These little gems combine the rich, creamy texture of classic cheesecake with the fresh zing of peppermint, all atop a chocolate cookie crust. With their vibrant color and perfectly portioned size, they’re made for holidays, parties, or whenever a sweet craving strikes. The best part? They’re as easy to whip up as they are to devour, making them a go-to treat for bakers of any skill level.
Ingredients You’ll Need
Every ingredient in these Mini Mint Cheesecakes has a delicious job to do, contributing not only to the taste but also to the mouthwatering texture and eye-catching look. Gather these simple essentials and you’re already halfway to an unforgettable dessert!
- Chocolate sandwich cookies: These serve as a decadent, ready-made base, giving the cheesecakes a cookie-like crunch and deep cocoa flavor.
- Melted butter: The magic that binds the crust together for a solid, flavorful foundation.
- Cream cheese: This is your cheesecake’s creamy heart and soul; be sure it’s softened for the smoothest filling.
- Granulated sugar: Sweetens the filling to just the right level without overpowering the mint.
- Large egg: Helps set the filling, giving you that perfectly dense yet tender cheesecake texture.
- Vanilla extract: Adds a rounded, aromatic warmth that balances the punchy peppermint.
- Peppermint extract: Just a little transforms these cheesecakes into a minty wonderland; adjust for more or less freshness.
- Green food coloring (optional): If you’d like that playful mint hue, just a drop or two does the trick—totally optional, but so festive.
- Sour cream: Brings a subtle tang and extra silkiness to the filling (a must for real cheesecake fans!)
- Mini chocolate chips or chopped chocolate: For bursts of chocolate in every bite—fold these in for ultimate decadence.
- Whipped cream and extra chocolate for topping (optional): Take your Mini Mint Cheesecakes completely over the top with a cloud of whipped cream and a sprinkle of chocolate shavings.
How to Make Mini Mint Cheesecakes
Step 1: Prepare the Muffin Tin
Begin by preheating your oven to 325°F and lining a 12-cup muffin tin with paper liners. These little liners not only make for an easy release, they add a festive touch and keep clean-up minimal. This step sets you up for perfect, picture-worthy cheesecakes, every time.
Step 2: Make the Chocolate Cookie Crust
Take your chocolate sandwich cookies and crush them into fine, even crumbs. Mix these cookie crumbs with the melted butter until the mixture has the look and feel of damp sand. Spoon about a tablespoon of this mixture into each muffin cup and press down firmly (a flat-bottomed glass or the back of a spoon works wonders) to create a sturdy crust for your Mini Mint Cheesecakes.
Step 3: Mix the Cheesecake Filling
In a medium bowl, beat together the softened cream cheese and granulated sugar until completely smooth and no lumps remain. Crack in the egg, then add vanilla extract, peppermint extract, and a drop or two of green food coloring if you’re going for the classic minty look. Blend until everything is well combined. Finally, stir in the sour cream for extra silkiness and fold in the mini chocolate chips or chopped chocolate.
Step 4: Assemble and Bake
Divide the luscious cheesecake filling evenly among the prepared muffin cups, smoothing the tops as you go. Bake in the preheated oven for 15–18 minutes, just until the centers feel set (a gentle jiggle is perfect—they’ll firm up as they cool). Once baked, let the cheesecakes cool completely in the pan before transferring to the refrigerator. Chill for at least 2 hours to allow the flavors and texture to reach their peak.
Step 5: Garnish and Serve
When you’re ready to serve, top each mini cheesecake with a generous swirl of whipped cream and extra chocolate chips or shavings if you’d like. Each one is now a tiny, cheesecake masterpiece—minty, chocolatey, and oh-so-delightful!
How to Serve Mini Mint Cheesecakes

Garnishes
A dollop of whipped cream isn’t just tasty, it brings a soft creaminess that’s gorgeous against the cool mint and chocolate flavors. For eye-catching flair, sprinkle on chocolate curls, mini chocolate chips, or even a few fresh mint leaves. These easy touches make the Mini Mint Cheesecakes feel like a bakery treat right in your own kitchen.
Side Dishes
If you want to make your dessert spread spectacular, pair the cheesecakes with a bowl of fresh berries (raspberries love mint!), chocolate-dipped strawberries, or even a mug of rich hot chocolate. After dinner, these mini cheesecakes are perfectly complemented by coffee or an after-dinner mint liqueur.
Creative Ways to Present
Stack your Mini Mint Cheesecakes on a cake stand for an elegant dessert centerpiece, or arrange them in colorful paper liners on a platter for a festive buffet. For birthdays or holidays, top each one with a themed decoration—think tiny flags, sprinkles, or candy canes. They also make cute edible gifts: just pop them into a box lined with parchment and tie them up with a bow!
Make Ahead and Storage
Storing Leftovers
Leftover Mini Mint Cheesecakes keep beautifully in the fridge. Store them in an airtight container for up to 5 days—just make sure they’re thoroughly chilled before you add any garnishes, to keep everything fresh and picture-perfect for snacking whenever the craving hits.
Freezing
One of the best things about these cheesecakes is that they freeze exceptionally well. Simply wrap each cheesecake in plastic wrap, then place them all in a zip-top freezer bag or airtight container. They’ll keep for up to a month. For best results, add any whipped cream or garnishes after thawing.
Reheating
There’s no need to reheat Mini Mint Cheesecakes—they’re served straight from the fridge (or set out on the counter for a few minutes if you prefer them a little softer). If frozen, let them thaw in the fridge overnight or at room temperature for an hour before serving.
FAQs
Can I make Mini Mint Cheesecakes without food coloring?
Absolutely! The green color is just for fun and doesn’t affect the minty flavor or silky texture. Leave it out if you prefer a more classic look, or try a natural food coloring if you want a pop of color.
What’s the best way to crush the sandwich cookies?
You can use a food processor for even, fine crumbs, but if you want less cleanup, pop the cookies in a zipped plastic bag and crush them with a rolling pin or the bottom of a glass. The key is getting the crumbs small enough to press into a sturdy crust.
Can I substitute the sour cream?
Yes! Plain Greek yogurt (full-fat works best) is a great alternative if you don’t have sour cream. It keeps the filling smooth and adds a very slight tang, so your Mini Mint Cheesecakes will still taste delicious.
How do I know when the cheesecakes are baked?
Start checking at 15 minutes: the centers should look set but still jiggle ever so slightly when you gently shake the pan. This ensures they stay soft and creamy once chilled. Overbaking can cause them to crack, so keep an eye out!
Can I make these gluten-free?
Definitely. Simply use your favorite gluten-free chocolate sandwich cookies for the crust. Everything else in the recipe is naturally gluten-free, so everyone at your table can enjoy.
Final Thoughts
If you’re ready to impress your friends and family with a treat that’s cute, crowd-pleasing, and bursting with flavor, give these Mini Mint Cheesecakes a try. They’re a sweet little spin on dessert that never lasts long—trust me, your only challenge will be keeping a few for yourself!