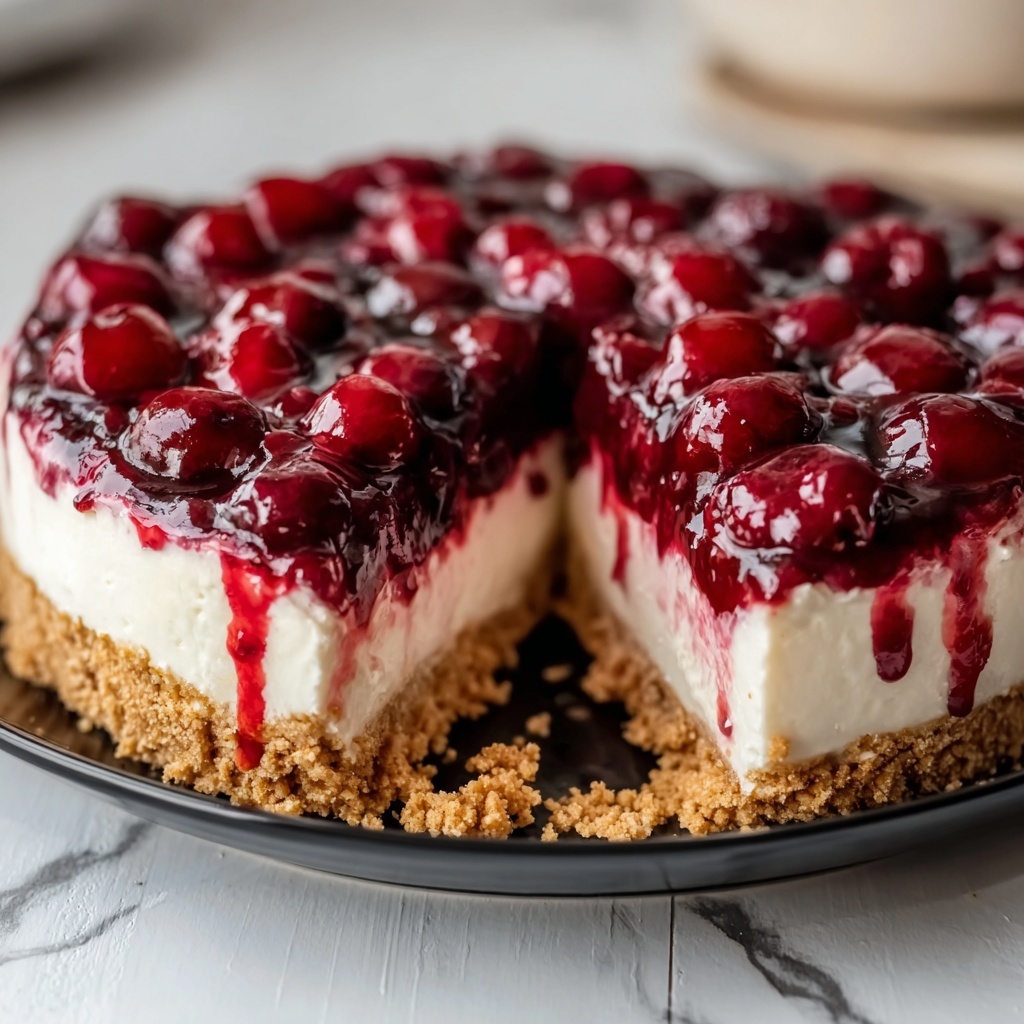
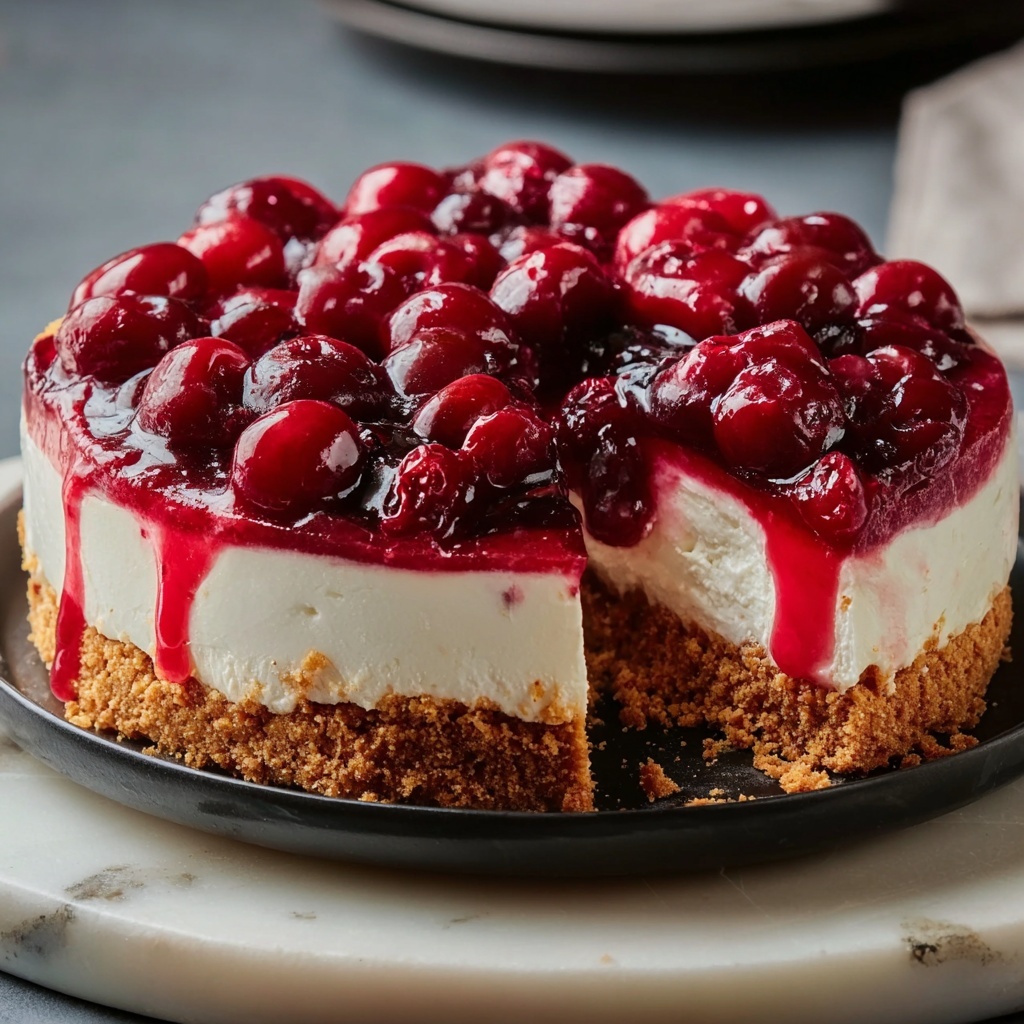
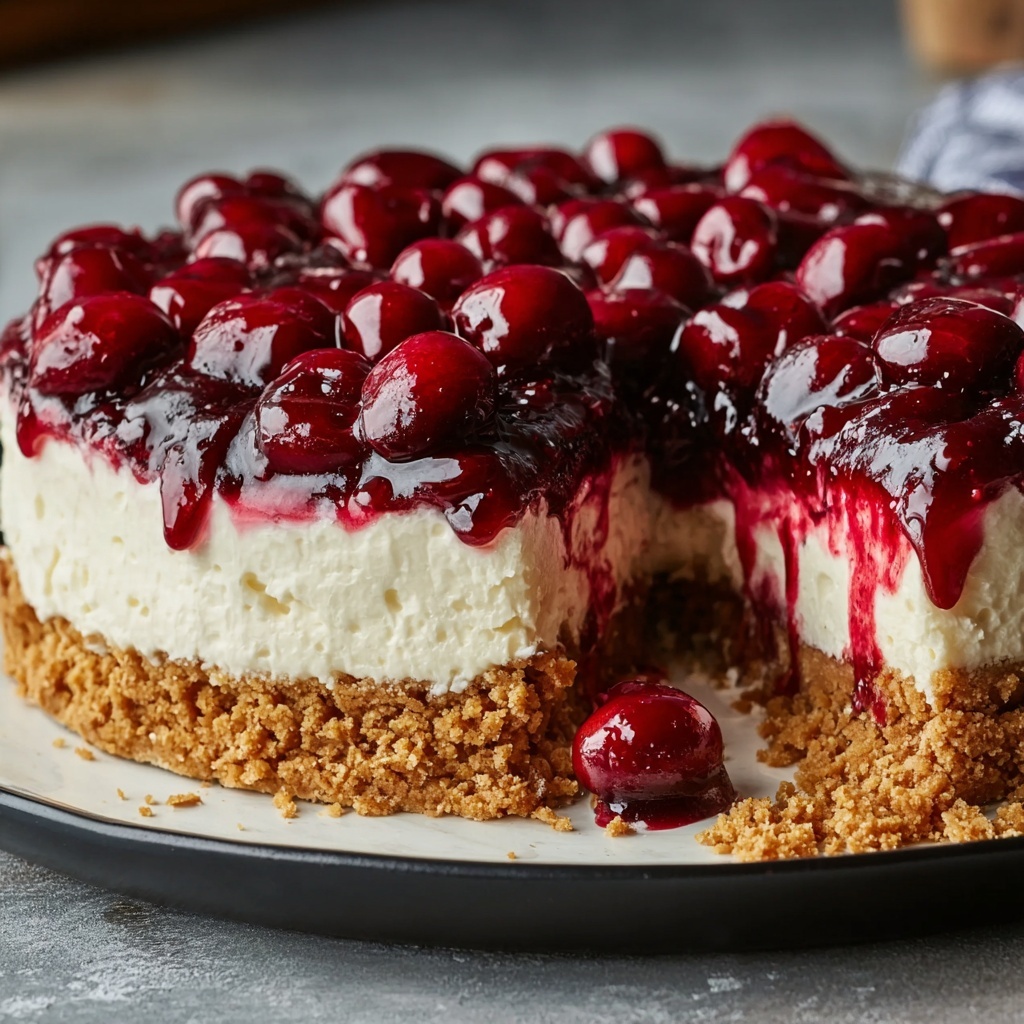
If you’ve ever dreamed of a dessert that looks impressive but is incredibly simple to put together, then this Easiest No-Bake Cherry Cheesecake Recipe is about to become your new best friend. With a velvety cream cheese filling resting on a buttery graham cracker crust and topped with luscious cherry pie filling, this cheesecake brings a perfect balance of sweet, tangy, and creamy that will thrill your taste buds without ever needing to switch on the oven. Whether you’re a beginner or just short on time, this no-fuss recipe promises a crowd-pleasing dessert that is as delightful as it is straightforward.
Ingredients You’ll Need
Gathering simple, pantry-friendly ingredients is the secret behind this Easiest No-Bake Cherry Cheesecake Recipe. Each item plays a key role in building layers of flavor and texture—from the rich cream cheese softness to the crunchy, buttery base and the jewel-like cherry topping.
- 1 ½ cups graham cracker crumbs: Provides a crisp, slightly sweet foundation for the crust.
- ½ cup unsalted butter, melted: Binds the crumbs together and adds a rich, golden flavor.
- ¼ cup granulated sugar: Sweetens the crust just enough without overpowering.
- 16 oz cream cheese, softened: The creamy heart of the cheesecake, delivering smooth texture.
- ¾ cup powdered sugar: Adds sweetness and helps create a velvety filling.
- 1 tsp vanilla extract: Infuses subtle aromatic warmth to the cream cheese mixture.
- 1 cup heavy whipping cream: Whipped up to add lightness and fluffy texture.
- 1 can (21 oz) cherry pie filling: The beautiful, tangy topping that gives the cheesecake its signature burst of cherry flavor.
How to Make Easiest No-Bake Cherry Cheesecake Recipe
Step 1: Prepare the Crust
Start by combining the graham cracker crumbs, melted butter, and granulated sugar in a bowl. Stir until the mixture resembles wet sand, which means it is well incorporated and ready to press. Then, firmly press it into the base of your springform pan or pie dish until it’s evenly packed. Pop it into the refrigerator for at least 10 minutes to help it set and form a sturdy base for the creamy filling.
Step 2: Make the Cheesecake Filling
While the crust chills, beat the softened cream cheese until smooth and creamy in a large bowl. Gradually add the powdered sugar and vanilla extract, continuing to beat until everything is fully combined and incredibly silky. In a separate bowl, whip the heavy cream until stiff peaks form. Gently fold the whipped cream into the cream cheese mixture, being careful not to deflate the airiness you’ve built. This folding step creates the luxurious texture that makes this Easiest No-Bake Cherry Cheesecake Recipe so irresistible.
Step 3: Assemble the Cheesecake
Once your crust has chilled, spread the luscious cream cheese filling evenly over the crust. Smooth the top with a spatula for an elegant finish. Finally, spoon the cherry pie filling over the cheesecake layer, spreading it gently so that the cherries stay whole and the syrup glistens tantalizingly on top. Cover the cheesecake tightly with plastic wrap and refrigerate for at least 4 hours, or better yet overnight, to let those flavors marry beautifully.
How to Serve Easiest No-Bake Cherry Cheesecake Recipe
Garnishes
A sprinkle of fresh mint leaves or a dusting of powdered sugar can elevate the presentation instantly. For an extra touch of elegance, add some shaved white chocolate or a few whole cherries on top. These garnishes not only add visual appeal but complement the flavors wonderfully.
Side Dishes
This cheesecake pairs beautifully with a handful of fresh berries or a scoop of vanilla bean ice cream to add contrast and a cooling element. If you’re serving it after dinner, a robust cup of coffee or a fruity dessert wine can complete this decadent experience perfectly.
Creative Ways to Present
For a personal touch, serve this cheesecake in individual glasses or mason jars layered with crust, filling, and cherry topping. This approach saves fussing with slices and makes it great for parties. Another idea is to garnish slices with a drizzle of chocolate or a dollop of freshly whipped cream for an eye-catching finish.
Make Ahead and Storage
Storing Leftovers
After you’ve enjoyed your slice, cover the remaining cheesecake tightly with plastic wrap or store it in an airtight container. It keeps well in the refrigerator for up to 4 days, allowing you to indulge in this treat a few days longer without sacrificing freshness or texture.
Freezing
This Easiest No-Bake Cherry Cheesecake Recipe freezes beautifully. Wrap it tightly in plastic wrap followed by a layer of foil, then place it in the freezer for up to 1 month. When ready to eat, thaw in the refrigerator overnight to maintain its creamy consistency.
Reheating
As a no-bake cheesecake, it’s best enjoyed chilled. Avoid reheating because warming this dessert will affect its texture and flavor, diminishing the luscious, creamy experience you’re looking for.
FAQs
Can I substitute the cherry pie filling with another fruit?
Absolutely! Blueberry, strawberry, or mixed berry pie fillings work just as well and offer delightful variety while keeping the ease that makes this recipe a keeper. Just pick your favorite fruit for a fresh twist.
Do I need to use a springform pan?
While a springform pan is ideal for easy removal of the cheesecake, you can use a regular pie dish or any shallow pan you have on hand. Just make sure to line it with parchment paper or use a non-stick spray to aid in serving.
How long should I chill the cheesecake before serving?
To get the best texture and make sure the cheesecake is set perfectly, refrigerate it for a minimum of 4 hours, though overnight is preferable. Patience here pays off with a slice that holds together beautifully and tastes divine.
Can I make this recipe vegan or dairy-free?
There are great plant-based alternatives for cream cheese, butter, and whipping cream available that work well. Just be sure to choose a sturdy crust option and vegan-friendly pie fillings to maintain the right flavor and texture.
What’s the best way to prevent the crust from getting soggy?
Press the crust firmly into the pan and allow it to chill before adding the filling. This step helps it set and creates a barrier that keeps the buttery crust from absorbing moisture from the filling, ensuring a nice crunch in every bite.
Final Thoughts
This Easiest No-Bake Cherry Cheesecake Recipe is a total game-changer for anyone craving a stunning dessert without complicated steps. Its creamy filling, perfectly crisp crust, and irresistible cherry topping come together in a way that’s both simple and sensational. Go ahead, give it a try—your friends and family will be asking for this delightful recipe again and again!
Print
Easiest No-Bake Cherry Cheesecake Recipe
- Prep Time: 15 minutes
- Cook Time: 0 minutes
- Total Time: 4 hours 15 minutes
- Yield: 8 to 10 servings
- Category: Dessert
- Method: No-Cook
- Cuisine: American
- Diet: Vegetarian
Description
This Easiest No-Bake Cherry Cheesecake recipe is a delightful and creamy dessert that requires no oven time. It features a simple graham cracker crust combined with a luscious cream cheese filling, topped generously with sweet cherry pie filling. Perfect for summer gatherings or anytime you want a quick, crowd-pleasing cheesecake without the fuss of baking.
Ingredients
Crust
- 1 ½ cups graham cracker crumbs
- ½ cup unsalted butter, melted
- ¼ cup granulated sugar
Filling
- 16 oz cream cheese, softened
- ¾ cup powdered sugar
- 1 tsp vanilla extract
- 1 cup heavy whipping cream
Topping
- 1 can (21 oz) cherry pie filling
Instructions
- Prepare the Crust: In a medium bowl, combine the graham cracker crumbs, melted unsalted butter, and granulated sugar. Mix well until all crumbs are evenly coated with the butter. Press this mixture firmly into the bottom of a 9-inch springform pan or a similar sized dish to form an even crust layer. Place in the refrigerator to chill while preparing the filling.
- Make the Filling: In a large mixing bowl, beat the softened cream cheese until smooth and creamy using an electric mixer. Add the powdered sugar and vanilla extract, and continue to beat until well combined and fluffy.
- Whip the Cream: In a separate bowl, whip the heavy whipping cream until stiff peaks form. Gently fold the whipped cream into the cream cheese mixture until fully incorporated, taking care to keep the mixture light and airy.
- Assemble the Cheesecake: Pour the cream cheese filling over the chilled crust, spreading it evenly with a spatula. Smooth the top to create an even surface.
- Add Cherry Topping: Spoon the cherry pie filling evenly over the cheesecake layer, distributing the cherries and syrup nicely across the top.
- Chill: Refrigerate the assembled cheesecake for at least 4 hours, or until set and firm enough to slice cleanly.
- Serve: Once chilled and set, carefully remove the cheesecake from the springform pan (if used), slice, and serve chilled. Enjoy your no-bake cherry cheesecake!
Notes
- For best results, soften the cream cheese ahead of time to avoid lumps in the filling.
- You can substitute the cherry pie filling with other fruit toppings like blueberry or strawberry if desired.
- Using a springform pan helps make cake removal easier, but any dish that allows for easy serving will work.
- Ensure the cheesecake is chilled fully to allow it to firm up properly before slicing.
- Store leftovers covered in the refrigerator for up to 3 days.


