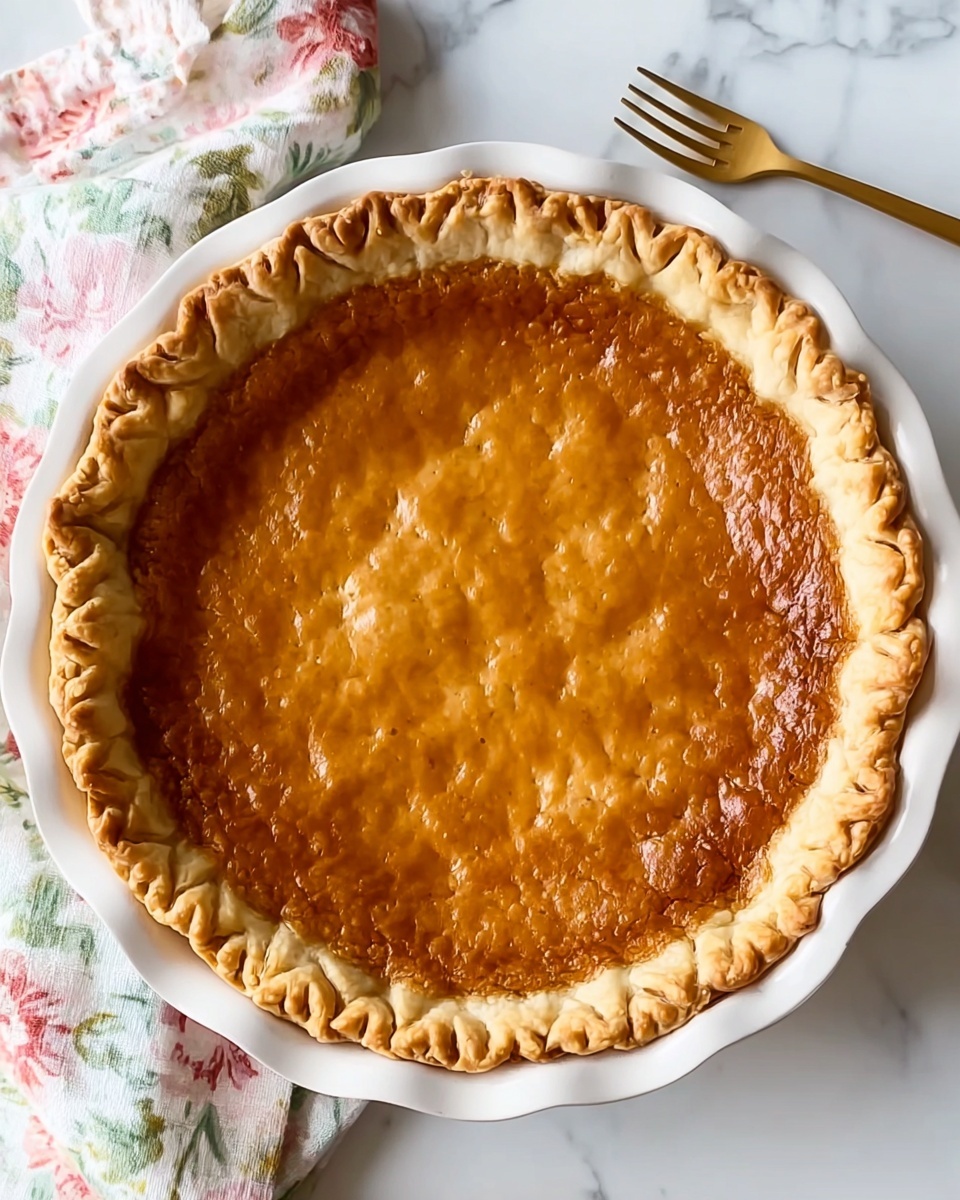
If you’ve never heard of this surprisingly delightful dessert, let me introduce you to the magic of the Water Pie Recipe. It’s a rustic, utterly charming pie that transforms simple pantry staples into a luscious, custard-like creation with just water as its liquid base. The result is a sweet, smooth pie with a hint of vanilla and buttery richness that’s both nostalgic and unexpected. Whether you’re looking for a budget-friendly treat or a unique story to share at your next gathering, this Water Pie Recipe is bound to become a beloved classic in your kitchen.
Ingredients You’ll Need
The beauty of this Water Pie Recipe lies in its simplicity. Each ingredient plays a crucial role in creating that silky texture, sweet flavor, and golden crust that make it so irresistible.
- 1 9-inch deep-dish pie crust: This forms the crisp, buttery base that holds the pie together perfectly.
- 1 1/2 cups water: The star ingredient that, combined with flour, creates the light custard filling.
- 4 tablespoons all-purpose flour: Acts as a thickening agent, transforming the water into a smooth, pudding-like filling.
- 1 cup sugar: Brings sweetness, balancing the mild flavor of the filling beautifully.
- 2 teaspoons vanilla extract: Infuses the pie with a warm, comforting aroma and depth of flavor.
- 5 tablespoons butter, cut into pieces: Adds richness and helps create a glossy, tender top layer.
How to Make Water Pie Recipe
Step 1: Prepare Your Oven and Pie Crust
Start by preheating your oven to 400°F to ensure it’s hot enough for baking. Place your unbaked deep-dish pie crust onto a baking sheet—this helps catch any drips and makes it easier to manage in the oven.
Step 2: Add the Water to the Crust
Pour the full 1 1/2 cups of water straight into the pie crust. It might look a little odd at first, but trust that this simple act is the foundation for the magic that’s about to happen.
Step 3: Sprinkle the Flour and Sugar Mixture
In a small bowl, mix together the all-purpose flour and sugar thoroughly. Sprinkle this dry mixture evenly over the water in the pie crust, making sure not to stir. This layering is key for the custard to set just right during baking.
Step 4: Add Vanilla and Butter
Drizzle the vanilla extract directly over the pie, and then place the five pieces of butter evenly on top. These add layers of flavor and richness that you won’t want to miss.
Step 5: Bake the Pie
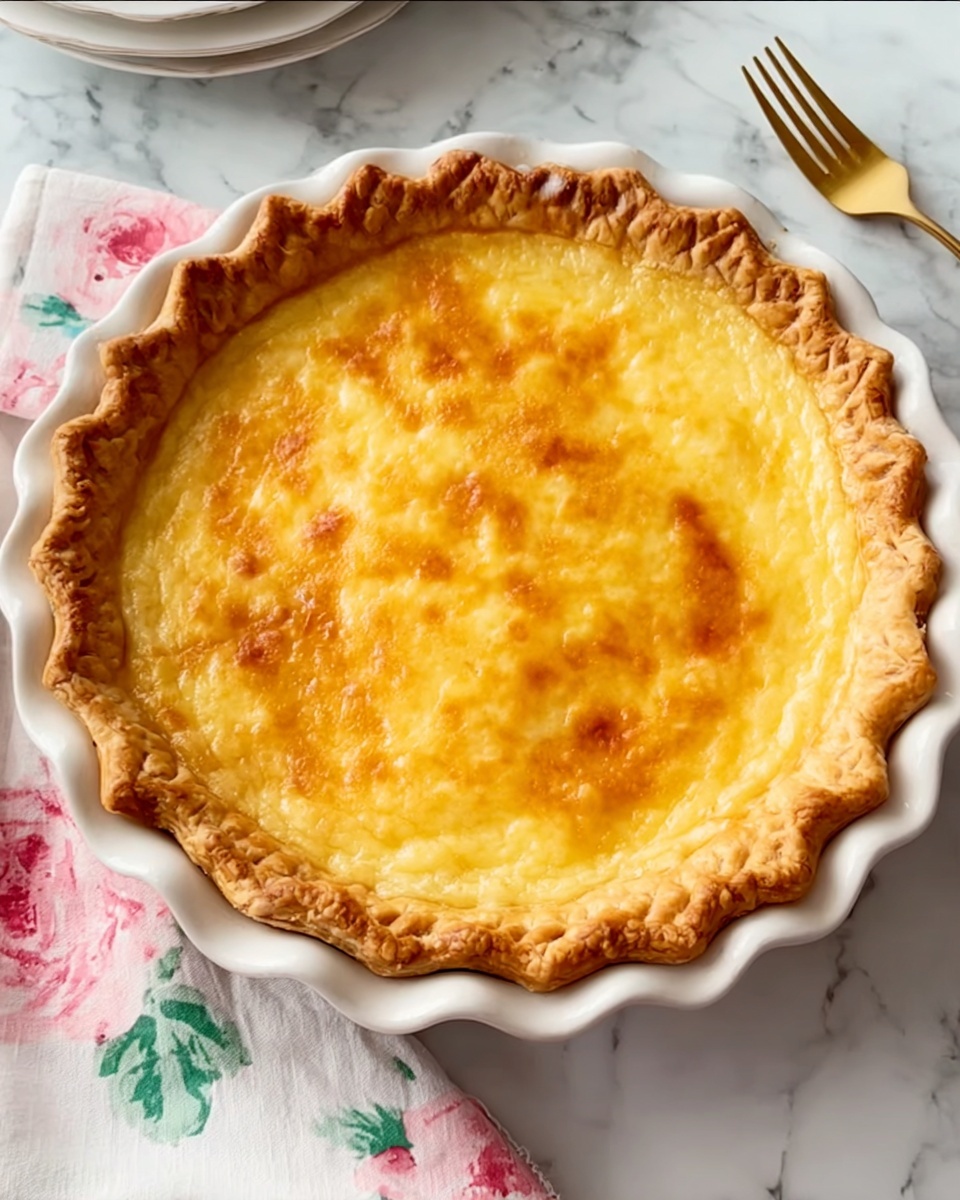
Bake the pie at 400°F for 30 minutes. Then, reduce the heat to 375°F and continue baking for an additional 30 minutes. Keep an eye on the crust edges, covering them if they start to brown too quickly. This long bake time helps the filling set into that silky, custard-like texture.
Step 6: Cool and Chill Before Serving
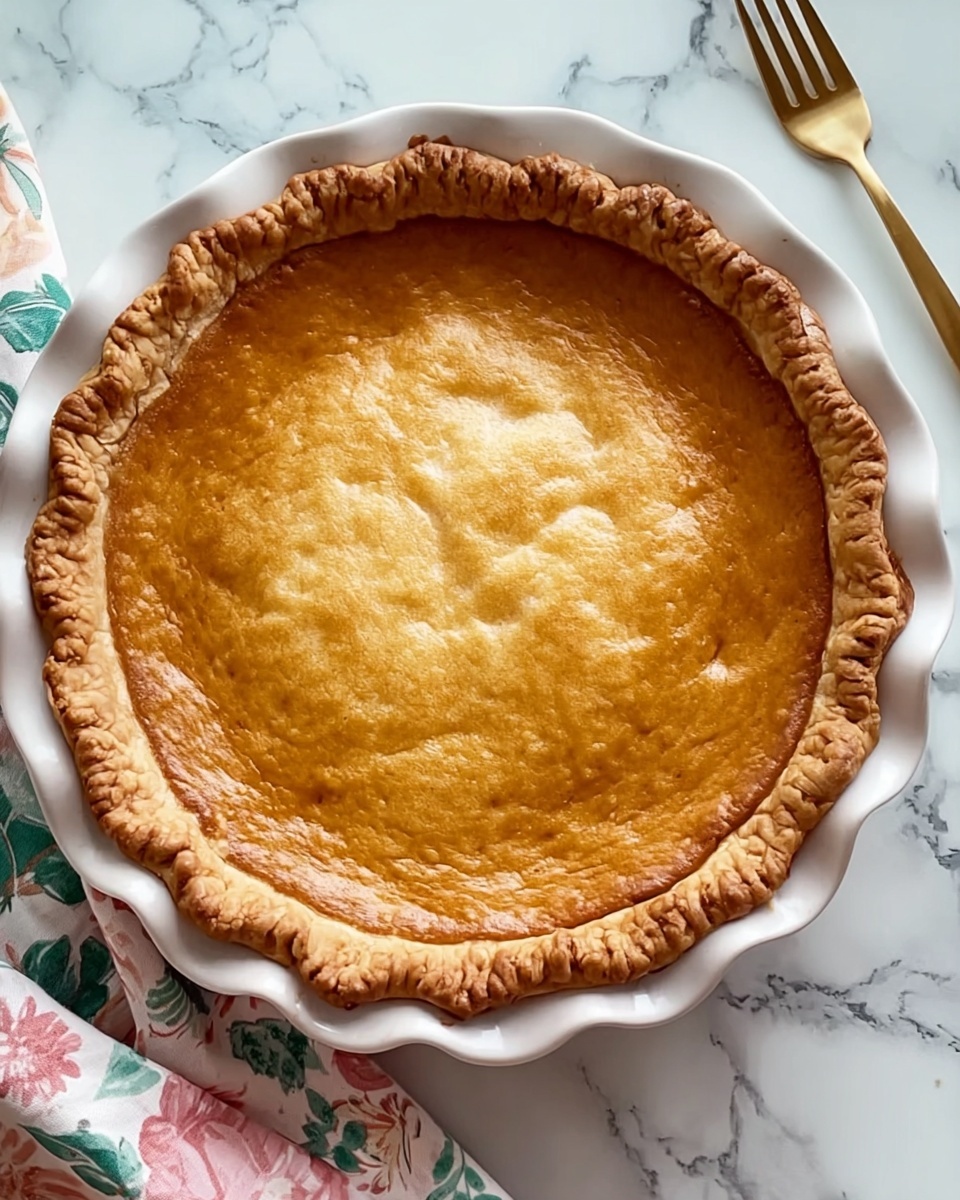
The pie will look watery inside when it first comes out of the oven, but don’t worry—this is normal. Let it cool to room temperature, then cover it and refrigerate until chilled and set before slicing.
How to Serve Water Pie Recipe
Garnishes
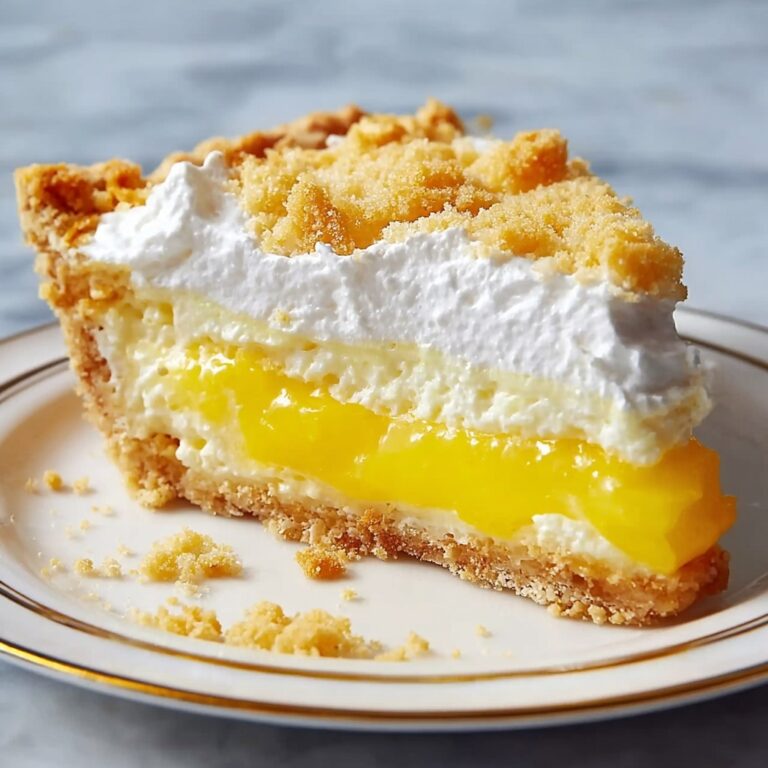
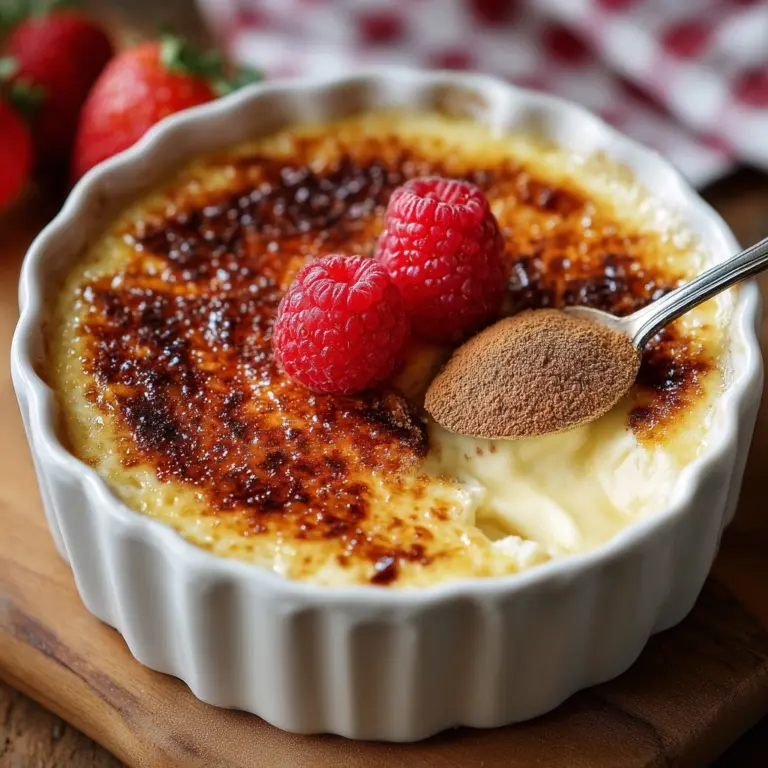
A simple dusting of powdered sugar or a light whipped cream topping perfectly complements the smooth, sweet filling of this pie. Fresh berries are also a fantastic addition, adding a pop of color and a burst of freshness that balances the richness.
Side Dishes
This Water Pie Recipe pairs beautifully with a cup of hot tea or coffee, making it an ideal choice for afternoon gatherings or cozy nights in. For something extra special, serve alongside lightly toasted nuts or a scoop of vanilla ice cream for contrast in textures.
Creative Ways to Present
Try serving individual mini water pies in small tart pans or ramekins to impress guests with personal-sized treats. You can even drizzle a bit of caramel or chocolate sauce over each slice to jazz up the traditional presentation.
Make Ahead and Storage
Storing Leftovers
Once chilled, store any leftover Water Pie Recipe tightly wrapped or in an airtight container in the refrigerator. It will keep well for up to 3 days while maintaining its creamy texture and fresh flavor.
Freezing
Because of the custard-like filling, freezing isn’t ideal for this pie as it can affect the texture upon thawing. It’s best enjoyed fresh or within a couple of days refrigerated.
Reheating
If you prefer a warm slice, gently reheat the pie in a low oven for about 10 minutes. Avoid microwaving to prevent the custard from becoming too watery or rubbery.
FAQs
What does the water do in this Water Pie Recipe?
The water combines with flour and sugar to create a custard-like filling that’s surprisingly rich and creamy, despite the simplicity of the ingredients.
Can I use a store-bought pie crust?
Absolutely! A pre-made deep-dish crust works perfectly and saves time while still delivering a buttery, flaky base.
Is this pie gluten-free?
Not as written, since it uses all-purpose flour and a traditional pie crust. However, you can experiment with gluten-free flour blends and gluten-free pie crust alternatives.
Why does the pie look watery after baking?
It’s normal for the pie to appear watery when hot; the filling sets as it cools and chills in the fridge, transforming into a silky custard consistency.
Can I add flavors or mix-ins to the pie?
Definitely! A sprinkle of cinnamon or nutmeg, or even some lemon zest, can add interesting twists, but the classic Water Pie Recipe is delightful on its own.
Final Thoughts
This Water Pie Recipe is a wonderful reminder that sometimes, the simplest ingredients can come together to create something truly special. It’s a dessert with soul, history, and warmth that’s perfect for sharing. Once you try it, I guarantee it will become one of those treasured recipes you come back to time and again. So don’t hesitate—bake yourself a slice of this lovely water pie today and enjoy a sweet surprise from humble beginnings.
Print
Water Pie Recipe
- Prep Time: 15 minutes
- Cook Time: 1 hour
- Total Time: 1 hour 15 minutes
- Yield: 4 to 4.4 servings
- Category: Dessert
- Method: Baking
- Cuisine: American
Description
Water Pie is a unique and simple dessert featuring a delicate custard-like filling made primarily from water, flour, sugar, and butter baked in a flaky deep-dish pie crust. This old-fashioned recipe yields a subtly sweet, creamy pie that sets as it cools, offering a surprisingly luscious texture and comforting vanilla flavor without eggs or dairy liquids, perfect for a light and nostalgic treat.
Ingredients
Pie
- 1 9-inch deep-dish pie crust, unbaked
- 1 1/2 cups water
- 4 tablespoons all-purpose flour
- 1 cup sugar
- 2 teaspoons vanilla extract
- 5 tablespoons butter, cut into 5 pieces
Instructions
- Preheat and prepare crust: Preheat the oven to 400°F (204°C). Place the unbaked 9-inch deep-dish pie crust on a baking sheet to catch any drips and make handling easier.
- Add water: Carefully pour 1 1/2 cups of water directly into the empty pie crust, ensuring an even layer without spilling.
- Sprinkle dry ingredients: In a small bowl, combine 4 tablespoons of all-purpose flour and 1 cup of sugar. Evenly sprinkle this flour and sugar mixture over the surface of the water in the pie crust without stirring or mixing it in.
- Add vanilla and butter: Drizzle 2 teaspoons of vanilla extract over the top of the pie filling. Then, distribute 5 tablespoons of butter, cut into 5 pieces, evenly across the top of the mixture.
- Bake initially: Place the pie in the preheated oven and bake at 400°F for 30 minutes. This step helps the filling begin to set and the crust to start browning.
- Reduce heat and continue baking: Lower the oven temperature to 375°F (190°C). If the edges of the crust brown too quickly, cover them with foil to prevent burning. Continue baking the pie for an additional 30 minutes until the filling thickens and the crust is golden.
- Cool and chill: When freshly baked, the filling will appear watery but it will thicken as it cools. Allow the pie to cool completely at room temperature, then cover it and refrigerate until thoroughly chilled before slicing and serving.
Notes
- The pie appears watery when hot but firms up as it cools, so patience is key before serving.
- Cover crust edges with foil if you notice excessive browning during baking.
- This recipe is egg-free and dairy-light except for the butter, suitable for those avoiding eggs.
- To slice cleanly, ensure the pie is fully chilled for a few hours or overnight.
- Using a deep-dish pie crust helps contain the filling as it sets.


