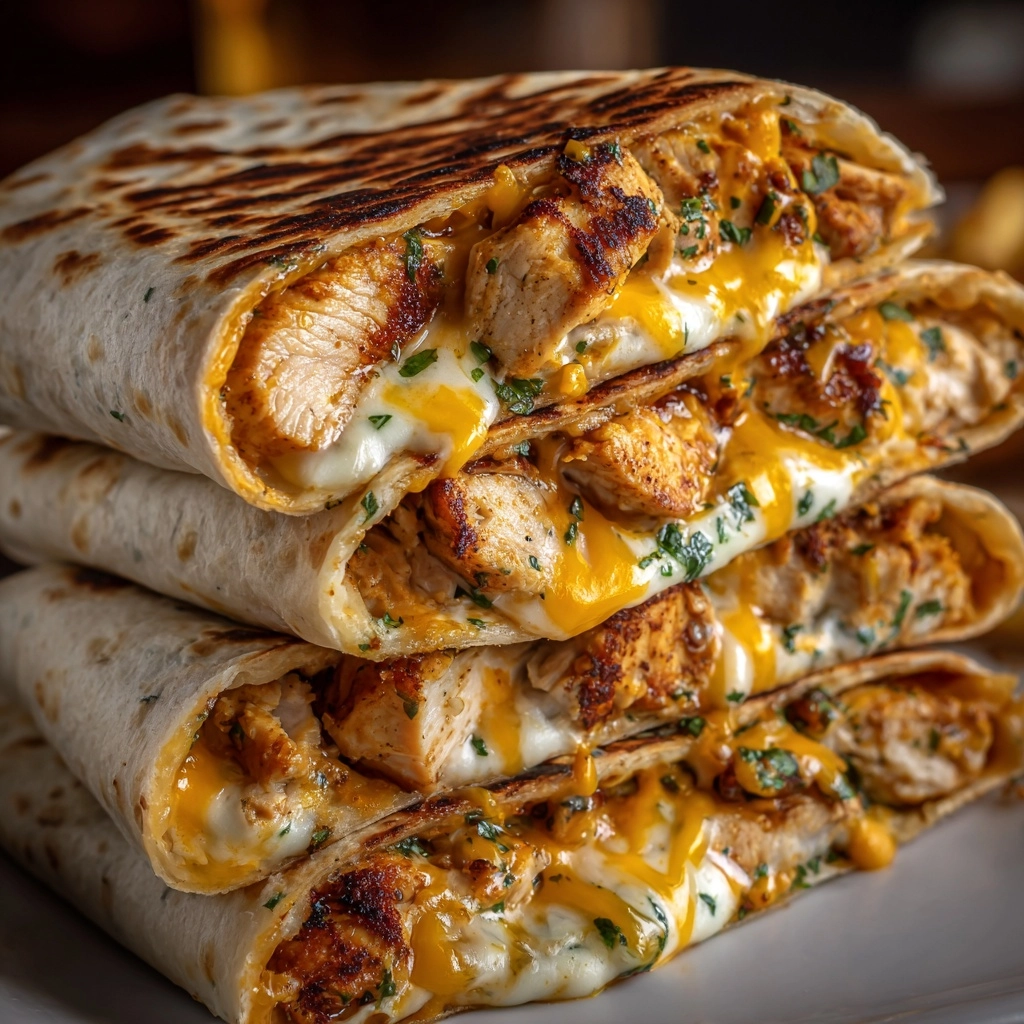
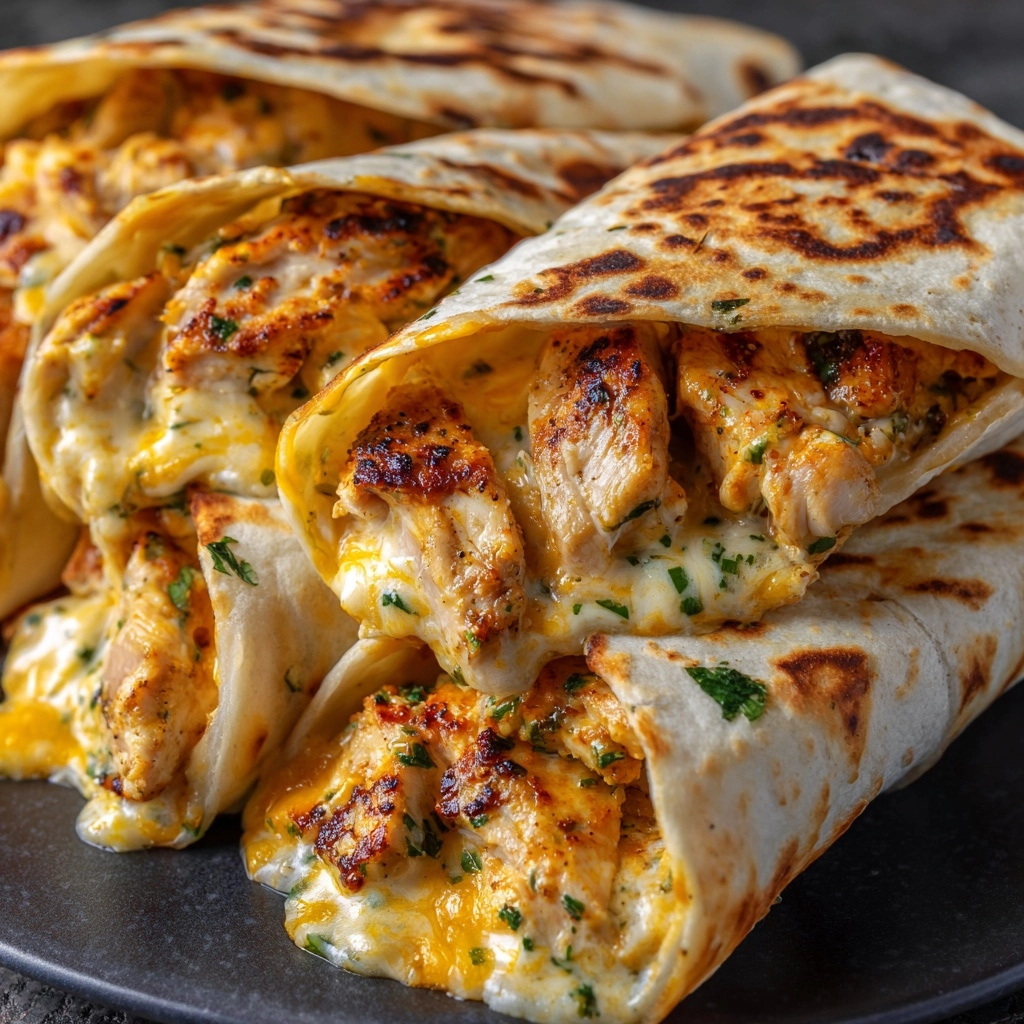
If you’re craving comfort and flavor in every bite, Cheesy Garlic Chicken Wraps are about to become your new obsession. Imagine juicy shredded chicken bound together with a dreamy trio of cheeses, all kissed with garlicky goodness and wrapped in a golden, crispy tortilla. Whether you need a speedy lunch, a satisfying dinner, or a crowd-pleasing snack, these wraps deliver on every level. They’re quick, customizable, and outrageously delicious—perfect for busy days or when you just want something warm and cheesy in your hands!
Ingredients You’ll Need
The beauty of Cheesy Garlic Chicken Wraps lies in their simplicity—each ingredient plays a starring role, coming together for maximum flavor and melty appeal. Here’s what you’ll need, plus a few tips to make each component shine.
- Cooked shredded chicken: Use rotisserie chicken for ultimate convenience and juicy results.
- Shredded mozzarella cheese: Brings that stretchy, melty goodness every wrap craves.
- Shredded cheddar cheese: Adds a bold, tangy layer of flavor that pairs perfectly with garlic.
- Cream cheese, softened: Makes the filling extra creamy and helps everything stick together.
- Mayonnaise: Adds richness and a subtle tang, keeping the mixture moist.
- Garlic powder: Infuses the wraps with irresistible garlicky aroma and taste.
- Onion powder: Gives a gentle savory undertone that rounds out the flavor profile.
- Salt and pepper: Essential for bringing all the flavors to life—don’t skip the seasoning!
- Large flour tortillas: The perfect canvas for wrapping up all that cheesy, savory filling.
- Butter or olive oil for toasting: Creates a golden, crispy exterior that seals in all the gooey goodness.
How to Make Cheesy Garlic Chicken Wraps
Step 1: Mix Up the Filling
Start by grabbing a medium mixing bowl and tossing in your shredded chicken, both cheeses, cream cheese, mayonnaise, garlic powder, onion powder, salt, and pepper. Don’t be shy—use clean hands or a sturdy spatula to mix until everything is evenly blended. You’re looking for a creamy, cohesive mixture flecked with cheesy strands and fragrant with garlic. This step is where all the magic (and flavor) begins!
Step 2: Assemble the Wraps
Lay your flour tortillas out on a clean surface. Divide the cheesy chicken filling evenly among them, scooping it right into the center of each tortilla. Now, fold in the sides and roll them up tightly, making sure the filling stays snug inside. The goal is a compact, burrito-style wrap that won’t spill its gooey secrets when toasted.
Step 3: Toast to Golden Perfection
Heat a large skillet over medium heat and add the butter or olive oil. Once it’s shimmering, place the wraps seam-side down in the pan. Cook for 2 to 3 minutes per side, pressing gently with a spatula, until each wrap is golden brown and the cheese inside is gloriously melted. The smell of garlic and toasted tortilla will have everyone circling the kitchen!
Step 4: Slice and Serve
Remove the wraps from the skillet and let them cool just a minute or two—they’ll be hot! Slice each Cheesy Garlic Chicken Wrap in half for the perfect handheld meal. Serve them warm for the ultimate cheesy, creamy, crispy experience.
How to Serve Cheesy Garlic Chicken Wraps

Garnishes
Top your Cheesy Garlic Chicken Wraps with a sprinkle of fresh parsley or chives for a burst of color and freshness. A light dusting of grated parmesan or a drizzle of ranch dressing can also kick things up a notch, making each bite even more irresistible.
Side Dishes
Pair these wraps with simple sides like a crisp green salad, roasted veggies, or sweet potato fries. For something heartier, try a bowl of tomato soup or a pile of seasoned potato wedges—the wraps’ cheesy, garlicky profile complements so many flavors.
Creative Ways to Present
For parties or game day, slice Cheesy Garlic Chicken Wraps into bite-sized rounds and secure them with toothpicks for an easy appetizer platter. You can also serve them alongside a trio of dipping sauces—think sriracha mayo, creamy ranch, or zesty salsa—for a fun DIY experience.
Make Ahead and Storage
Storing Leftovers
If you find yourself with extra Cheesy Garlic Chicken Wraps, just let them cool completely before wrapping them tightly in foil or plastic wrap. Store in an airtight container in the refrigerator, and they’ll stay delicious for up to 3 days.
Freezing
Wrap the un-toasted, filled tortillas individually in foil and freeze them for up to 2 months. When you’re ready to enjoy, thaw in the fridge overnight, then toast them fresh for that perfect crispy bite.
Reheating
To bring back that crispy, melty magic, reheat the wraps in a hot skillet or air fryer for a few minutes per side. The microwave works in a pinch, but the tortilla won’t be as crunchy—so the skillet is definitely worth the extra minute!
FAQs
Can I make Cheesy Garlic Chicken Wraps ahead of time?
Absolutely! You can prepare the filling a day in advance and keep it chilled. Assemble and toast the wraps just before serving for the best texture and flavor.
What’s the best chicken to use?
Rotisserie chicken is a lifesaver here—tender, flavorful, and ready to shred. Leftover grilled or roasted chicken works great, too!
Can I add veggies to the filling?
Definitely! Finely chopped spinach, sautéed onions, or diced tomatoes make tasty additions. Just be sure not to overload the wraps so they’re easy to roll and toast.
Are Cheesy Garlic Chicken Wraps good for meal prep?
Yes! They store and reheat beautifully, making them perfect for grab-and-go lunches or quick dinners throughout the week.
Can I make them gluten-free?
Of course—just swap the flour tortillas for your favorite gluten-free wraps. All the cheesy, garlicky goodness will still shine through!
Final Thoughts
If you’re looking for a quick, cozy meal that’s sure to impress, these Cheesy Garlic Chicken Wraps are a total winner. Give them a try, share them with friends, and get ready for a new staple in your mealtime rotation!
Print
Cheesy Garlic Chicken Wraps Recipe
- Prep Time: 10 minutes
- Cook Time: 6 minutes
- Total Time: 16 minutes
- Yield: 4 wraps
- Category: Lunch, Main Course
- Method: Stovetop
- Cuisine: American
- Diet: Non-Vegetarian
Description
These Cheesy Garlic Chicken Wraps are a delicious and easy-to-make lunch option combining tender shredded chicken with a flavorful blend of mozzarella, cheddar, and cream cheese, all seasoned with garlic and onion powders. Wrapped in soft flour tortillas and toasted to golden perfection, they make a hearty and satisfying meal perfect for a quick lunch or dinner.
Ingredients
Filling
- 2 cups cooked shredded chicken
- 1 cup shredded mozzarella cheese
- 1/2 cup shredded cheddar cheese
- 2 tablespoons cream cheese, softened
- 2 tablespoons mayonnaise
- 1 teaspoon garlic powder
- 1/2 teaspoon onion powder
- Salt and pepper to taste
Wraps
- 4 large flour tortillas
- 1 tablespoon butter or olive oil, for toasting
Instructions
- Prepare the filling: In a medium bowl, combine the shredded chicken, mozzarella, cheddar, cream cheese, mayonnaise, garlic powder, onion powder, salt, and pepper. Mix thoroughly until the ingredients are evenly blended and the mixture is creamy.
- Assemble the wraps: Lay out the flour tortillas on a flat surface. Divide the chicken mixture evenly among them, placing the filling in the center of each tortilla. Fold in the sides and tightly roll up each tortilla to form a wrap.
- Toast the wraps: Heat a skillet over medium heat and add the butter or olive oil. Place the wraps seam-side down in the skillet. Cook for 2 to 3 minutes per side or until the wraps are golden brown and the cheese inside has melted.
- Serve: Remove the wraps from the skillet and let them cool slightly. Slice each wrap in half and serve warm for the best flavor and texture.
Notes
- You can add cooked spinach, sautéed onions, or diced tomatoes to the filling for extra flavor and nutrients.
- Using rotisserie chicken saves time and enhances flavor.
- These wraps reheat well in a skillet or an air fryer, making them perfect for meal prep.
Nutrition
- Serving Size: 1 wrap
- Calories: 410
- Sugar: 2g
- Sodium: 580mg
- Fat: 22g
- Saturated Fat: 10g
- Unsaturated Fat: 10g
- Trans Fat: 0g
- Carbohydrates: 24g
- Fiber: 1g
- Protein: 30g
- Cholesterol: 85mg

