
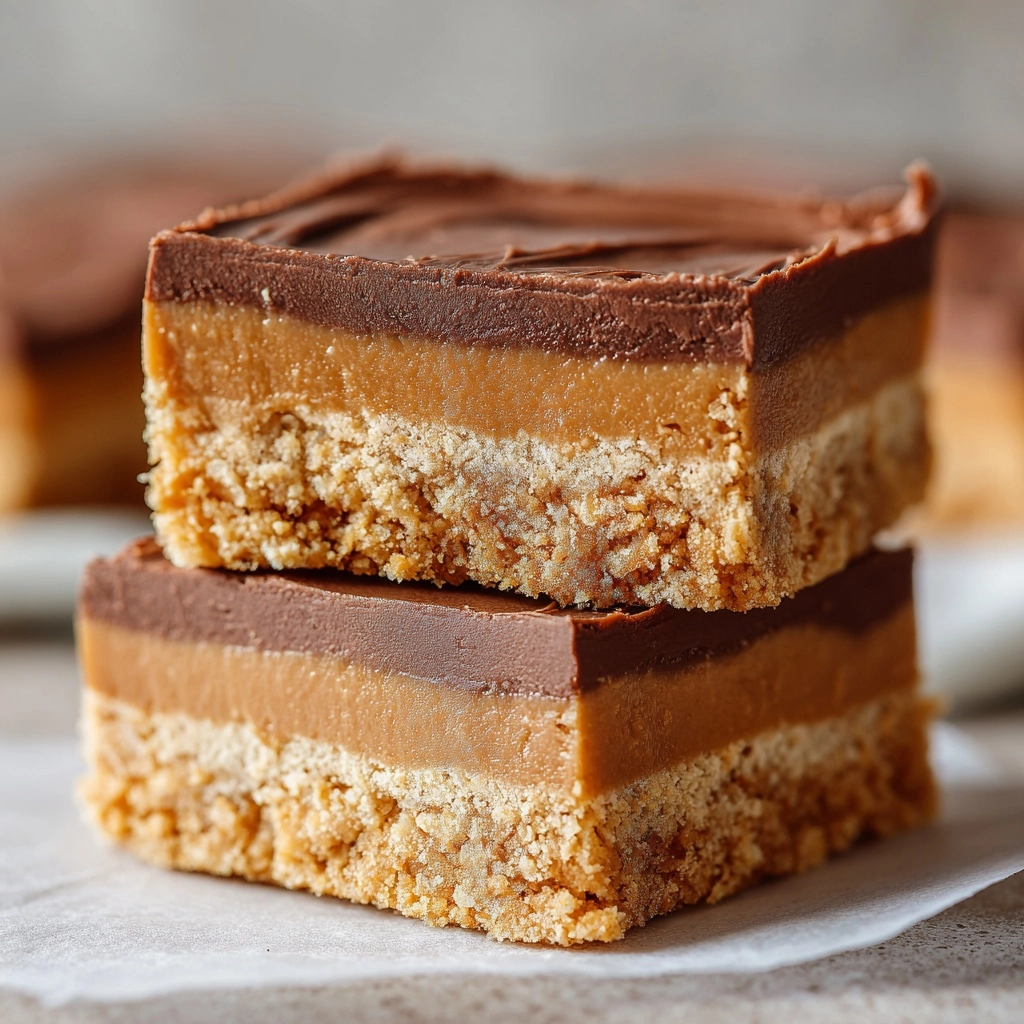
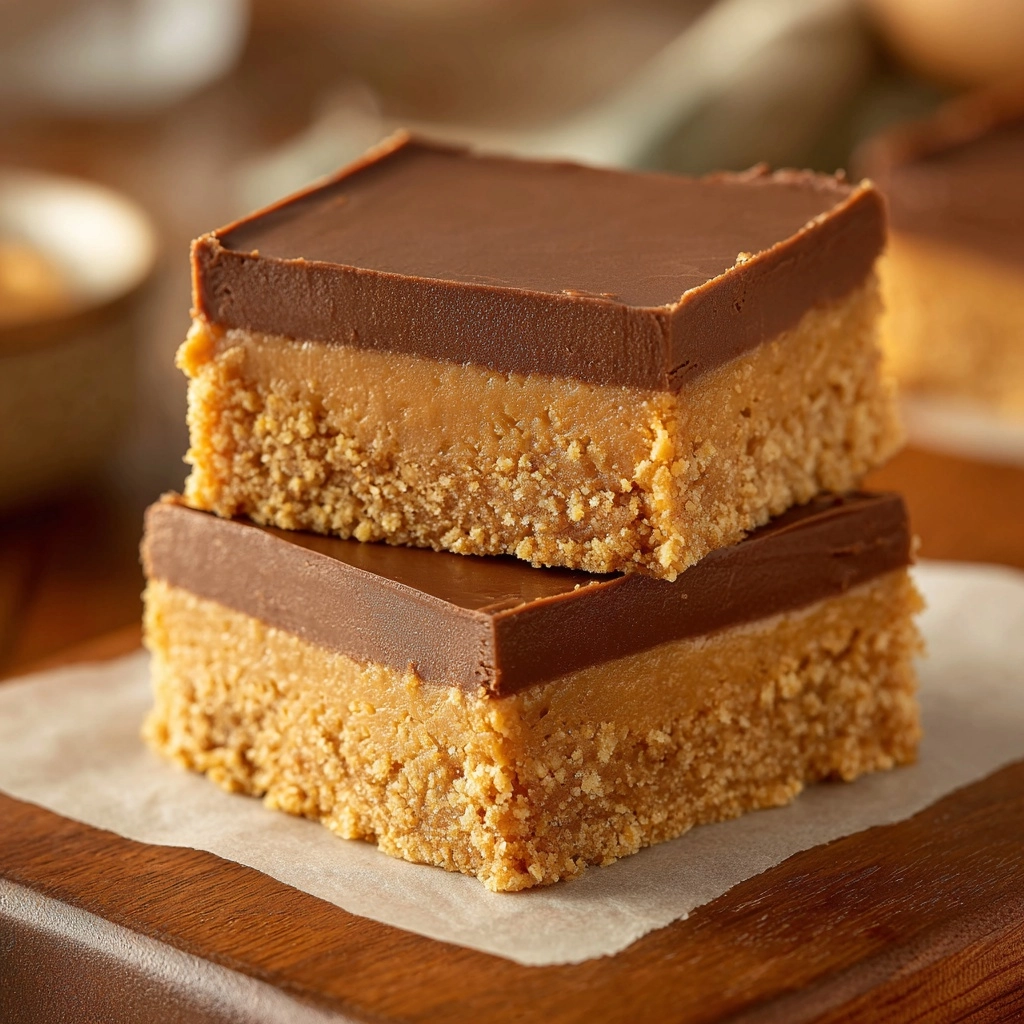
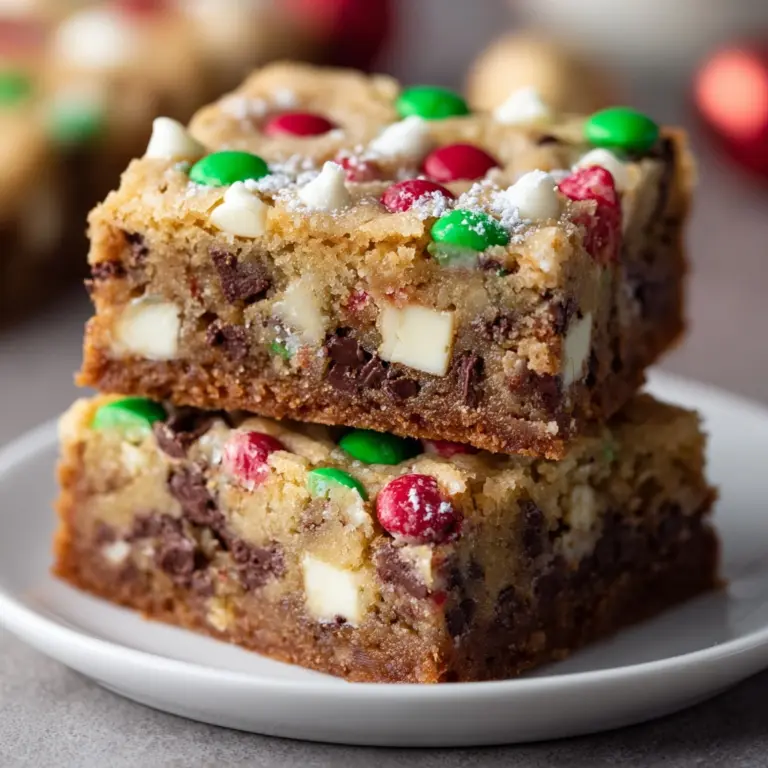
If you’re looking for a magically satisfying treat, Irresistible Disneyland’s Peanut Butter Sandwich Bars are about to become your new obsession. Reminiscent of the iconic sweet enjoyed at the parks, this copycat recipe brings together luscious layers of creamy peanut butter and velvety chocolate—all on a crunchy, buttery base. The best part? It’s a no-bake wonder that turns simple pantry staples into pure Disney delight right in your own kitchen. Whether you’re sharing with friends or grabbing a square for a quiet moment, each bite delivers that perfect harmony of nostalgia and chocolatey-peanut butter perfection you’ve been craving.
Ingredients You’ll Need
One of the best parts about these bars is how you can create such unforgettable flavor and texture from a handful of classic ingredients. Each one plays a crucial role in building the dreamy layers and making these bars so distinctive, so don’t skip a thing!
- Creamy Peanut Butter: Gives the bars their unmistakable rich and nutty core—use your favorite smooth and sweetened variety for classic Disneyland flavor.
- Graham Cracker Crumbs: Adds a hint of crunch and a touch of toasty warmth to the base, creating that signature texture contrast.
- Unsalted Butter (Melted): Binds everything together and ensures every bite is melt-in-your-mouth tender.
- Powdered Sugar: Sweetens the peanut butter layer and helps it set beautifully.
- Vanilla Extract: Brings out the best in the peanut butter while adding a gentle aromatic note.
- Semi-Sweet Chocolate Chips: Delivers a deep chocolate top layer that’s perfectly balanced—rich but never overpowering.
- Vegetable Oil: Makes the chocolate extra glossy and easy to slice, so your bars look as good as they taste.
How to Make Irresistible Disneyland’s Peanut Butter Sandwich Bars
Step 1: Mix the Peanut Butter Layer
In a medium bowl, combine the graham cracker crumbs, powdered sugar, melted unsalted butter, vanilla extract, and creamy peanut butter. Using a spatula or sturdy spoon, stir until the mixture is completely smooth and evenly incorporated. The texture should be soft yet firm enough to hold its shape—this will become the magical base of your bars.
Step 2: Press and Form the Base
Line an 8×8-inch baking dish with parchment paper, leaving an overhang for easy removal later. Next, press the peanut butter mixture firmly and evenly into the bottom of the pan. Use your hands or the bottom of a measuring cup to smooth out the surface, ensuring the layer is compact and level—this will help the bars slice cleanly.
Step 3: Melt the Chocolate Topping
In a microwave-safe bowl, add the semi-sweet chocolate chips and vegetable oil. Microwave in 30-second intervals, stirring well after each, until the chocolate is silky smooth and completely melted. Don’t rush this step; heating in short bursts keeps the chocolate from seizing or burning.
Step 4: Pour and Spread the Chocolate
Carefully pour the warm melted chocolate over the peanut butter base. Use a spatula or the back of a spoon to spread it all the way to the edges, ensuring an even, glossy layer that covers every inch. This creates that signature Disneyland style look and flavor on top!
Step 5: Chill to Set
Place the pan in the refrigerator and let the bars chill for at least 2 hours, or until the chocolate is fully set and the base feels cool and firm. This part requires a little patience, but it’s absolutely worth it for crisp edges and perfect slices.
Step 6: Slice and Serve
Once chilled, lift the bars out of the pan using the parchment overhang. Use a sharp knife to cut the slab into 16 neat squares. Serve chilled for the classic, snappy bite—or let them come to room temperature for a meltier texture. Welcome to peanut butter bliss!
How to Serve Irresistible Disneyland’s Peanut Butter Sandwich Bars
Garnishes
For a bit of extra flair and flavor, try sprinkling a pinch of flaky sea salt atop the chocolate layer before it sets—a nod to the fancy finishing touches you’d find at Disneyland itself. A drizzle of white chocolate, colored sprinkles, or even a few chopped roasted peanuts add delightful texture and color, making these bars look every bit as magical as they taste.
Side Dishes
Since Irresistible Disneyland’s Peanut Butter Sandwich Bars are rich and sweet, pair them with something simple and refreshing. A cold glass of milk, an iced coffee, or fresh fruit on the side balances out each bite. If you’re hosting a dessert table, they sit beautifully next to citrusy bars or crisp, tart apples for a palate-cleansing contrast.
Creative Ways to Present
Stack the bars on a whimsical cake stand for a party or wrap each one in wax paper with a cute ribbon for snackable favors. For a festive touch, tuck squares into bento boxes for picnic treats or line them up on a platter surrounded by colorful berries. The bright layers make every serving feel playful and special—just like a day at the park.
Make Ahead and Storage
Storing Leftovers
Keep any leftover Irresistible Disneyland’s Peanut Butter Sandwich Bars in an airtight container in the refrigerator. They’ll stay fresh and perfectly textured for up to one week. Storing them chilled helps maintain that delicious snap in the chocolate and prevents the peanut butter base from getting too soft.
Freezing
These bars are freezer-friendly and just as dreamy after thawing. Simply wrap the squares in parchment or wax paper, place them in a zip-top bag or airtight container, and freeze for up to a month. Thaw in the refrigerator for several hours or overnight before enjoying for the best texture.
Reheating
While these bars are typically served chilled or at room temperature, you can let them sit out for 10–15 minutes if you prefer a softer bite. Avoid heating in the microwave, as the chocolate may melt unevenly—room temperature is perfect for enjoying all the flavors as intended.
FAQs
Can I use crunchy peanut butter instead of creamy?
Absolutely! Crunchy peanut butter will add extra texture to the base, and if you like more crunch, you can even stir in some finely chopped peanuts along with the rest of the ingredients for an added bite.
What’s the best way to cut clean squares?
For picture-perfect bars, run a sharp knife under hot water and wipe it dry before each cut. This helps the blade glide through the chocolate layer smoothly and keeps the squares neat and tidy.
Do these taste exactly like the ones at Disneyland?
This recipe is a spot-on copycat, especially when you use smooth, sweetened peanut butter and high-quality chocolate. It’ll bring you right back to those magical Disney moments with every bite, and you might even find you like them more homemade!
Can I make these bars gluten-free?
Definitely! Just swap in gluten-free graham cracker crumbs, and all the other ingredients are naturally gluten-free. Your gluten-conscious friends will thank you!
How far in advance can I make Irresistible Disneyland’s Peanut Butter Sandwich Bars?
You can prepare the bars up to three days ahead and store them in the refrigerator until ready to serve. They’re a make-ahead dessert dream for parties and snack emergencies alike.
Final Thoughts
The magic of Irresistible Disneyland’s Peanut Butter Sandwich Bars is something you truly have to taste to believe. Every square is a sweet little tribute to Disneyland nostalgia, made with real ingredients and plenty of heart. So gather your pantry staples, get a little creative with garnishes, and treat yourself (and your loved ones!) to a little slice of the park at home. Trust me, one batch will have everyone asking for your secret recipe!
Print
Irresistible Disneyland’s Peanut Butter Sandwich Bars Recipe
- Prep Time: 15 minutes
- Cook Time: 0 minutes
- Total Time: 2 hours 15 minutes
- Yield: 16 bars
- Category: Dessert, Snack
- Method: No-Bake
- Cuisine: American
- Diet: Non-Vegetarian
Description
Indulge in the nostalgia of Disneyland with these irresistible Peanut Butter Sandwich Bars! A no-bake treat that combines creamy peanut butter, graham cracker crumbs, and a luscious chocolate topping.
Ingredients
Peanut Butter Mixture:
- 1 cup creamy peanut butter
- 1 cup graham cracker crumbs
- 1/2 cup unsalted butter, melted
- 1 cup powdered sugar
- 1/2 teaspoon vanilla extract
Chocolate Topping:
- 1 1/2 cups semi-sweet chocolate chips
- 1 tablespoon vegetable oil
Instructions
- Prepare Peanut Butter Mixture: In a medium bowl, mix graham cracker crumbs, powdered sugar, melted butter, vanilla extract, and peanut butter until smooth.
- Press Into Pan: Press mixture into an 8×8-inch baking dish lined with parchment paper.
- Melt Chocolate: In a microwave-safe bowl, melt chocolate chips and vegetable oil in 30-second intervals until smooth.
- Layer Chocolate: Pour melted chocolate over peanut butter layer, spreading evenly.
- Chill: Refrigerate for at least 2 hours until set.
- Serve: Slice into bars and enjoy chilled or at room temperature.
Notes
- For a crunchier texture, add 1/4 cup chopped peanuts to the peanut butter mixture.
- Bars freeze well—store in an airtight container for up to 1 month.
- For authentic Disneyland flavor, use high-quality chocolate and smooth, sweetened peanut butter.
Nutrition
- Serving Size: 1 bar
- Calories: 280
- Sugar: 20g
- Sodium: 120mg
- Fat: 18g
- Saturated Fat: 7g
- Unsaturated Fat: 10g
- Trans Fat: 0g
- Carbohydrates: 26g
- Fiber: 2g
- Protein: 5g
- Cholesterol: 10mg

